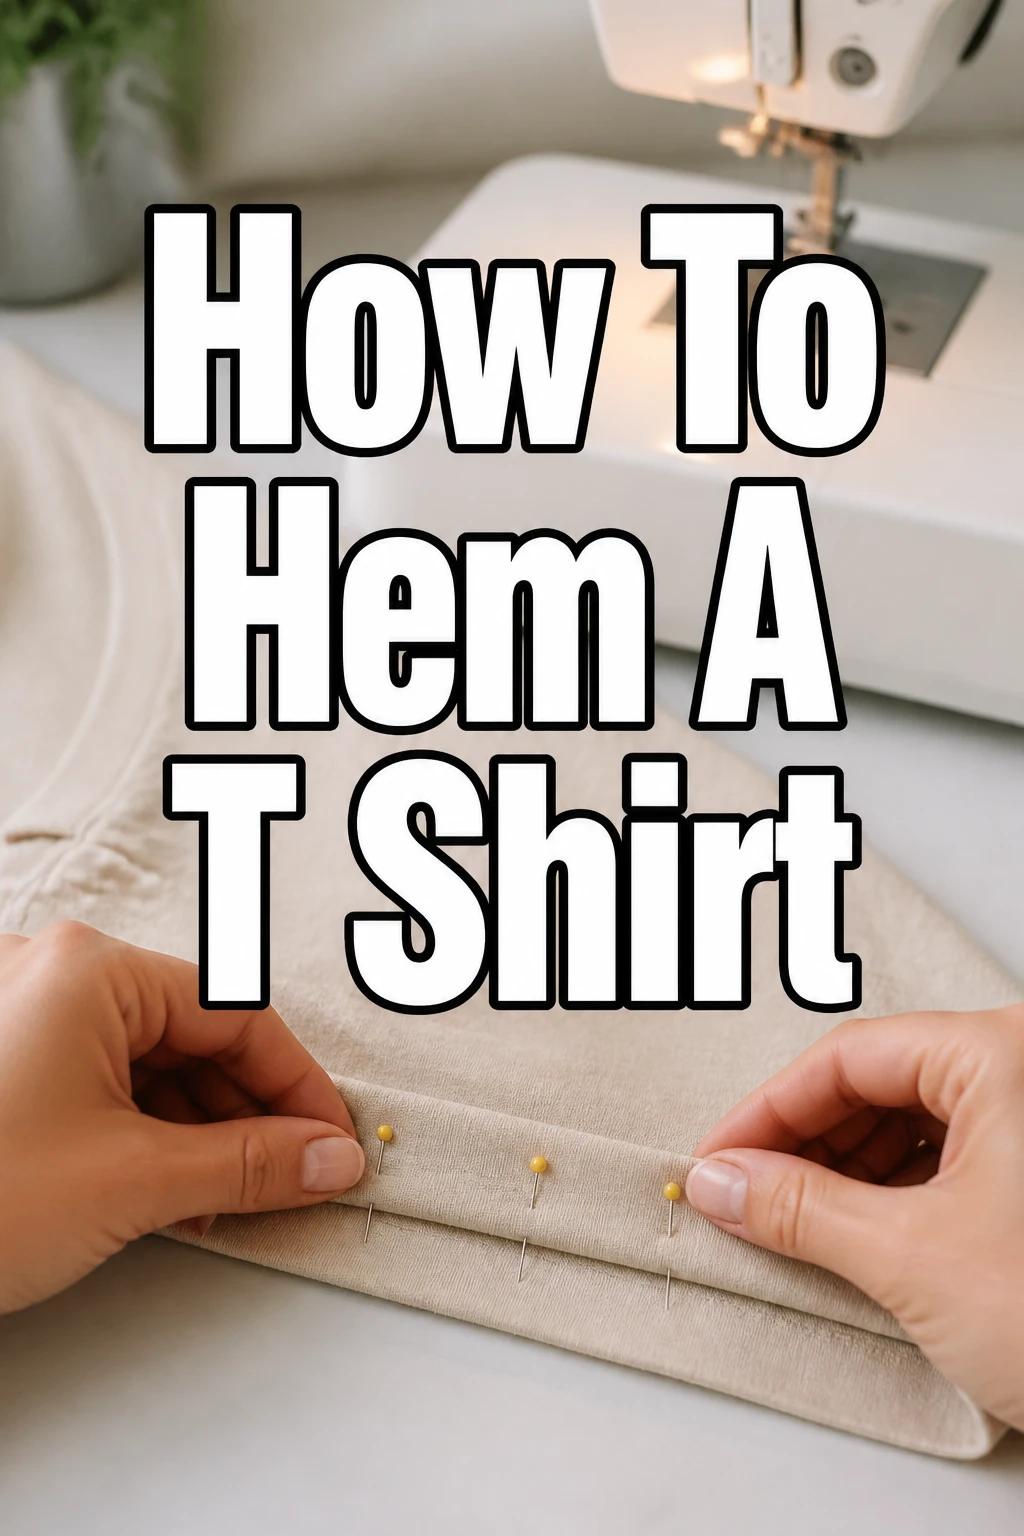
How To Hem A T Shirt

Beginner-friendly templates, step-by-step guides,
and weekly project ideas in your inbox.
I remember the first time I confidently cut a few inches off a beloved oversized band tee. The fear of ruining it was real, but the satisfaction of a perfectly fitting shirt was even greater. This guide will help you achieve that same sense of accomplishment, transforming your T-shirts with a professional-looking hem.
Trust me, hemming a T-shirt is a fundamental skill that opens up a world of wardrobe customization.
Quick Overview
Hemming a T-shirt allows you to adjust its length, repair a damaged hem, or simply give an old shirt a fresh new look. You’ll create a clean, durable finish that rivals ready-to-wear garments. This process is incredibly rewarding and surprisingly straightforward.
Once you master this, you’ll see every T-shirt as a blank canvas.
- Time needed: 45-90 minutes (depending on experience and method)
- Difficulty: Beginner
- What you’ll need: T-shirt, fabric scissors, measuring tape, fabric marker or chalk, pins, iron, sewing machine (or needle and thread), thread matching your T-shirt.
Step-by-Step Instructions
Step 1: Gather Your Materials
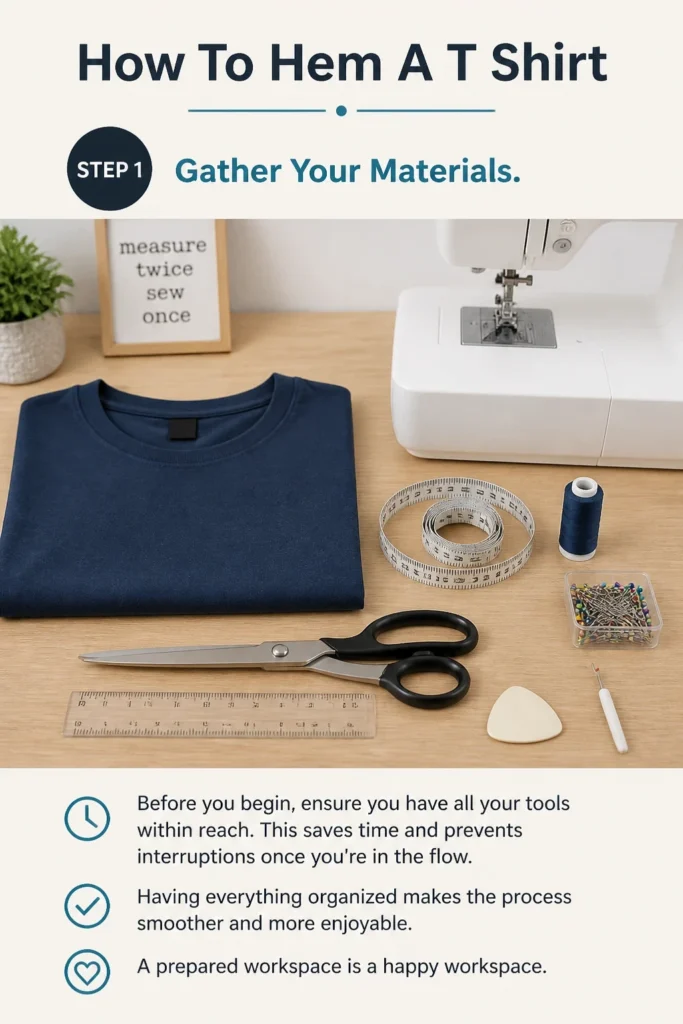
Before you begin, ensure you have all your tools within reach. This saves time and prevents interruptions once you’re in the flow. Having everything organized makes the process smoother and more enjoyable.
A prepared workspace is a happy workspace.
Step 2: Pre-wash and Press Your T-shirt
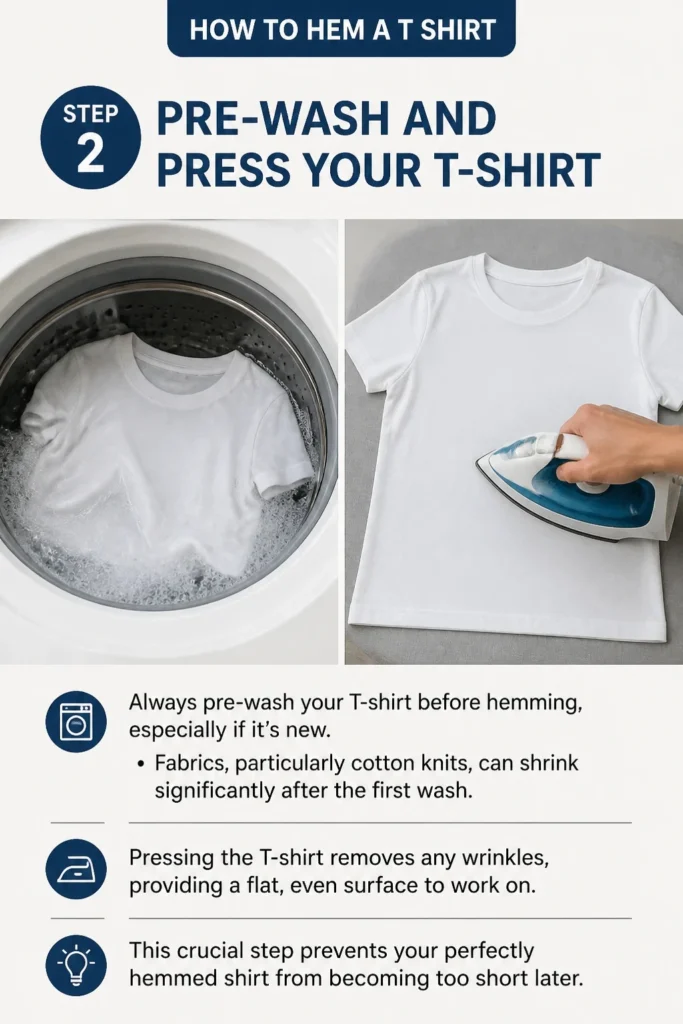
Always pre-wash your T-shirt before hemming, especially if it’s new. Fabrics, particularly cotton knits, can shrink significantly after the first wash. Pressing the T-shirt removes any wrinkles, providing a flat, even surface to work on.
This crucial step prevents your perfectly hemmed shirt from becoming too short later.
Step 3: Try On and Mark the New Hem
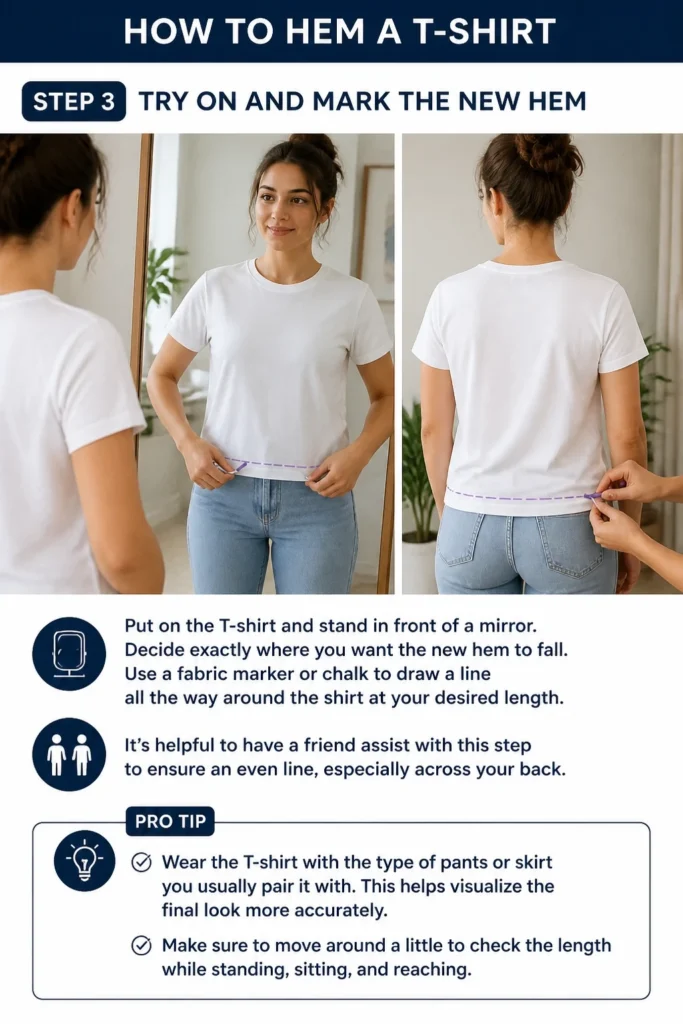
Put on the T-shirt and stand in front of a mirror. Decide exactly where you want the new hem to fall. Use a fabric marker or chalk to draw a line all the way around the shirt at your desired length.
It’s helpful to have a friend assist with this step to ensure an even line, especially across your back.
Pro Tip: Wear the T-shirt with the type of pants or skirt you usually pair it with. This helps visualize the final look more accurately. Make sure to move around a little to check the length while standing, sitting, and reaching.
Step 4: Determine and Trim the Hem Allowance
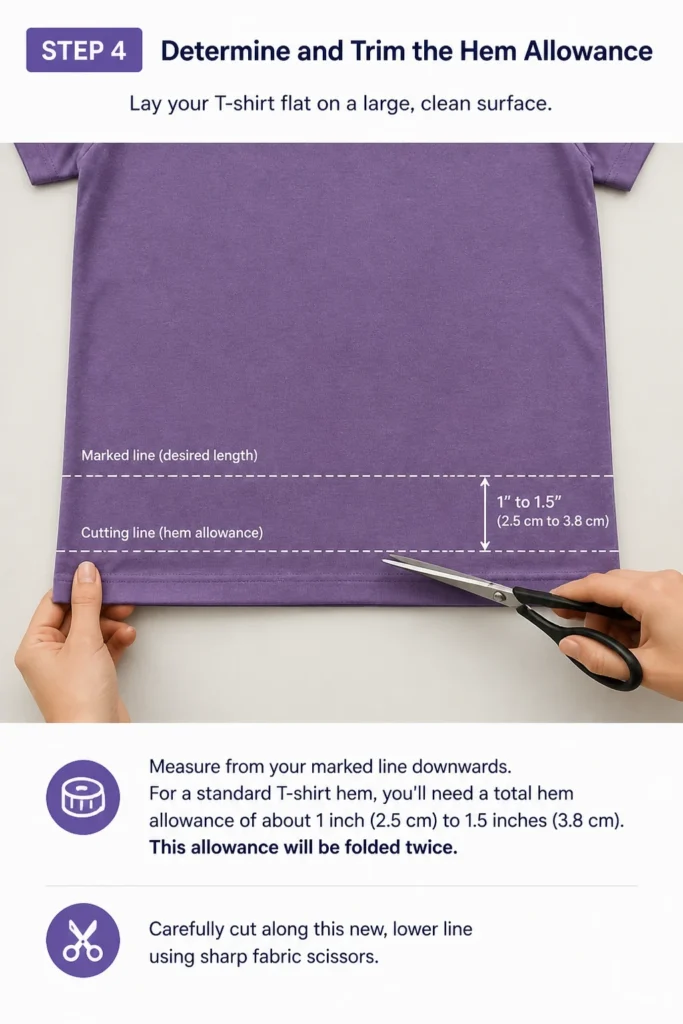
Lay your T-shirt flat on a large, clean surface. Measure from your marked line downwards. For a standard T-shirt hem, you’ll need a total hem allowance of about 1 inch (2.5 cm) to 1.5 inches (3.8 cm). This allowance will be folded twice.
Carefully cut along this new, lower line using sharp fabric scissors.
Step 5: Press the First Fold
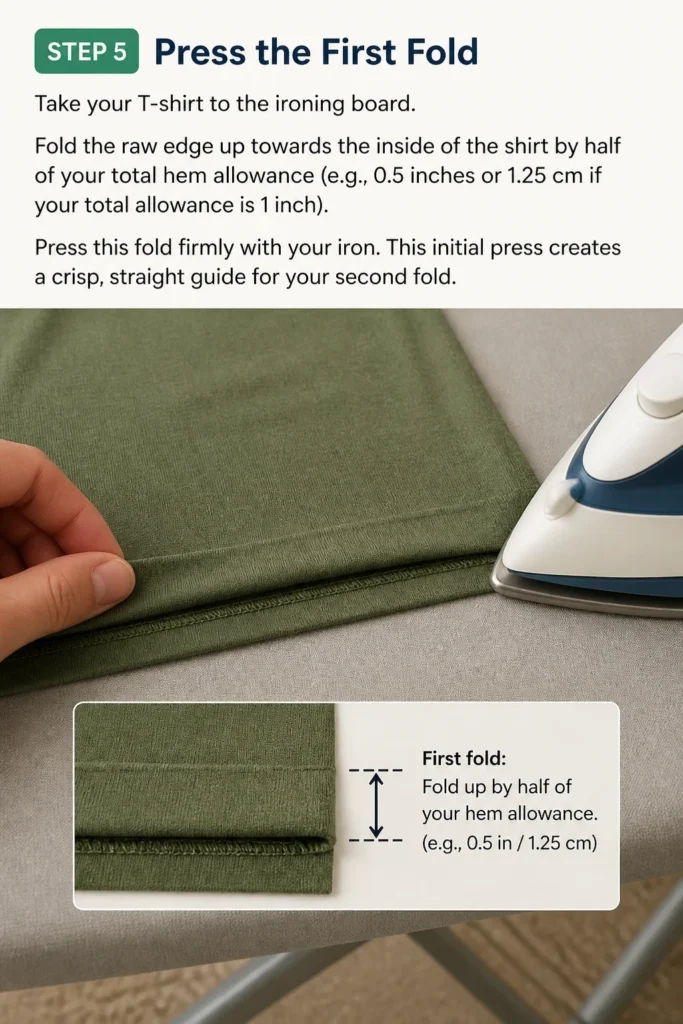
Take your T-shirt to the ironing board. Fold the raw edge up towards the inside of the shirt by half of your total hem allowance (e.g., 0.5 inches or 1.25 cm if your total allowance is 1 inch). Press this fold firmly with your iron.
This initial press creates a crisp, straight guide for your second fold.
Step 6: Press the Second Fold
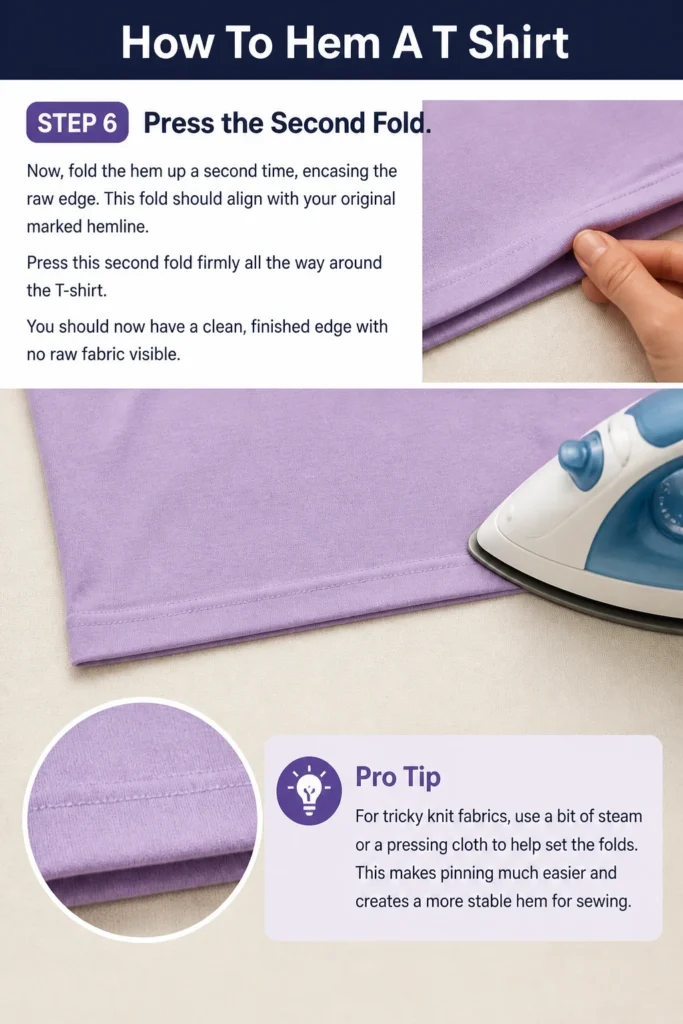
Now, fold the hem up a second time, encasing the raw edge. This fold should align with your original marked hemline. Press this second fold firmly all the way around the T-shirt.
You should now have a clean, finished edge with no raw fabric visible.
Pro Tip: For tricky knit fabrics, use a bit of steam or a pressing cloth to help set the folds. This makes pinning much easier and creates a more stable hem for sewing.
Step 7: Pin the Hem
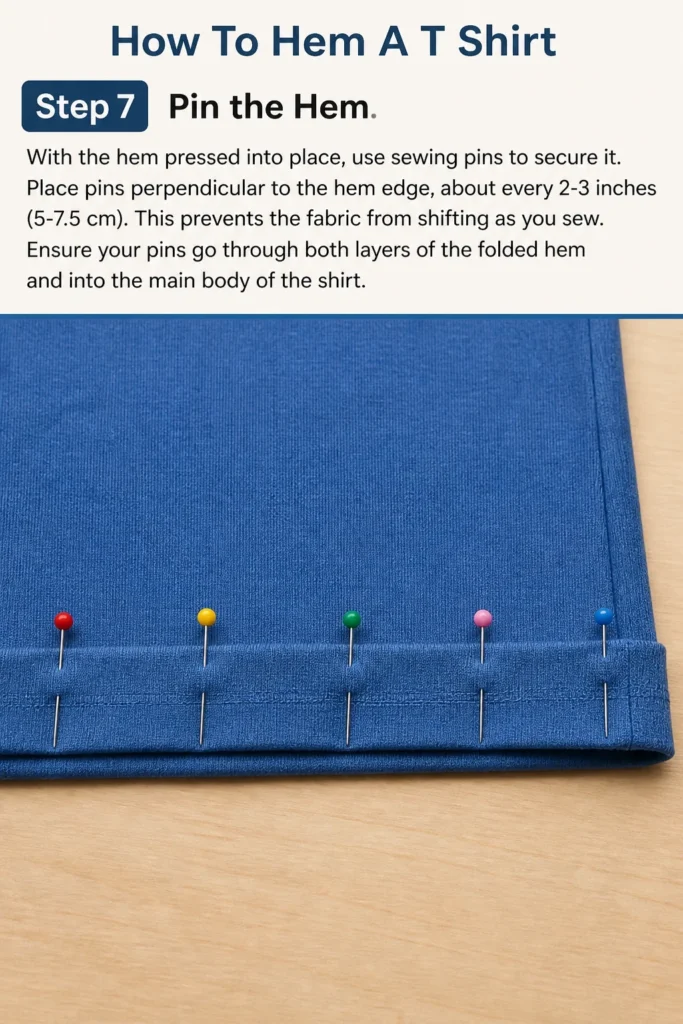
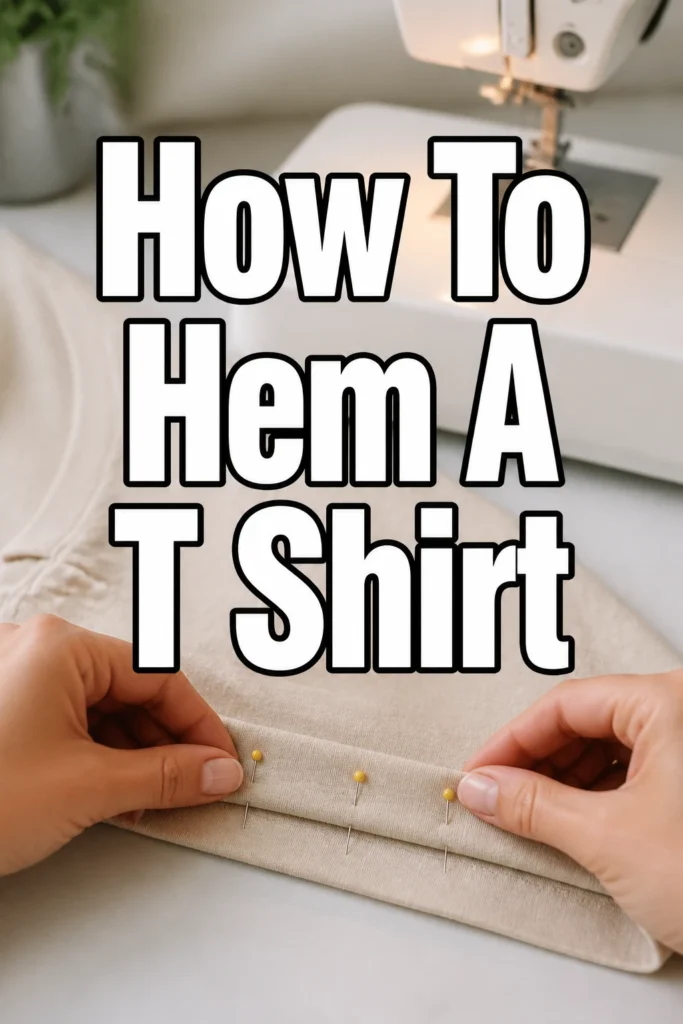
With the hem pressed into place, use sewing pins to secure it. Place pins perpendicular to the hem edge, about every 2-3 inches (5-7.5 cm). This prevents the fabric from shifting as you sew.
Ensure your pins go through both layers of the folded hem and into the main body of the shirt.
Step 8: Choose Your Stitch and Thread
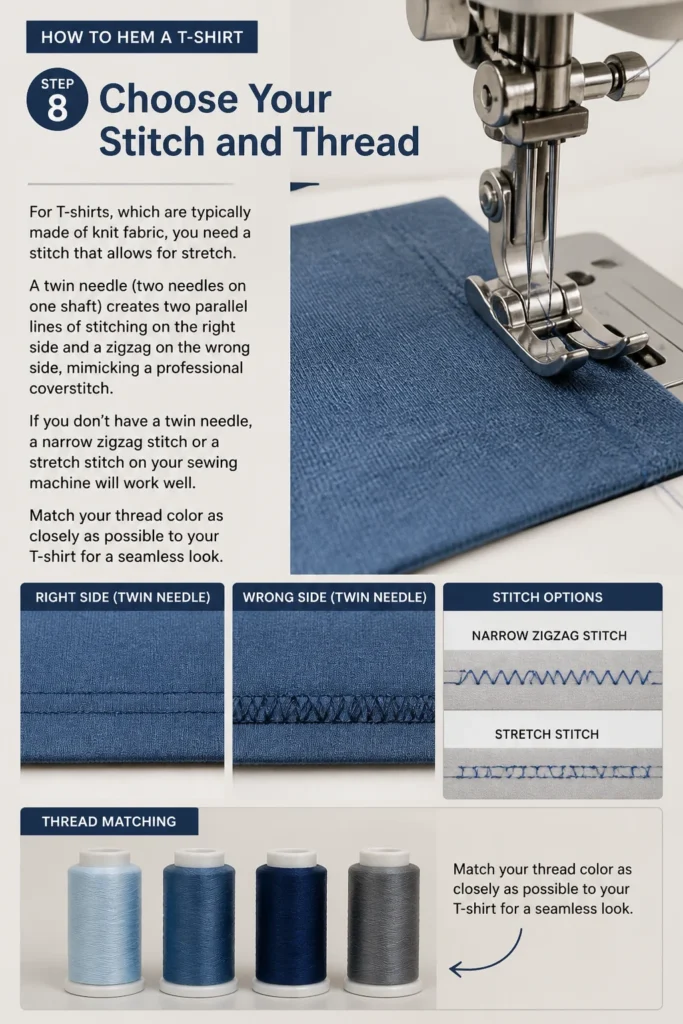
For T-shirts, which are typically made of knit fabric, you need a stitch that allows for stretch. A twin needle (two needles on one shaft) creates two parallel lines of stitching on the right side and a zigzag on the wrong side, mimicking a professional coverstitch. If you don’t have a twin needle, a narrow zigzag stitch or a stretch stitch on your sewing machine will work well.
Match your thread color as closely as possible to your T-shirt for a seamless look.
Step 9: Sew the Hem
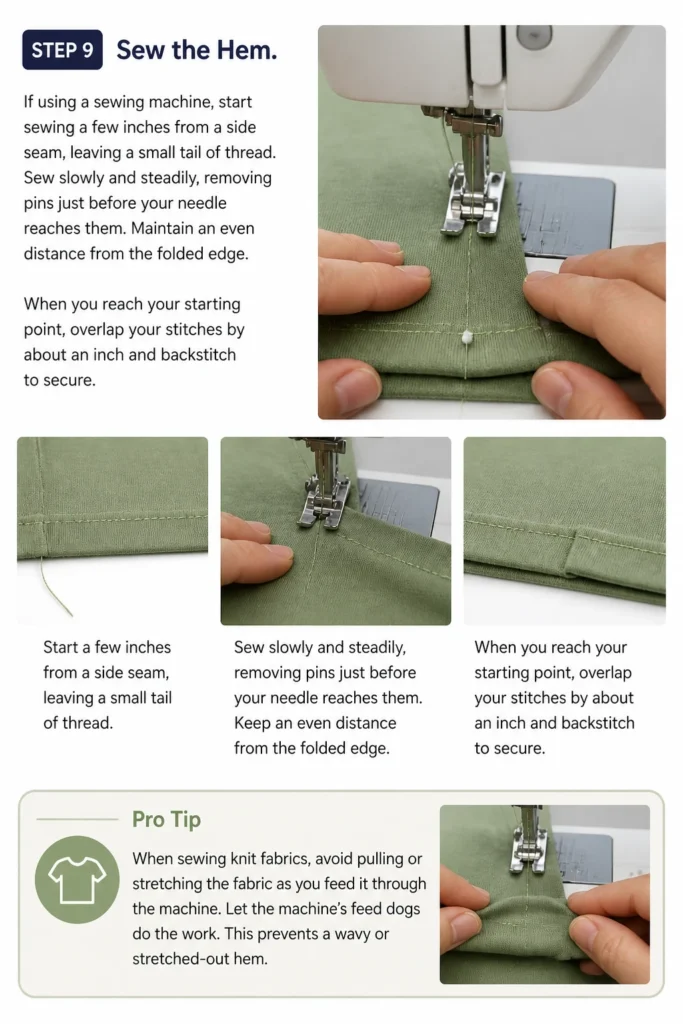
If using a sewing machine, start sewing a few inches from a side seam, leaving a small tail of thread. Sew slowly and steadily, removing pins just before your needle reaches them. Maintain an even distance from the folded edge.
When you reach your starting point, overlap your stitches by about an inch and backstitch to secure.
Pro Tip: When sewing knit fabrics, avoid pulling or stretching the fabric as you feed it through the machine. Let the machine’s feed dogs do the work. This prevents a wavy or stretched-out hem.
Step 10: Finish and Press Again
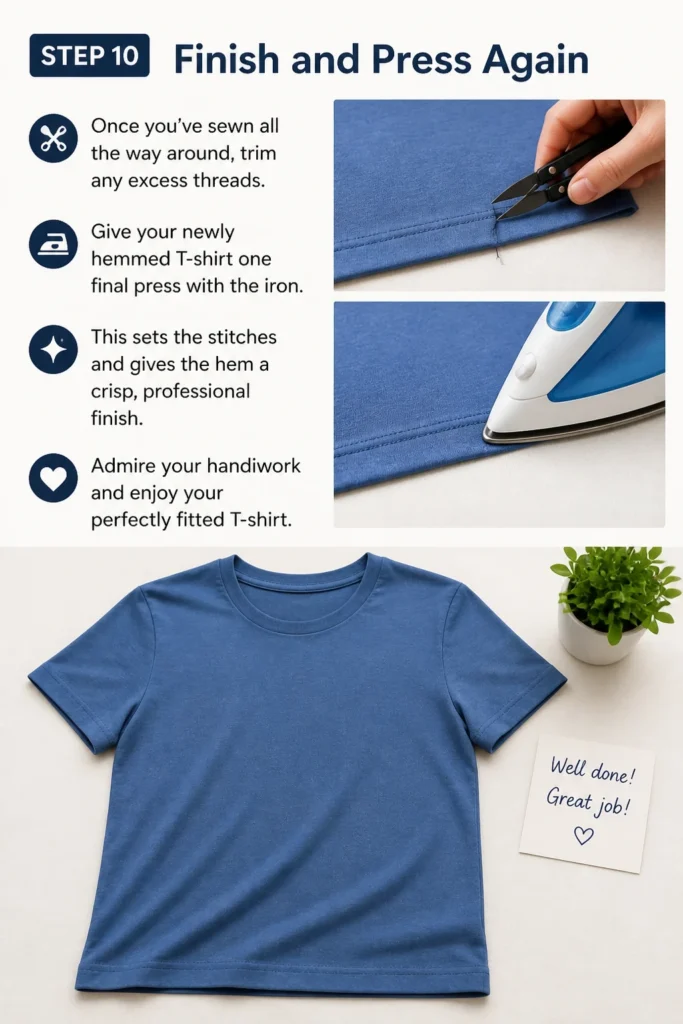
Once you’ve sewn all the way around, trim any excess threads. Give your newly hemmed T-shirt one final press with the iron. This sets the stitches and gives the hem a crisp, professional finish.
Admire your handiwork and enjoy your perfectly fitted T-shirt.
Common Mistakes to Avoid
Not Pre-washing Your Fabric
Skipping the pre-wash step is a common pitfall that can lead to disappointment. Most fabrics, especially cottons and blends, will shrink when first washed. If you hem a new, unwashed T-shirt, it will likely become shorter than intended after its first trip through the laundry. Always wash and dry your garment as you normally would before making any alterations.
Uneven Marking
An uneven initial mark is the root of many hemming woes. If your guideline isn’t straight or consistent around the shirt, your final hem will reflect that irregularity. Take your time during the marking stage, using a reliable measuring tape and fabric marker. Having someone help you mark while wearing the shirt can greatly improve accuracy.
Skipping Pressing
Pressing is not an optional step in hemming; it’s absolutely essential for a professional finish. Skipping the pressing stages for each fold makes it incredibly difficult to achieve a crisp, even hem. Unpressed folds will shift, creating a wavy or puckered result that looks homemade rather than custom-tailored. An iron is your best friend for precise hemming.
Pulling Fabric While Sewing
When sewing knit fabrics like those used for T-shirts, it’s very easy to stretch the fabric unintentionally. Pulling the fabric as it goes under the needle will cause the hem to become wavy, stretched out, and puckered once it’s released. Allow the sewing machine’s feed dogs to guide the fabric naturally without any tension from your hands.
Troubleshooting
Wavy Hem
A wavy hem is usually caused by stretching the knit fabric during the sewing process. This often happens when you pull the fabric through the machine instead of letting the feed dogs do the work. To fix this, carefully unpick the wavy section of stitching. Repress the hem very thoroughly with steam, then re-sew, ensuring you apply no tension to the fabric as it feeds.
Visible Stitches
If your stitches are too visible from the outside, it could be due to several factors. Perhaps your thread color doesn’t perfectly match the T-shirt, or your tension settings are off, causing the bobbin thread to pull through. Another reason could be using a straight stitch on knit fabric, which can pucker and stand out. Check your tension, ensure a perfect thread match, and always use a stretch-friendly stitch like a twin needle, zigzag, or specific stretch stitch.
Fabric Bunching
Fabric bunching under the needle can be frustrating and usually indicates an issue with your machine settings or fabric handling. This might be due to incorrect tension, a dull needle, or a foot pressure setting that is too high. Try changing to a new ballpoint or stretch needle, which is designed for knit fabrics. Adjust your presser foot pressure if your machine allows it, and always ensure you are not pushing or pulling the fabric too aggressively.
Key Takeaways
- Always pre-wash your T-shirt to account for any shrinkage before hemming.
- Accurate marking and consistent pressing are crucial for a professional-looking hem.
- Use a stretch-friendly stitch, like a twin needle or zigzag, for knit T-shirt fabric.
- Avoid stretching the fabric while sewing to prevent a wavy or puckered hem.
- Take your time with each step; precision leads to a much better final result.
- A final press after sewing sets your stitches and gives a crisp finish.
Frequently Asked Questions
Can I hem a T-shirt without a sewing machine?
Yes, you absolutely can hem a T-shirt by hand. While it takes more time, a hand-sewn hem can be virtually invisible and very durable. Use a slip stitch or a blind hem stitch for the best results. These stitches hide the thread within the fabric folds, creating a clean finish.
What type of needle should I use for T-shirt fabric?
For knit fabrics like those found in T-shirts, you should always use a ballpoint or stretch needle. These needles have a rounded tip that pushes aside the fabric fibers instead of piercing them. This prevents skipped stitches, snags, and damage to the knit structure.
How do I hem a T-shirt with a curved hemline?
Hemming a curved T-shirt requires a slightly different approach. Instead of a double-fold hem, you might opt for a narrow single-fold hem, a serged rolled hem, or using bias tape to finish the edge. For a simple fold, clip into the seam allowance perpendicular to the curve before pressing to help the fabric lay flat.
What if my T-shirt fabric is very thin or slippery?
Thin or slippery knit fabrics can be challenging. Use a walking foot on your sewing machine, which helps feed both layers of fabric evenly. Reduce your stitch length slightly and use plenty of fine pins. You can also try using a temporary fabric adhesive spray or wash-away tape to hold the hem in place before sewing.
Our Top Recommended Finds
- Sharp Fabric Scissors: Essential for clean, precise cuts that prevent fraying and make your work easier.
- Tailor’s Chalk or Fabric Marker: Perfect for making clear, temporary marks on your fabric without leaving permanent traces.
- Iron with Steam Function: Critical for crisp folds and setting stitches, making your hem look professional.
Transform Your Wardrobe Today
You now have the knowledge and steps to confidently hem your T-shirts. This simple alteration can elevate your entire wardrobe, giving you perfectly fitting garments that feel custom-made. No more ill-fitting shirts sitting unworn in your closet.
Why wait? Grab that T-shirt you’ve been meaning to fix or customize and start sewing. Soon, you’ll be enjoying the comfort and style of a perfectly hemmed top.
Beginner-friendly templates, step-by-step guides,
and weekly project ideas in your inbox.