How To Make Glitter Jars DIY

Beginner-friendly templates, step-by-step guides,
and weekly project ideas in your inbox.
I remember making my first glitter jar years ago, completely captivated by the swirling magic within.
That simple project sparked a joy I want to share with you today, proving that creativity doesn’t have to be complicated.
This guide distills years of crafting experience into easy-to-follow steps, ensuring your glitter jar turns out perfectly.
Quick Overview
You’re about to create your very own mesmerizing glitter jar, a beautiful and calming visual sensory tool.
This DIY project is perfect for all ages and skill levels, resulting in a unique decorative item or stress-relief aid.
- Time needed: 30 minutes active, 24 hours drying/settling
- Difficulty: Beginner
- What you’ll need: Jar, glitter, water, glue, optional food coloring
Step-by-Step Instructions
Step 1: Gather Your Materials
Collect all your necessary supplies before starting. This prevents interruptions and ensures a smooth crafting process.
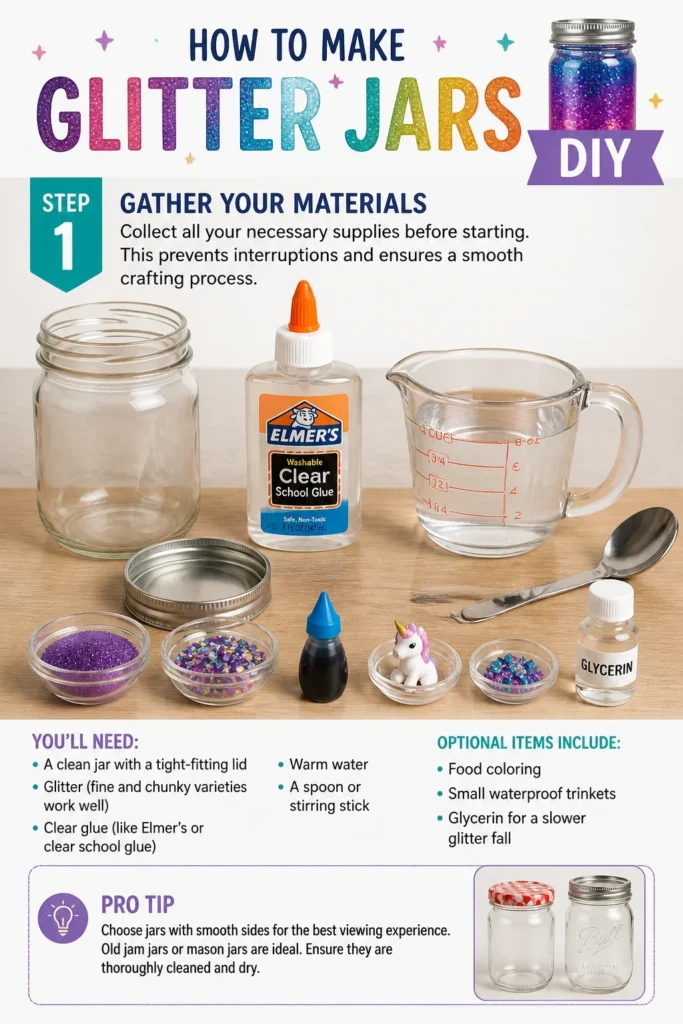
You’ll need a clean jar with a tight-fitting lid, glitter (fine and chunky varieties work well), clear glue (like Elmer’s or clear school glue), warm water, and a spoon or stirring stick.
Optional items include food coloring, small waterproof trinkets, or glycerin for a slower glitter fall.
Pro Tip: Choose jars with smooth sides for the best viewing experience. Old jam jars or mason jars are ideal. Ensure they are thoroughly cleaned and dry.
Step 2: Add Glue to the Jar
Pour your clear glue into the empty jar. The amount of glue is crucial for how slowly your glitter will fall.
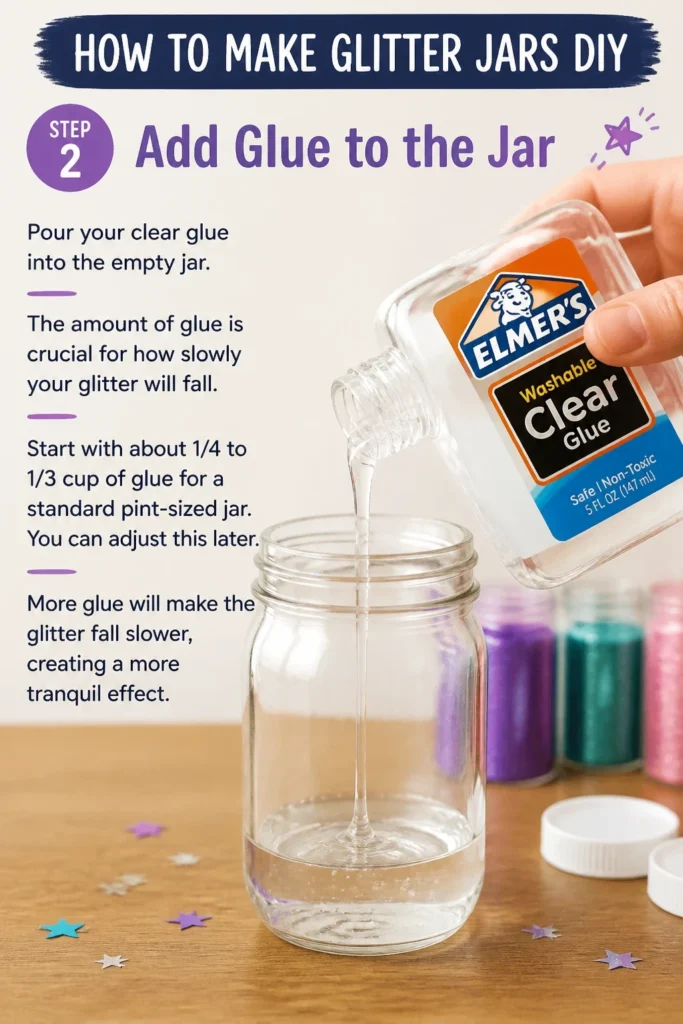
Start with about 1/4 to 1/3 cup of glue for a standard pint-sized jar. You can adjust this later.
More glue will make the glitter fall slower, creating a more tranquil effect.
Step 3: Introduce Warm Water
Fill the rest of the jar with warm water, leaving about an inch of space at the top.
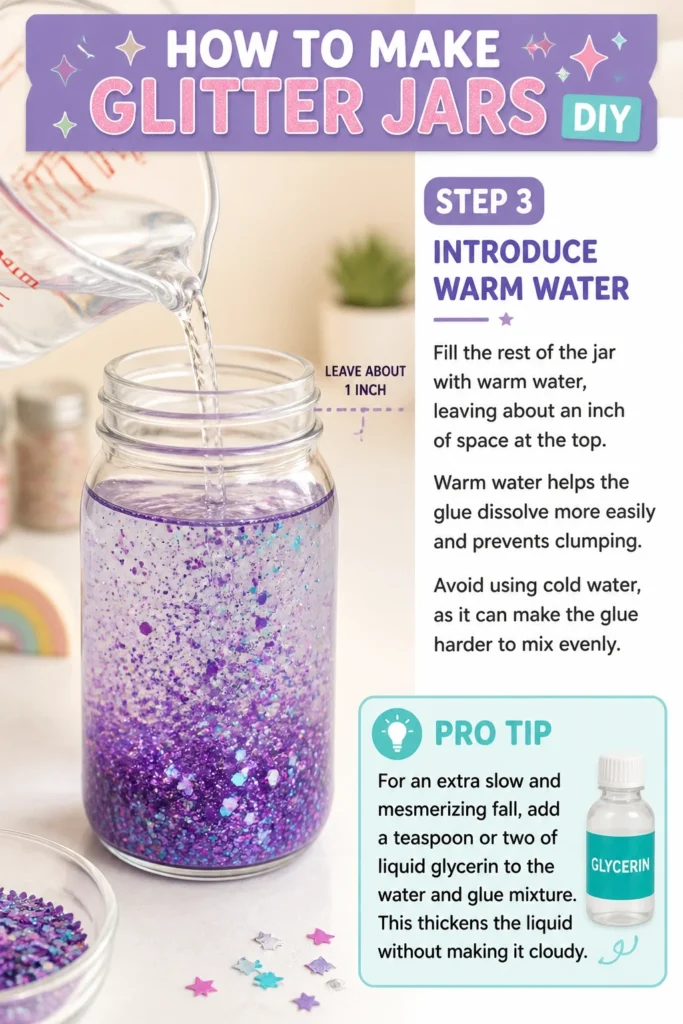
Warm water helps the glue dissolve more easily and prevents clumping.
Avoid using cold water, as it can make the glue harder to mix evenly.
Pro Tip: For an extra slow and mesmerizing fall, add a teaspoon or two of liquid glycerin to the water and glue mixture. This thickens the liquid without making it cloudy.
Step 4: Mix the Glue and Water Thoroughly
Stir the glue and warm water mixture until completely combined. Use your spoon or stirring stick for this.
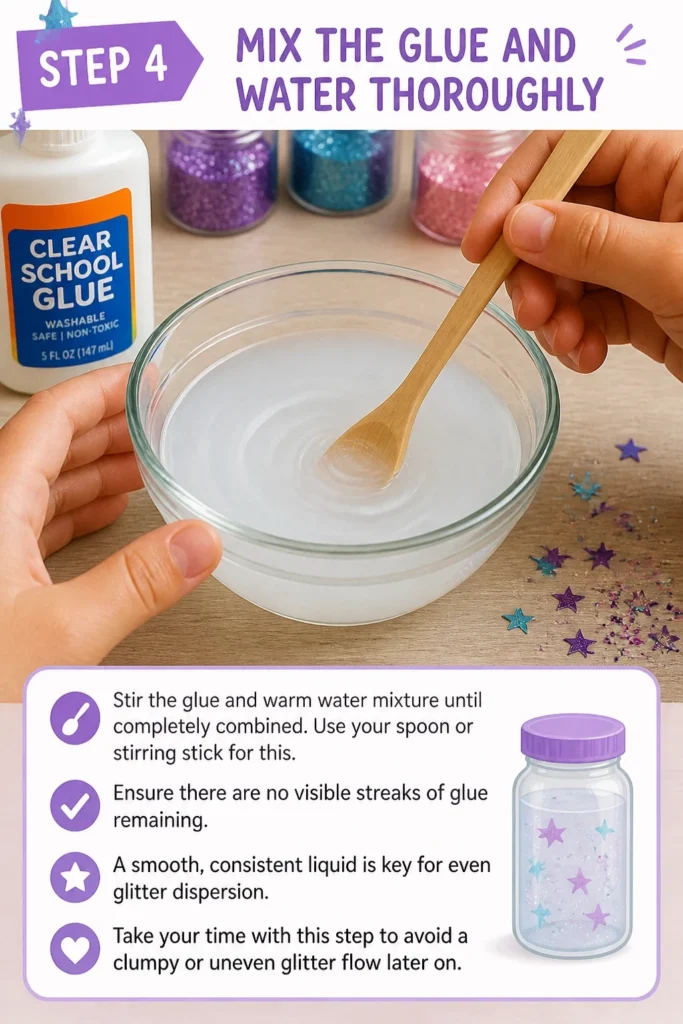
Ensure there are no visible streaks of glue remaining. A smooth, consistent liquid is key for even glitter dispersion.
Take your time with this step to avoid a clumpy or uneven glitter flow later on.
Step 5: Add Glitter
Sprinkle your chosen glitter into the mixture. This is where your jar truly begins to sparkle.
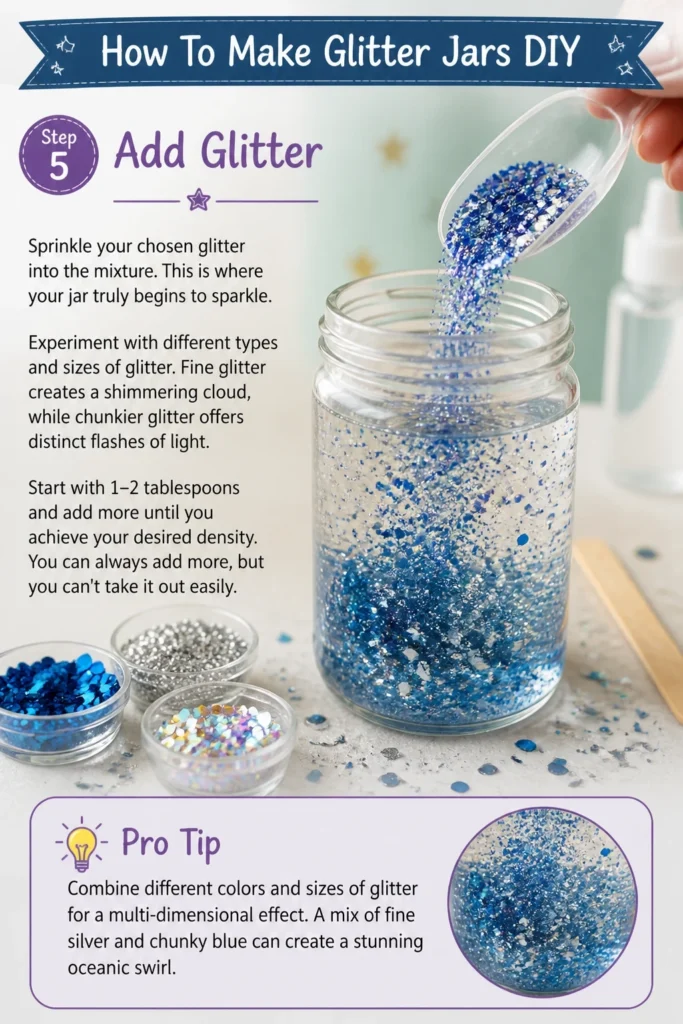
Experiment with different types and sizes of glitter. Fine glitter creates a shimmering cloud, while chunkier glitter offers distinct flashes of light.
Start with 1-2 tablespoons and add more until you achieve your desired density. You can always add more, but you can’t take it out easily.
Pro Tip: Combine different colors and sizes of glitter for a multi-dimensional effect. A mix of fine silver and chunky blue can create a stunning oceanic swirl.
Step 6: Incorporate Food Coloring (Optional)
Introduce 1-2 drops of food coloring if you desire a tinted liquid base. This can enhance the overall aesthetic.
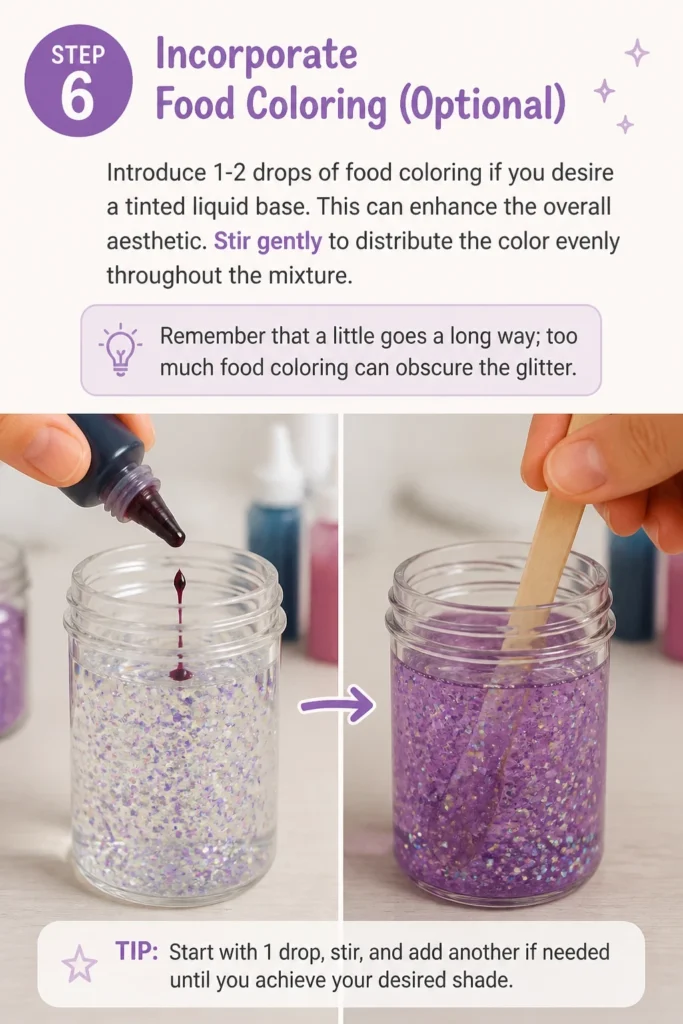
Stir gently to distribute the color evenly throughout the mixture.
Remember that a little goes a long way; too much food coloring can obscure the glitter.
Step 7: Add Optional Trinkets
Place any small, waterproof trinkets or sequins into the jar if you wish. These can add an extra element of wonder.
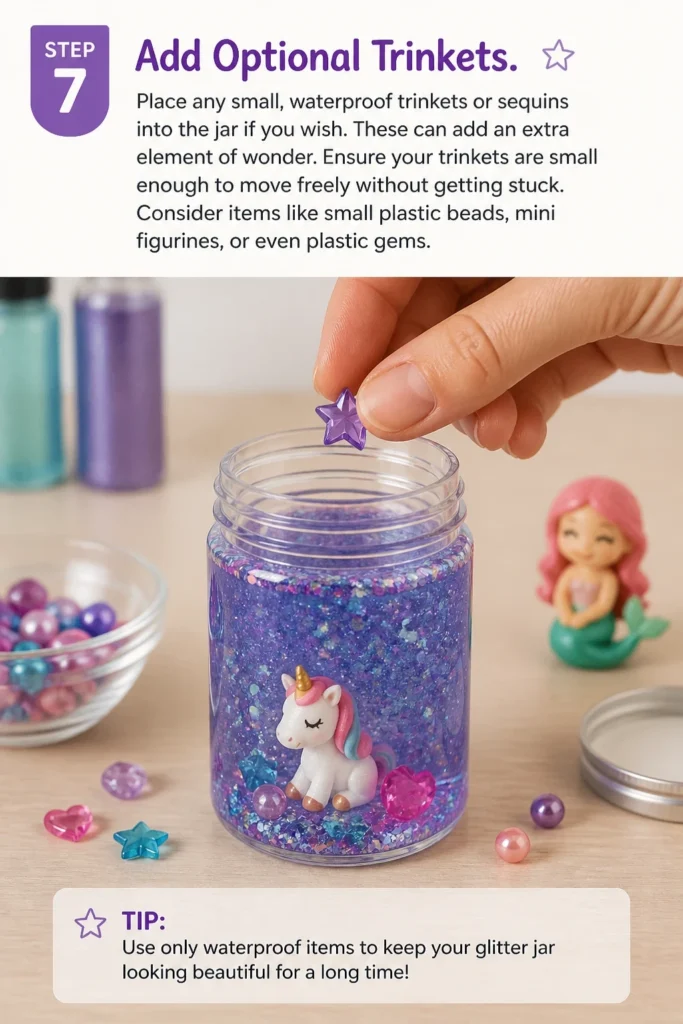
Ensure your trinkets are small enough to move freely without getting stuck.
Consider items like small plastic beads, mini figurines, or even plastic gems.
Step 8: Secure the Lid and Test
Screw the lid onto the jar very tightly. It’s crucial for preventing leaks.
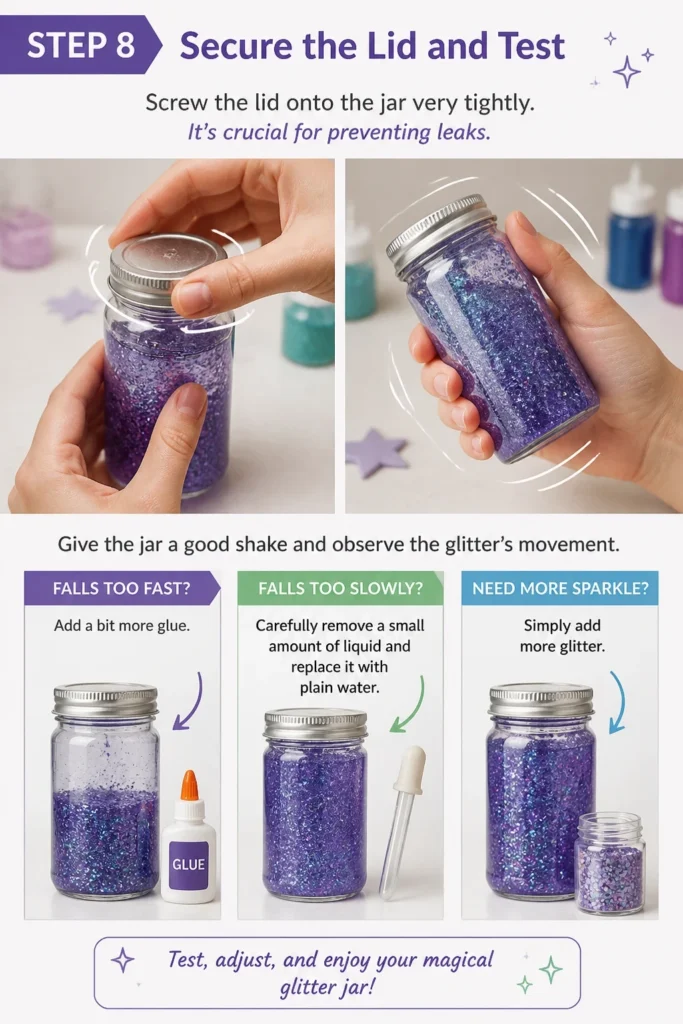
Give the jar a good shake and observe the glitter’s movement. If it falls too fast, add a bit more glue.
If it falls too slowly, you can carefully remove a small amount of liquid and replace it with plain water, or simply add more glitter.
Step 9: Seal the Lid Permanently (Recommended)
Apply a strong adhesive, such as super glue or hot glue, around the inside rim of the lid and screw it on firmly.
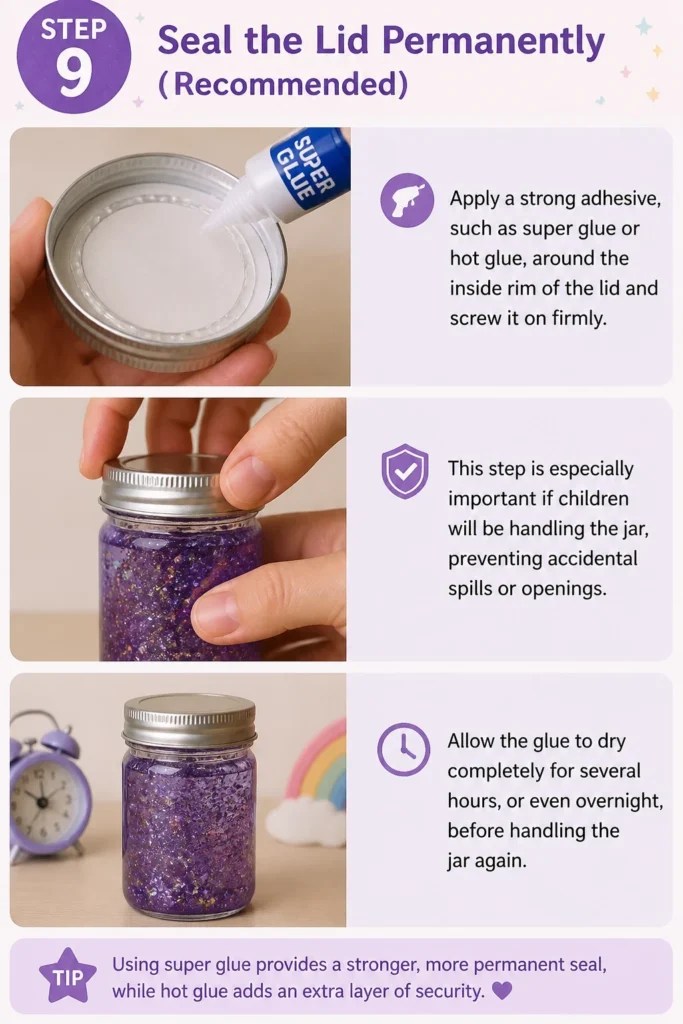
This step is especially important if children will be handling the jar, preventing accidental spills or openings.
Allow the glue to dry completely for several hours, or even overnight, before handling the jar again.
Common Mistakes to Avoid
Using Too Much Glitter
Adding an excessive amount of glitter can make your jar look cloudy and prevent the beautiful, slow fall you desire. When there’s too much glitter, it clumps together and obscures the liquid, losing its mesmerizing effect. Start with a small amount and gradually add more, shaking the jar to test the density, until you achieve the perfect sparkle without overcrowding.
Not Mixing the Glue Properly
If the glue and water aren’t thoroughly mixed, you’ll end up with clumps of glue at the bottom or unevenly distributed glitter. This creates a messy appearance and hinders the smooth movement of the glitter. Stir patiently until the liquid is clear and uniform, ensuring the glue is fully dissolved before adding glitter.
Lid Not Sealed Securely
Forgetting to seal the lid with strong glue is a common oversight that can lead to frustrating spills. Glitter jars contain liquid, and an unsealed lid is an open invitation for leaks, especially if handled by children. Always use a strong adhesive around the rim of the lid to permanently seal it, protecting your surfaces and preserving your creation.
Troubleshooting
Glitter Falls Too Fast
If your glitter settles at the bottom of the jar too quickly, it means the liquid isn’t thick enough. The primary solution is to add more clear glue to the mixture. Carefully open the jar, pour in another tablespoon or two of glue, and stir thoroughly. Reseal and test again, repeating until you achieve the desired slow, shimmering descent.
Liquid Looks Cloudy
A cloudy liquid often indicates either too much glitter or impurities in your water or glue. First, try letting the jar sit undisturbed for a few hours; sometimes, tiny air bubbles from shaking will dissipate. If it remains cloudy, you might need to empty some liquid and replace it with fresh, distilled water and a bit more clear glue, ensuring everything is thoroughly mixed.
Glitter Clumps Together
Glitter clumping is usually a sign that the glue wasn’t fully dissolved or that you used too much fine glitter without enough separation. Ensure your glue and water are perfectly mixed before adding glitter. If clumping persists, try adding a small amount of liquid dish soap (just a drop) or a little more glycerin; these can help reduce surface tension and allow the glitter to separate more freely.
Key Takeaways
- The ratio of glue to water dictates the glitter’s fall speed.
- Always use warm water to ensure the glue dissolves smoothly.
- Combine different glitter types for a dynamic visual effect.
- Sealing the lid permanently prevents spills and ensures longevity.
- Patience in mixing and testing is crucial for a perfect glitter jar.
- Start with less glitter and add more incrementally to avoid cloudiness.
Frequently Asked Questions
Can I use any type of glitter?
While most glitters will work, very fine craft glitter tends to clump more easily than medium or chunky glitter. Holographic or iridescent glitters add extra sparkle. Experiment with different types to find your favorite effect, but be mindful of the quantity, especially with ultra-fine varieties.
How long do glitter jars last?
A well-sealed glitter jar can last for years! The key is a properly sealed lid to prevent evaporation and contamination. Over time, some colors might slightly fade if exposed to direct sunlight for extended periods, but the mesmerizing effect generally endures beautifully.
What kind of glue is best?
Clear school glue, like Elmer’s Clear Glue, is generally the best choice. It’s non-toxic, mixes well with water, and provides the necessary viscosity for a slow glitter fall. Avoid super strong industrial glues for the liquid mixture itself, as they may not mix properly or could become toxic.
Can I reuse an old glitter jar?
Yes, you absolutely can! If your jar is permanently sealed, you can’t easily change the contents. However, if it’s just screwed on, you can empty, clean, and refill it with new colors or themes. Make sure to thoroughly wash out all old glue and glitter residue before starting a fresh creation.
Our Top Recommended Finds
- Clear School Glue: Essential for its non-toxic, water-soluble properties and ideal viscosity.
- Assorted Craft Glitter Pack: Provides a variety of colors and sizes, allowing for creative combinations.
- Mason Jars with Lids: Durable, readily available, and offer a classic, clean look for your glitter creations.
Unleash Your Inner Sparkle
You now have all the knowledge to create your very own enchanting glitter jar.
This simple project offers a wonderful blend of creativity and calm, perfect for all ages.
Don’t wait—gather your supplies today and transform ordinary items into something truly extraordinary.
Beginner-friendly templates, step-by-step guides,
and weekly project ideas in your inbox.