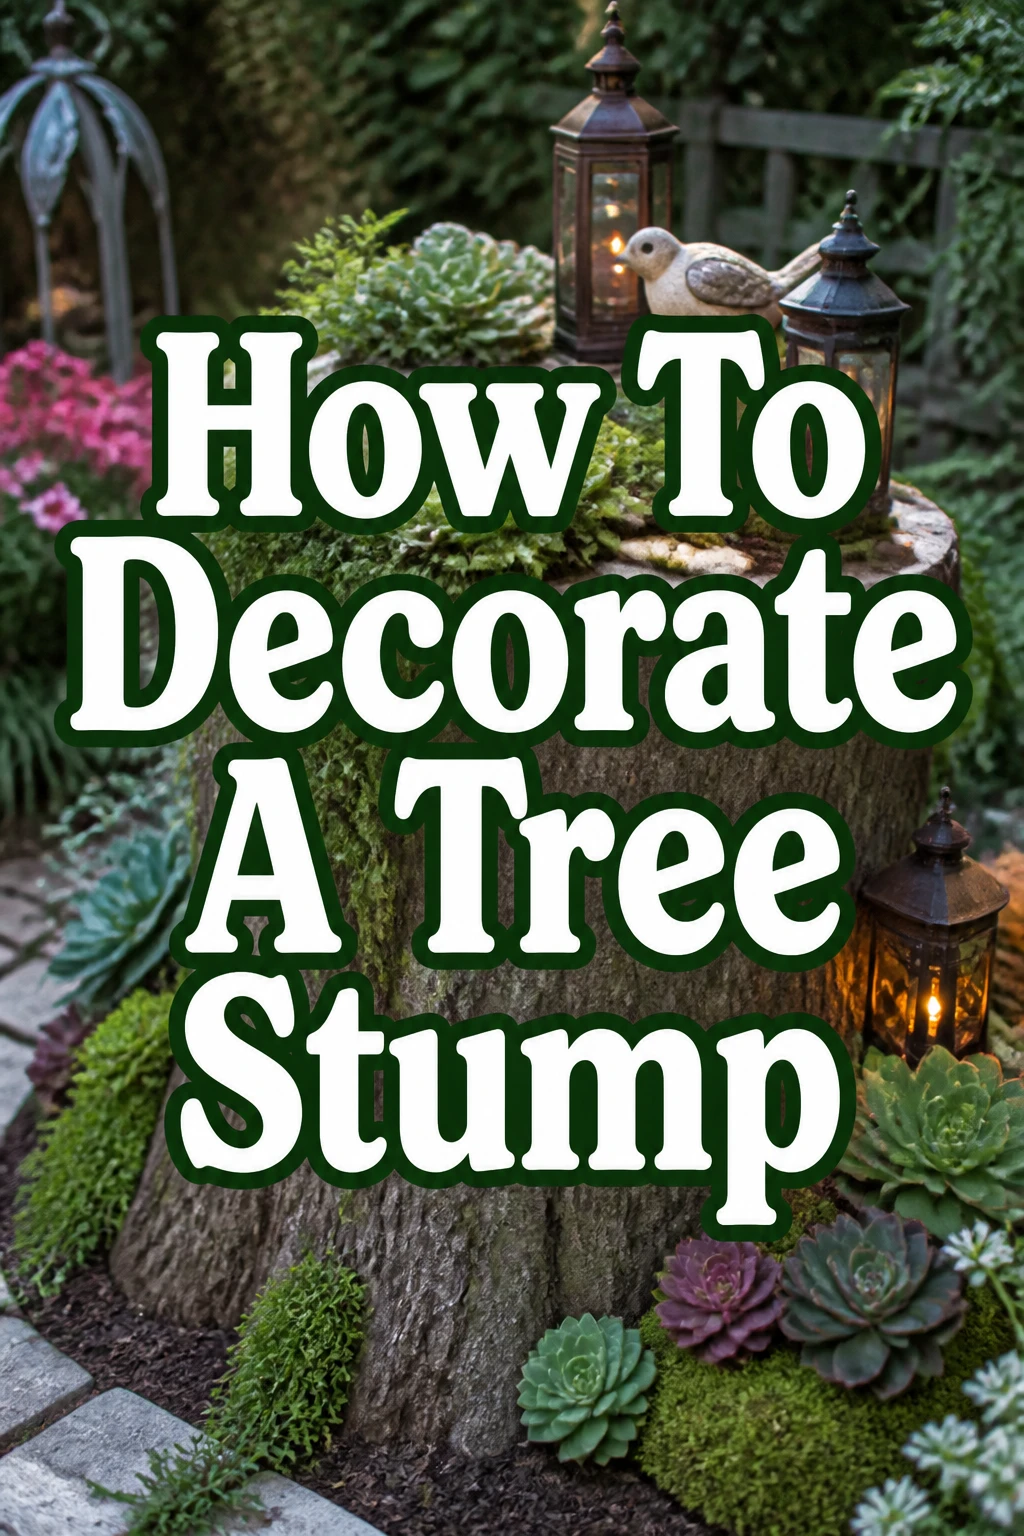
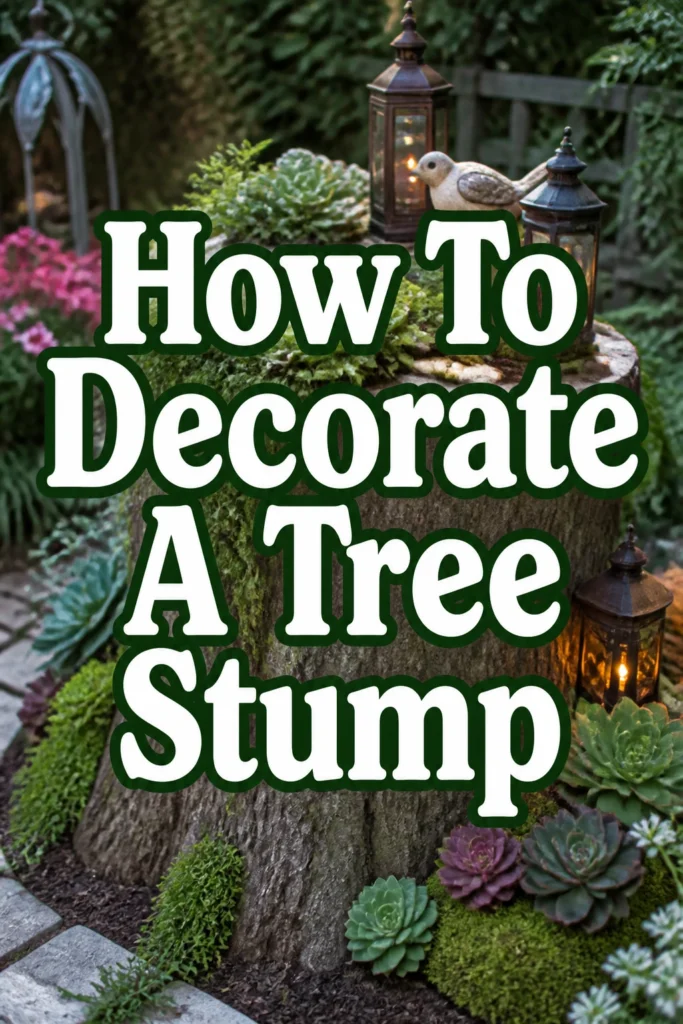
How To Decorate A Tree Stump

Beginner-friendly templates, step-by-step guides,
and weekly project ideas in your inbox.
A tree stump in your yard doesn’t have to be an eyesore or a tripping hazard.
In my own garden, transforming an old oak stump into a vibrant focal point completely changed the space, proving how much potential these natural elements hold.
This guide will walk you through turning that forgotten piece of wood into a charming, functional, or artistic addition to your landscape.
Quick Overview
You’re about to embark on a creative journey that transforms a simple tree stump into a captivating feature for your outdoor area. This guide covers everything from preparation to various decoration styles.
- Time needed: 2-8 hours (depending on complexity and drying times)
- Difficulty: Beginner
- What you’ll need: Cleaning tools, sandpaper, wood preservative, paint/stain, various decorative items (plants, lights, etc.)
Step-by-Step Instructions
Step 1: Assess and Prepare Your Stump
Begin by thoroughly examining your tree stump. Look for any signs of rot, insect infestation, or instability.
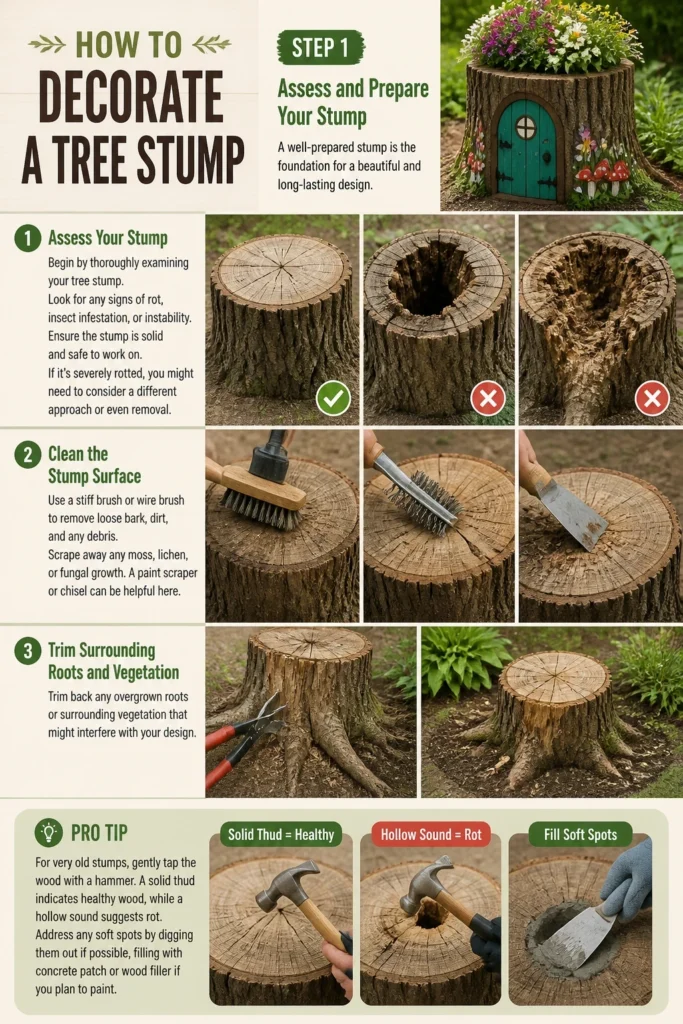
Ensure the stump is solid and safe to work on. If it’s severely rotted, you might need to consider a different approach or even removal.
- Clean the stump surface. Use a stiff brush or wire brush to remove loose bark, dirt, and any debris.
- Scrape away any moss, lichen, or fungal growth. A paint scraper or chisel can be helpful here.
- Trim back any overgrown roots or surrounding vegetation that might interfere with your design.
Pro Tip: For very old stumps, gently tap the wood with a hammer. A solid thud indicates healthy wood, while a hollow sound suggests rot. Address any soft spots by digging them out if possible, filling with concrete patch or wood filler if you plan to paint.
Step 2: Dry and Smooth the Surface
Allow the stump to dry out completely after cleaning. This step is crucial for paint or sealants to adhere properly.
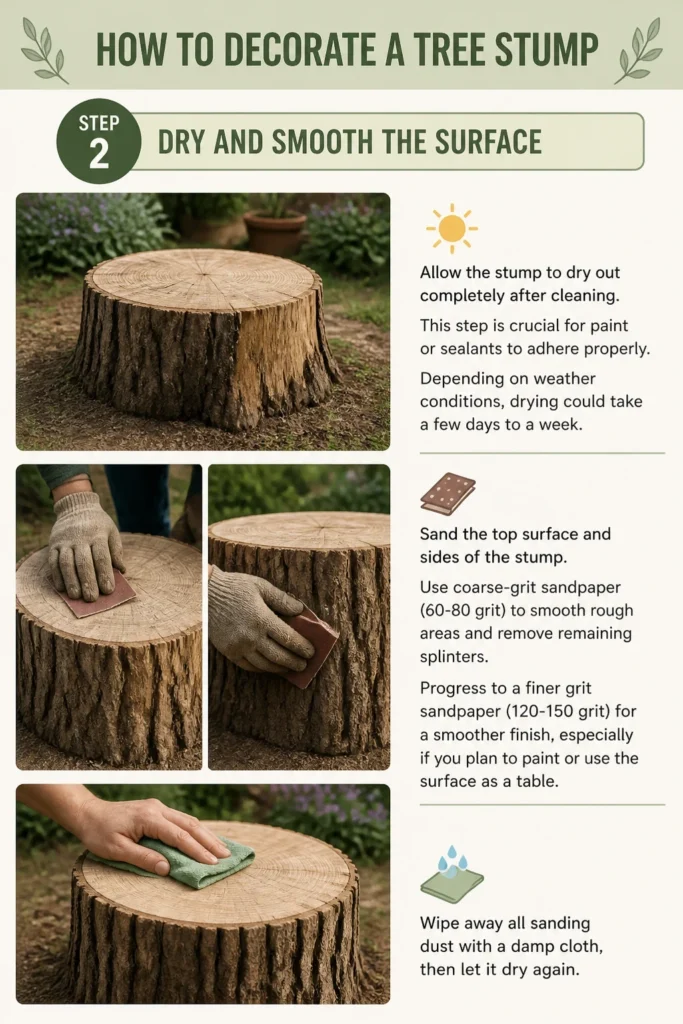
Depending on weather conditions, drying could take a few days to a week.
- Sand the top surface and sides of the stump. Use coarse-grit sandpaper (60-80 grit) to smooth rough areas and remove remaining splinters.
- Progress to a finer grit sandpaper (120-150 grit) for a smoother finish, especially if you plan to paint or use the surface as a table.
- Wipe away all sanding dust with a damp cloth, then let it dry again.
Step 3: Protect and Preserve the Wood
Protecting your stump from the elements and pests is vital for its longevity. This step ensures your decoration lasts.
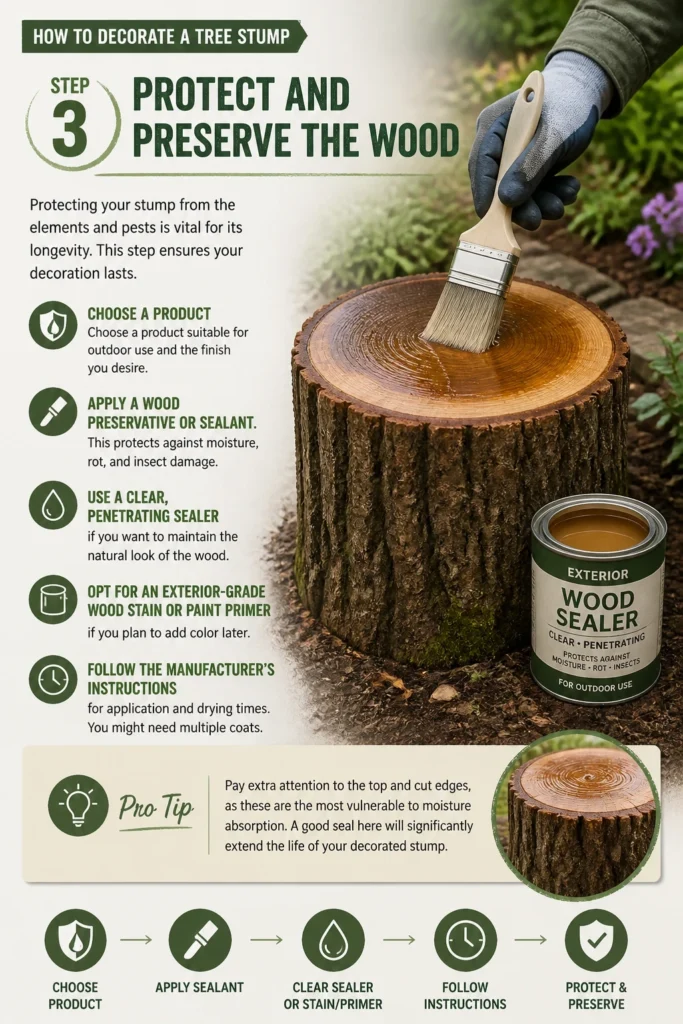
Choose a product suitable for outdoor use and the finish you desire.
- Apply a wood preservative or sealant. This protects against moisture, rot, and insect damage.
- Use a clear, penetrating sealer if you want to maintain the natural look of the wood.
- Opt for an exterior-grade wood stain or paint primer if you plan to add color later.
- Follow the manufacturer’s instructions for application and drying times. You might need multiple coats.
Pro Tip: Pay extra attention to the top and cut edges, as these are the most vulnerable to moisture absorption. A good seal here will significantly extend the life of your decorated stump.
Step 4: Choose Your Decoration Theme
Before applying any decor, decide on a theme or purpose for your stump. This will guide your material and color choices.
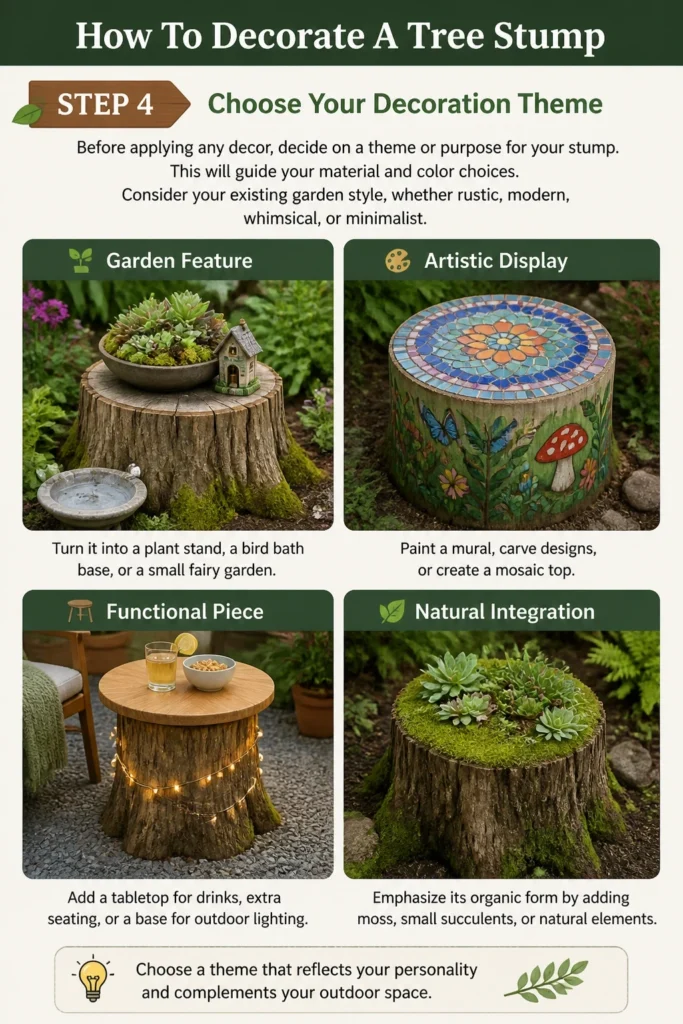
Consider your existing garden style, whether rustic, modern, whimsical, or minimalist.
- Garden Feature: Turn it into a plant stand, a bird bath base, or a small fairy garden.
- Artistic Display: Paint a mural, carve designs, or create a mosaic top.
- Functional Piece: Add a tabletop for drinks, extra seating, or a base for outdoor lighting.
- Natural Integration: Emphasize its organic form by adding moss, small succulents, or natural elements.
Step 5: Add Color or Stain
If your chosen theme involves color, now is the time to apply it. This step can dramatically change the stump’s appearance.
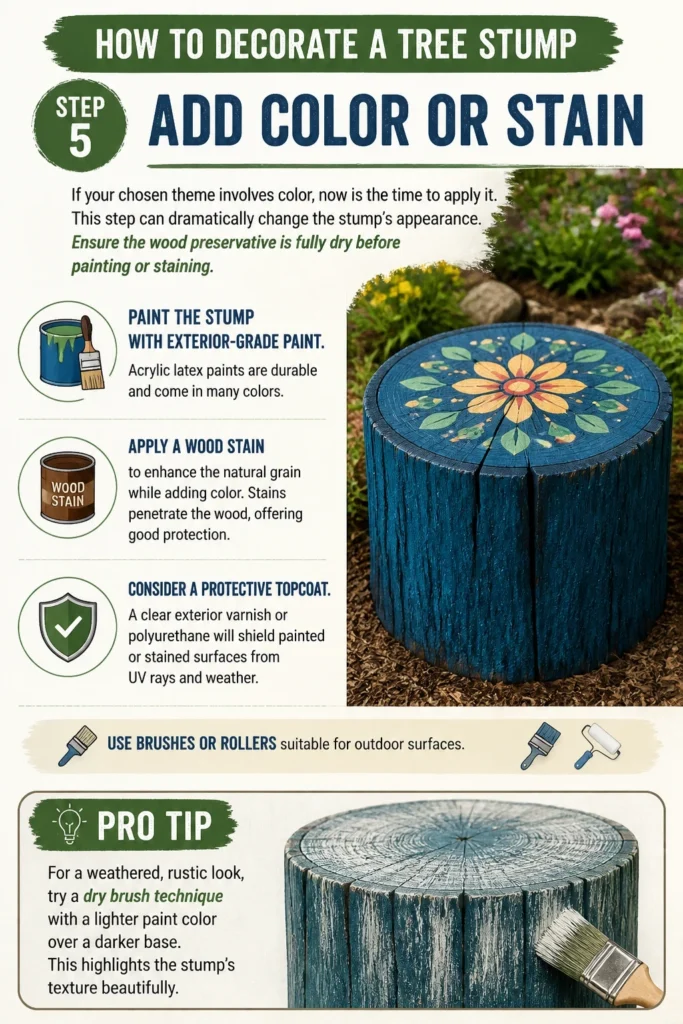
Ensure the wood preservative is fully dry before painting or staining.
- Paint the stump with exterior-grade paint. Acrylic latex paints are durable and come in many colors.
- Apply a wood stain to enhance the natural grain while adding color. Stains penetrate the wood, offering good protection.
- Consider a protective topcoat. A clear exterior varnish or polyurethane will shield painted or stained surfaces from UV rays and weather.
- Use brushes or rollers suitable for outdoor surfaces.
Pro Tip: For a weathered, rustic look, try a “dry brush” technique with a lighter paint color over a darker base. This highlights the stump’s texture beautifully.
Step 6: Integrate Plants and Greenery
Plants are a natural and vibrant way to decorate a tree stump, bringing life and softness to its hard surface.
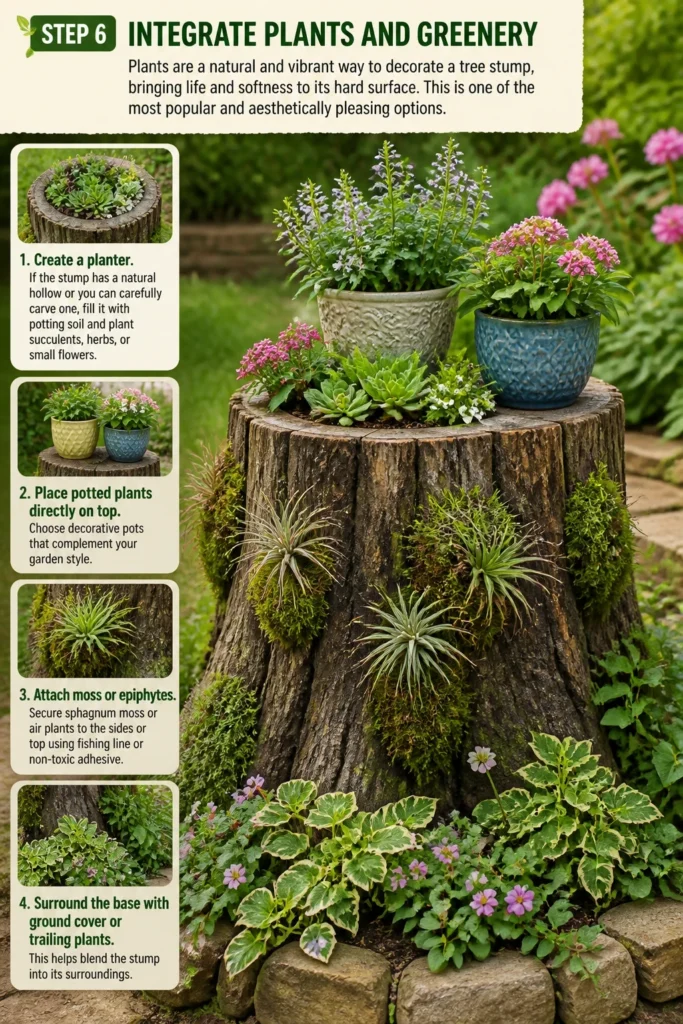
This is one of the most popular and aesthetically pleasing options.
- Create a planter. If the stump has a natural hollow or you can carefully carve one, fill it with potting soil and plant succulents, herbs, or small flowers.
- Place potted plants directly on top. Choose decorative pots that complement your garden style.
- Attach moss or epiphytes. Secure sphagnum moss or air plants to the sides or top using fishing line or non-toxic adhesive.
- Surround the base with ground cover or trailing plants. This helps blend the stump into its surroundings.
Step 7: Incorporate Lighting
Lighting can transform your decorated stump into a magical focal point, especially after dusk.
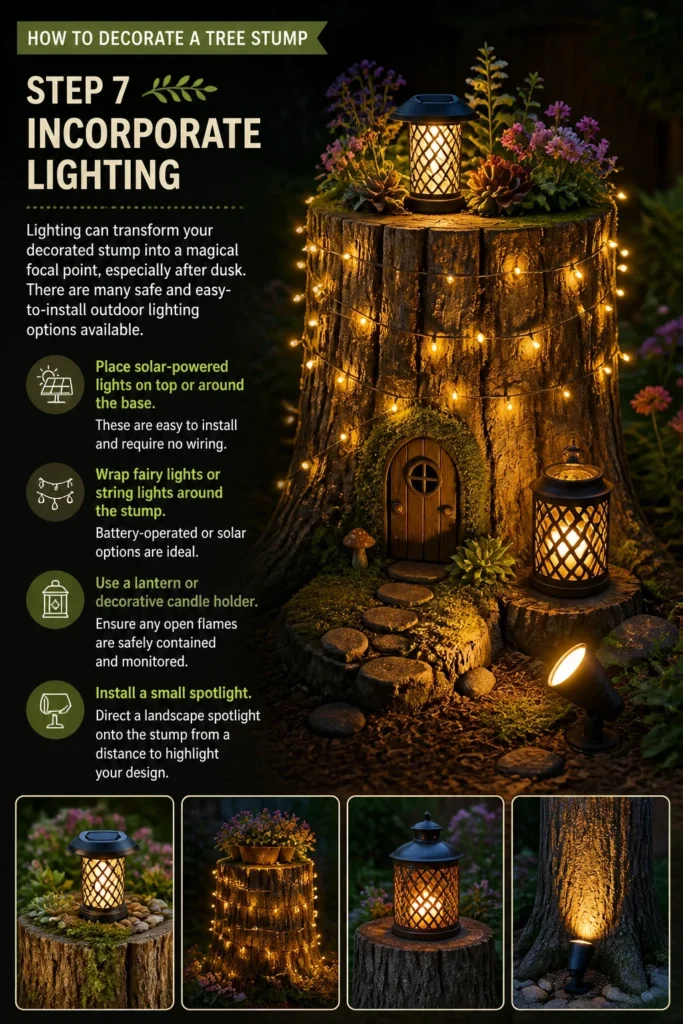
There are many safe and easy-to-install outdoor lighting options available.
- Place solar-powered lights on top or around the base. These are easy to install and require no wiring.
- Wrap fairy lights or string lights around the stump. Battery-operated or solar options are ideal.
- Use a lantern or decorative candle holder. Ensure any open flames are safely contained and monitored.
- Install a small spotlight. Direct a landscape spotlight onto the stump from a distance to highlight your design.
Step 8: Add Decorative Elements
This is where your personal style truly shines. Think about adding elements that enhance your chosen theme.
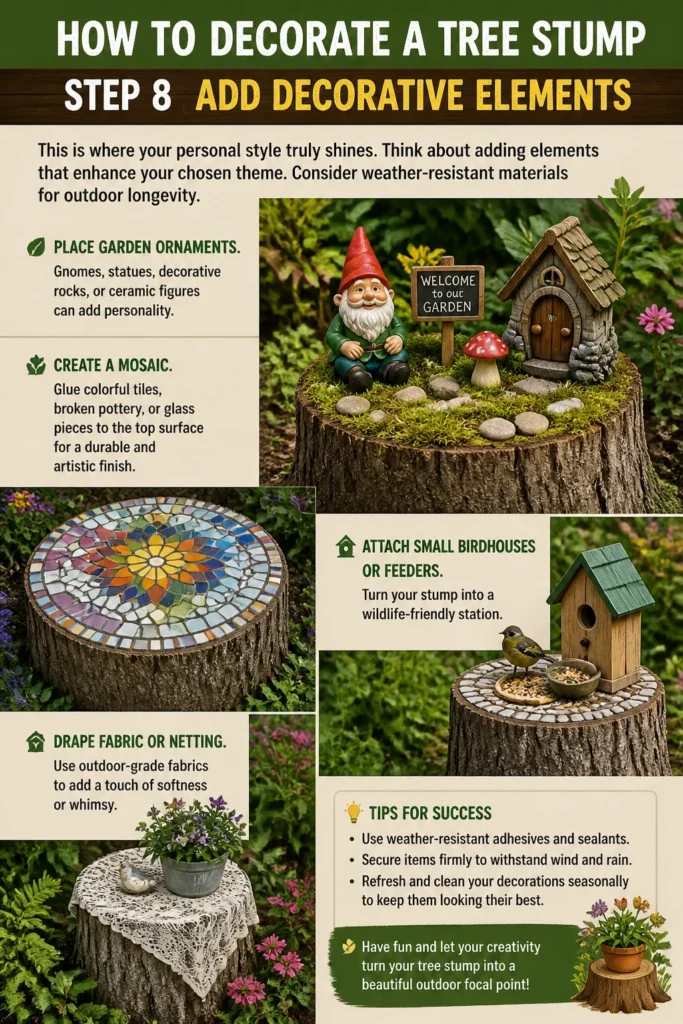
Consider weather-resistant materials for outdoor longevity.
- Place garden ornaments. Gnomes, statues, decorative rocks, or ceramic figures can add personality.
- Create a mosaic. Glue colorful tiles, broken pottery, or glass pieces to the top surface for a durable and artistic finish.
- Attach small birdhouses or feeders. Turn your stump into a wildlife-friendly station.
- Drape fabric or netting. Use outdoor-grade fabrics to add a touch of softness or whimsy.
Common Mistakes to Avoid
Ignoring Proper Preparation
Skipping steps like thorough cleaning, drying, and sanding can lead to a short-lived decoration. Paint won’t adhere well to dirty or damp surfaces, and untreated wood will quickly rot or become infested. Always invest time in preparation for a lasting result.
Using Non-Weatherproof Materials
Decorating a tree stump means exposing it to rain, sun, and temperature changes. Using indoor paints, glues, or fabrics will result in fading, peeling, or disintegration. Always choose exterior-grade products designed to withstand outdoor conditions.
Over-Decorating or Cluttering
While creativity is encouraged, sometimes less is more. An overly cluttered stump can look messy rather than charming. Focus on a few key elements that complement each other and the stump’s natural form, allowing each piece to stand out.
Neglecting Drainage for Planters
If you’re turning your stump into a planter, ensure there’s adequate drainage. Without drainage holes, water will accumulate, leading to root rot for plants and accelerated decay of the stump itself. Drill small holes in the bottom of any carved-out planter area.
Troubleshooting
Paint Peeling or Fading
This often happens due to inadequate surface preparation or using non-exterior paint. Ensure the stump is completely clean, dry, and sanded before applying an exterior-grade primer and paint. A protective topcoat of clear exterior varnish can also prevent fading.
Stump Showing Signs of Rot or Pest Infestation
If you notice new signs of rot or pests after decorating, it usually means the wood preservative wasn’t applied thoroughly or the stump was already compromised. You might need to remove the decorative elements, re-treat the affected areas, or if severe, consider professional stump removal.
Plants Not Thriving in Stump Planter
Poor plant health in a stump planter can be due to insufficient drainage, inadequate soil, or incorrect plant choice for the light conditions. Check for drainage holes, use fresh potting mix, and select plants (like succulents or sedums) that tolerate the specific sun exposure of your stump’s location.
Key Takeaways
- Thorough preparation, including cleaning and drying, is crucial for any decoration.
- Protecting the wood with preservatives or sealants ensures your stump’s longevity.
- Choosing a theme guides your material selection and overall design.
- Exterior-grade paints, stains, and materials are essential for outdoor durability.
- Integrating plants, lighting, and decorative elements adds personality and charm.
- Avoid common mistakes like poor preparation and using non-weatherproof items.
Frequently Asked Questions
Can I decorate a freshly cut stump?
It’s generally best to wait for a freshly cut stump to dry out for several months, or even a year, before decorating. Fresh wood contains a lot of moisture, which can cause paint to peel, sealants to fail, and can encourage fungal growth.
How do I prevent insects from living in my decorated stump?
Applying a good quality wood preservative or sealant during the preparation phase is your best defense. These products often contain insecticides or create a barrier that deters pests. Regularly inspect your stump and reapply treatment as needed.
What kind of plants are best for a stump planter?
Succulents, sedums, mosses, and small, drought-tolerant perennials are excellent choices. They require less water, which is good for the stump’s longevity, and can thrive in shallow soil. Consider native plants that are well-suited to your local climate.
Can I turn my stump into a table?
Yes, a well-prepared and stable stump can make an excellent base for an outdoor table. Ensure the top surface is level and smooth, then attach a weather-resistant tabletop made of wood, stone, or metal. Secure it firmly to prevent tipping.
Our Top Recommended Finds
- Exterior Wood Sealer: Provides long-lasting protection against moisture and UV damage, crucial for any outdoor wood project.
- Assorted Grit Sandpaper Pack: Essential for smoothing rough surfaces and preparing the stump for paint or stain adhesion.
- Solar-Powered Fairy Lights: An easy and energy-efficient way to add ambient lighting and charm to your decorated stump without needing an outlet.
Bring Your Stump to Life
Your tree stump is a blank canvas, ready for transformation. With a little creativity and these practical steps, you can turn an ordinary garden element into an extraordinary focal point.
Imagine the compliments from friends and family as they admire your unique garden feature.
Don’t let that stump sit neglected any longer. Gather your tools and start planning your stump’s amazing makeover today.
Beginner-friendly templates, step-by-step guides,
and weekly project ideas in your inbox.