How To Make A Lava Lamp

Beginner-friendly templates, step-by-step guides,
and weekly project ideas in your inbox.
There’s something truly mesmerizing about a lava lamp, isn’t there?
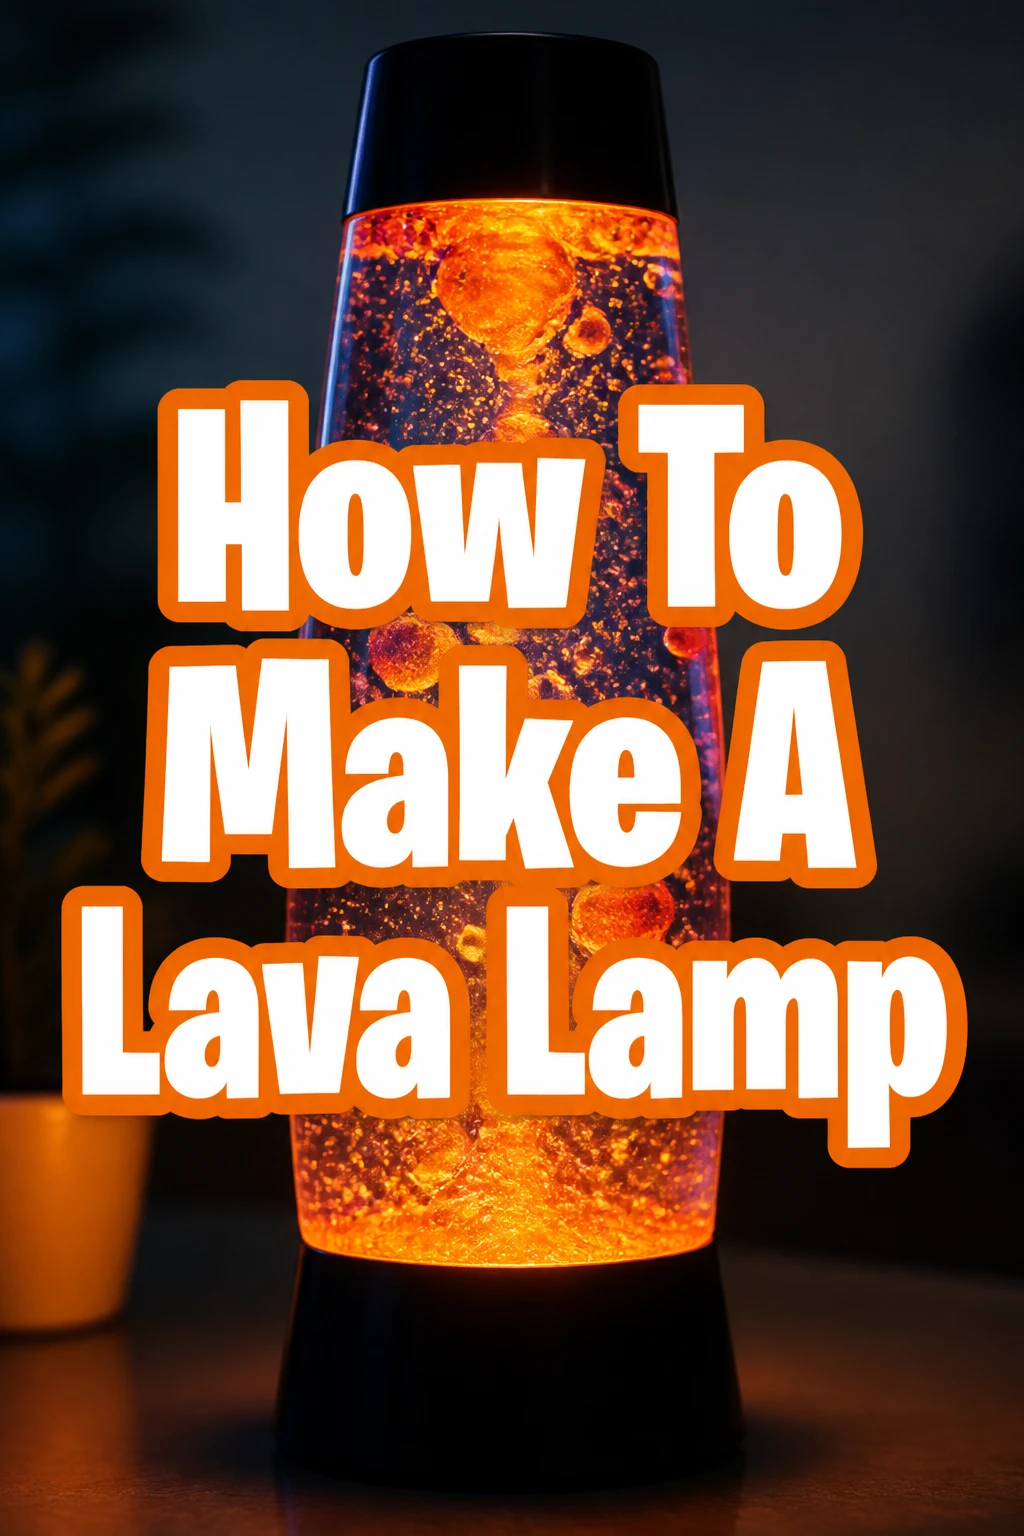
I remember the first time I saw one, completely captivated by the slow, hypnotic dance of the colored wax.
Crafting your own brings that same retro magic right into your home, and I’m excited to share the hands-on process I’ve perfected over several attempts.
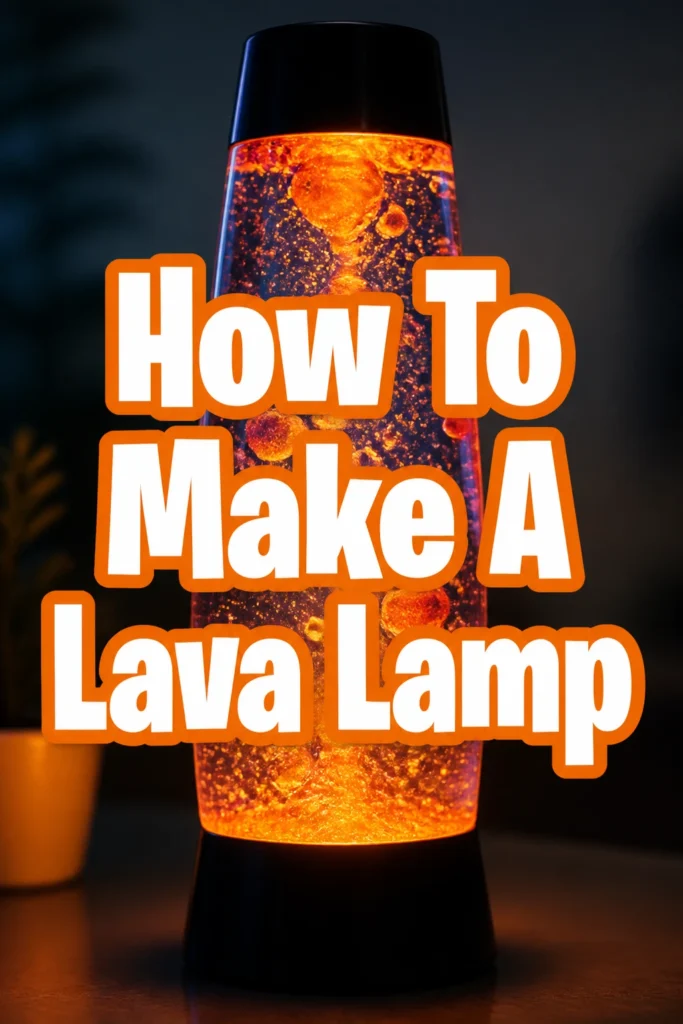
Quick Overview
You’re about to create your very own captivating lava lamp, a fantastic blend of science and art. This project is a rewarding way to bring a unique, calming light source into any room.
- Time needed: 1-2 hours (plus drying time for paint if applicable)
- Difficulty: Beginner
- What you’ll need: A glass bottle, mineral oil, water, food coloring, Alka-Seltzer tablets, and a light source.
Step-by-Step Instructions
Step 1: Gather Your Materials
Before you begin, ensure you have all necessary items laid out on a clean, flat surface. This prevents interruptions and makes the process smooth.
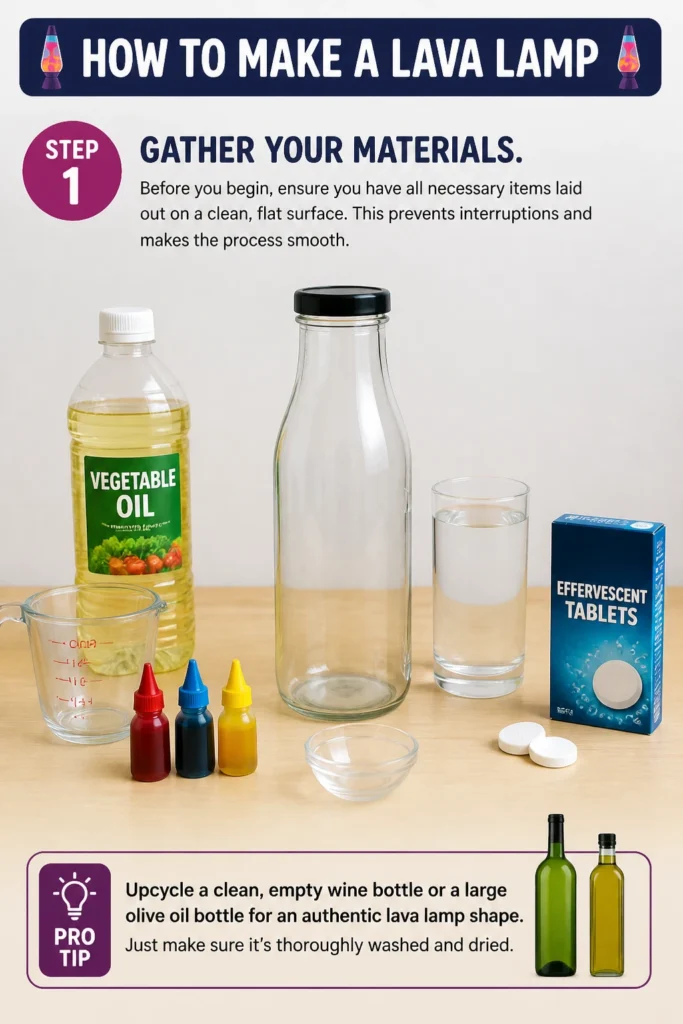
A clear glass bottle or jar with a tight-fitting lid is essential. Look for something with a relatively wide mouth for easier filling.
Pro Tip: Upcycle a clean, empty wine bottle or a large olive oil bottle for an authentic lava lamp shape. Just make sure it’s thoroughly washed and dried.
Step 2: Prepare Your Container
Thoroughly wash your glass bottle with soap and hot water. Any residue can affect the clarity and movement of your lava lamp.
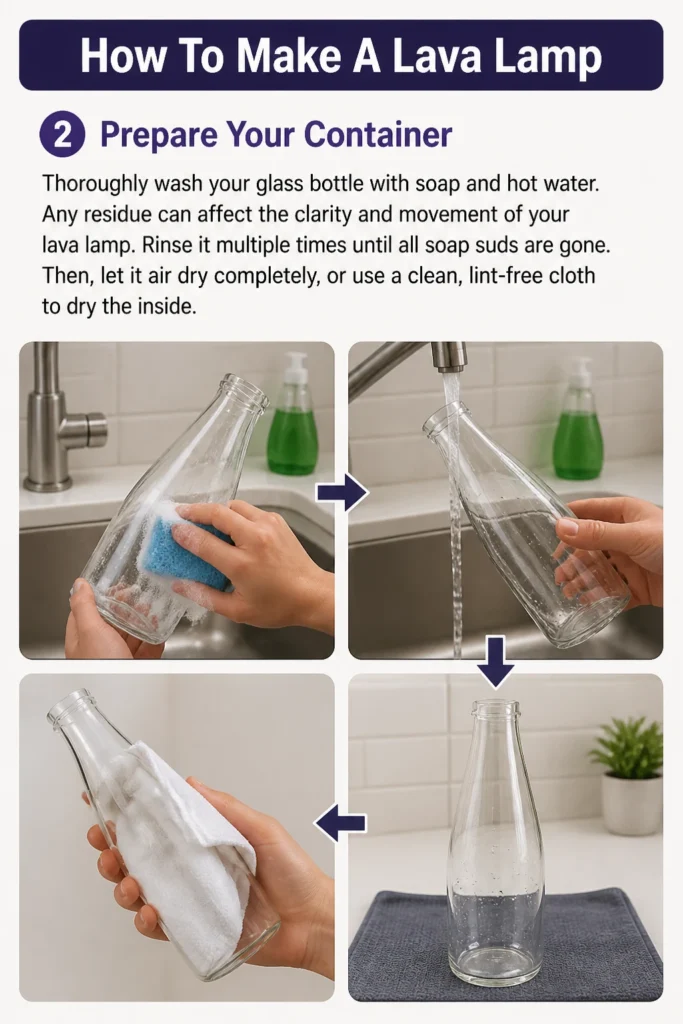
Rinse it multiple times until all soap suds are gone. Then, let it air dry completely, or use a clean, lint-free cloth to dry the inside.
Step 3: Add the Water Base
Carefully pour water into your clean glass bottle. You want to fill it about one-quarter to one-third of the way full.
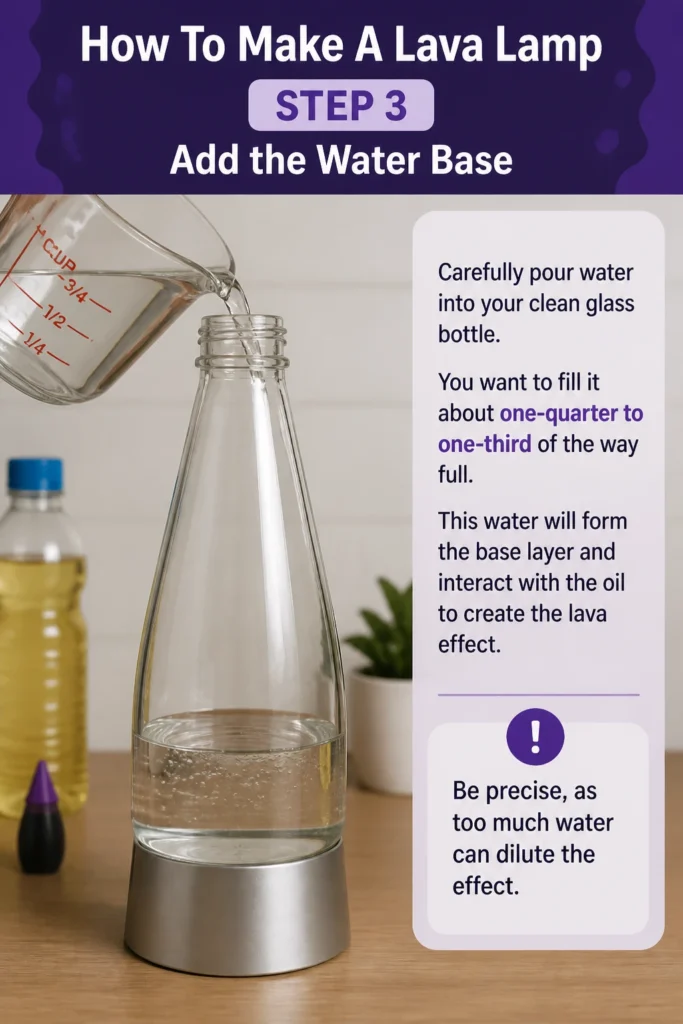
This water will form the base layer and interact with the oil to create the lava effect. Be precise, as too much water can dilute the effect.
Step 4: Introduce Food Coloring
Now, it’s time to add some vibrant color to your water. Choose a food coloring that stands out, typically a bright red, blue, or green.
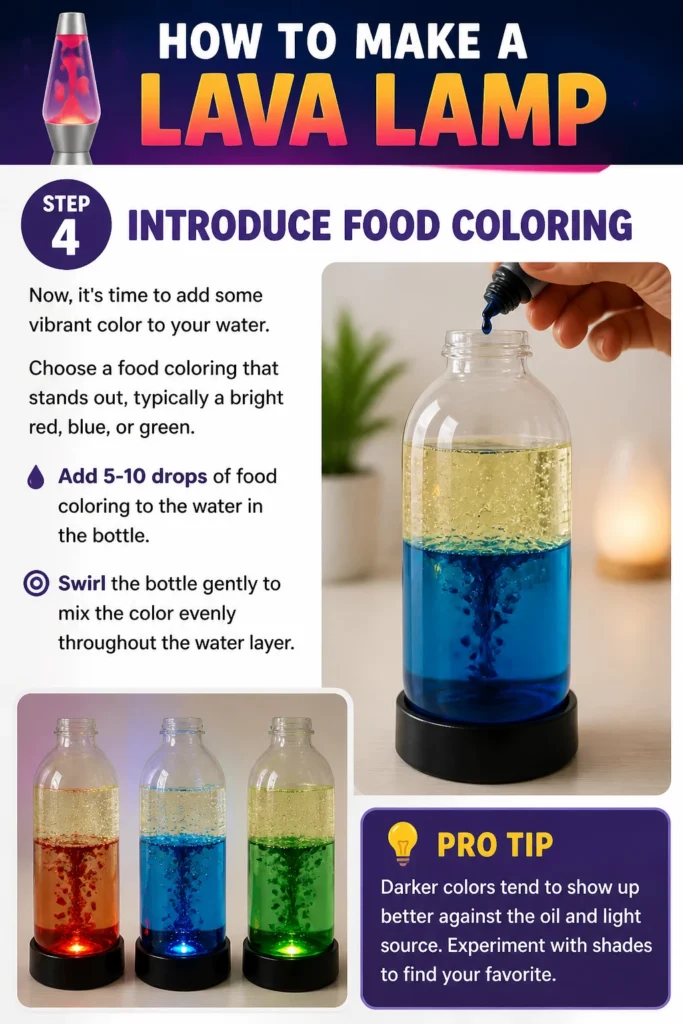
Add 5-10 drops of food coloring to the water in the bottle. Swirl the bottle gently to mix the color evenly throughout the water layer.
Pro Tip: Darker colors tend to show up better against the oil and light source. Experiment with shades to find your favorite.
Step 5: Pour in the Mineral Oil
This is where the magic starts to take shape. Slowly and carefully pour mineral oil into the bottle, filling it almost to the top.
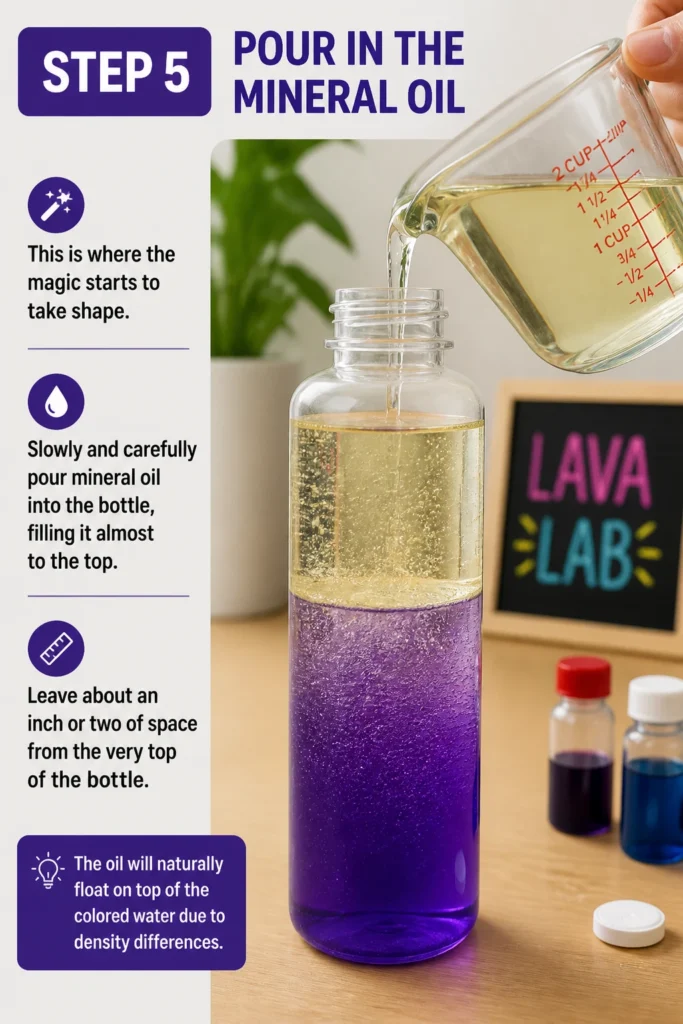
Leave about an inch or two of space from the very top of the bottle. The oil will naturally float on top of the colored water due to density differences.
Step 6: Allow for Separation
Once the oil is added, you’ll notice a distinct separation between the oil and the colored water. This is perfectly normal and exactly what you want.
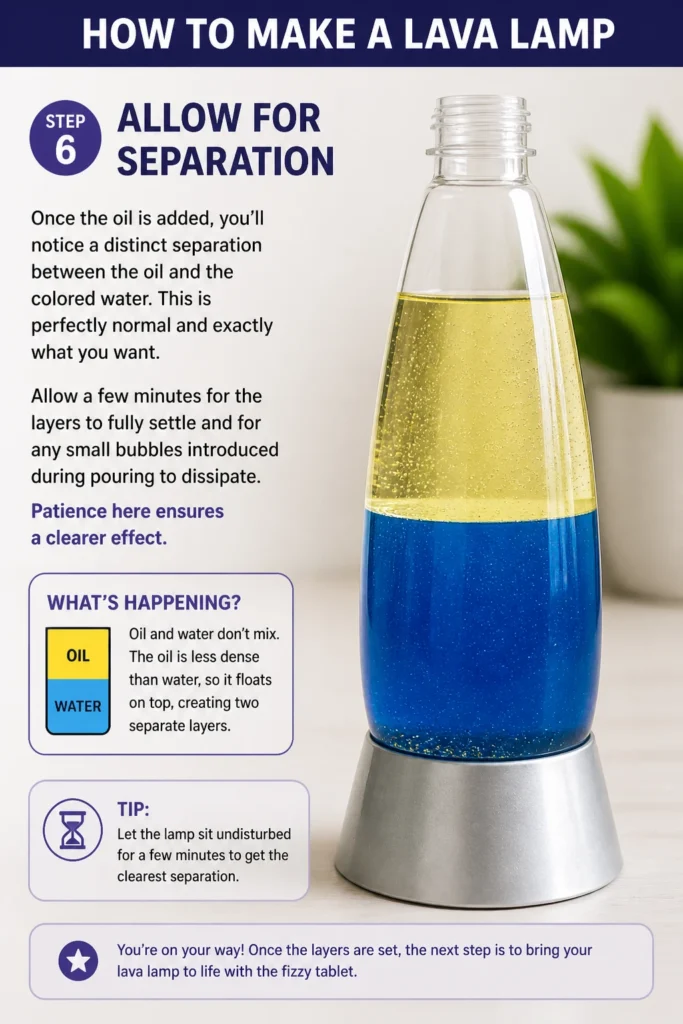
Allow a few minutes for the layers to fully settle and for any small bubbles introduced during pouring to dissipate. Patience here ensures a clearer effect.
Step 7: Prepare the Alka-Seltzer
Take one or two Alka-Seltzer tablets. You can use them whole, but breaking them into smaller pieces often creates a more dynamic and prolonged effect.
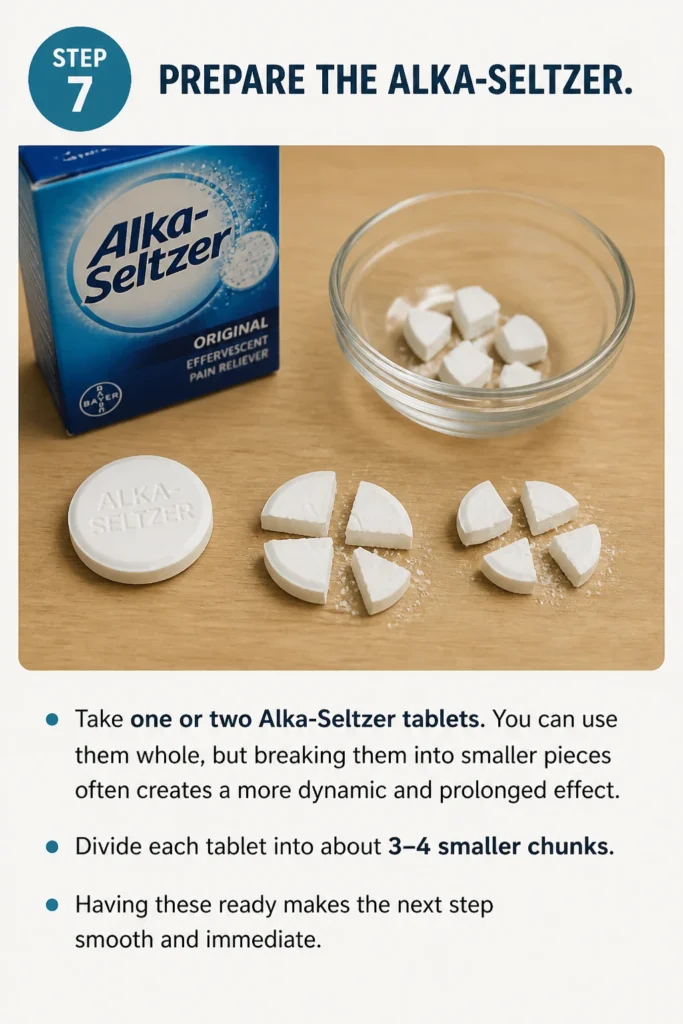
Divide each tablet into about 3-4 smaller chunks. Having these ready makes the next step smooth and immediate.
Step 8: Initiate the Lava Flow
Drop one small piece of Alka-Seltzer into the bottle. Watch as it sinks through the oil layer and reacts with the colored water below.
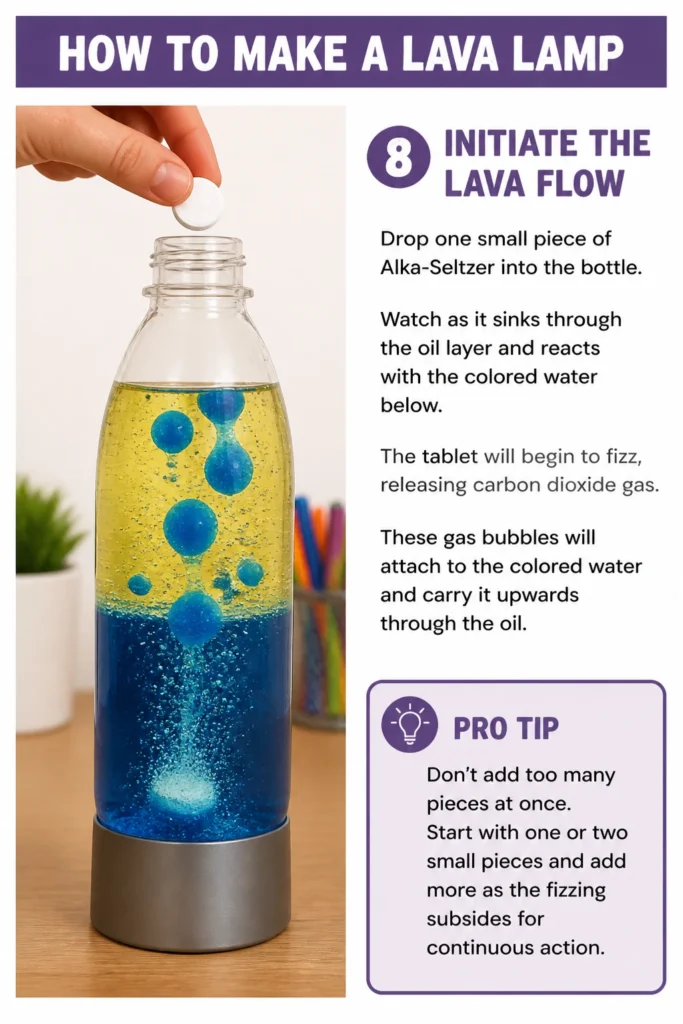
The tablet will begin to fizz, releasing carbon dioxide gas. These gas bubbles will attach to the colored water and carry it upwards through the oil.
Pro Tip: Don’t add too many pieces at once. Start with one or two small pieces and add more as the fizzing subsides for continuous action.
Step 9: Observe the Reaction
As the gas bubbles rise, they carry small blobs of colored water with them. When these bubbles reach the surface, the gas escapes, and the colored water blobs, now denser than the oil, sink back down.
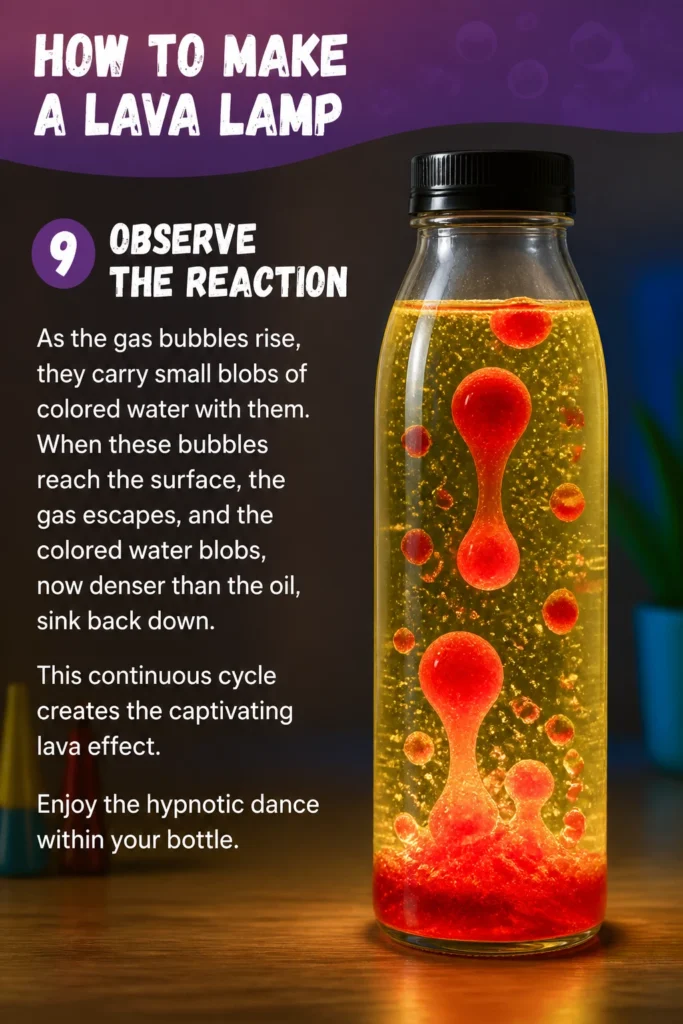
This continuous cycle creates the captivating “lava” effect. Enjoy the hypnotic dance within your bottle.
Step 10: Secure and Display
Once you’re satisfied with the effect, you can cap your bottle tightly to preserve the contents. This also prevents spills and evaporation.
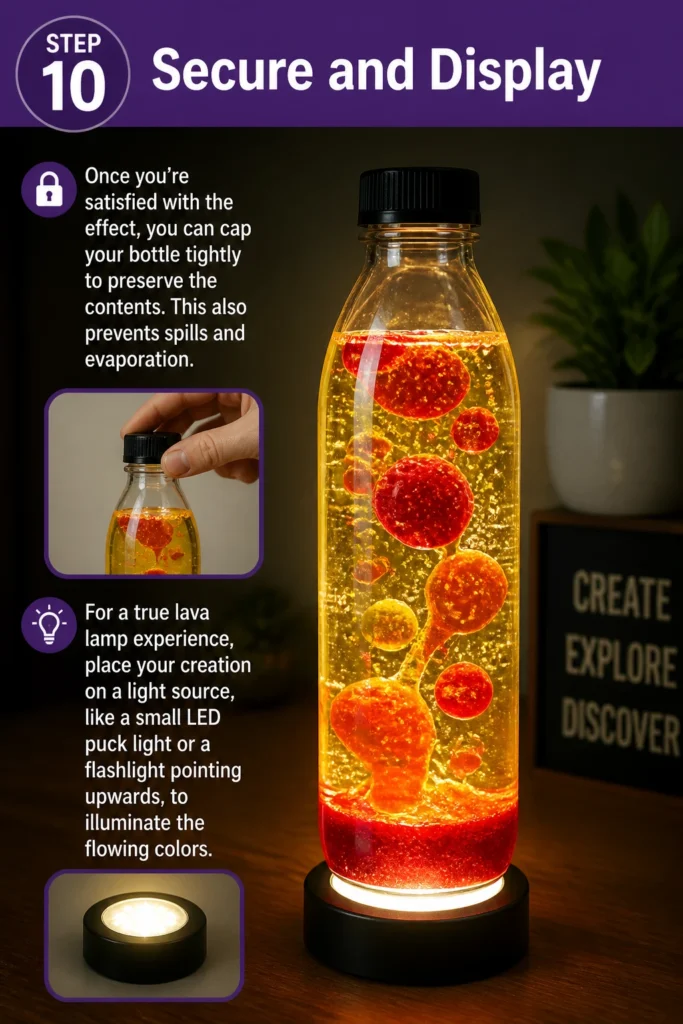
For a true lava lamp experience, place your creation on a light source, like a small LED puck light or a flashlight pointing upwards, to illuminate the flowing colors.
Common Mistakes to Avoid
Using the Wrong Oil
Many people mistakenly use vegetable oil or cooking oil for their lava lamps. These oils can turn cloudy over time, spoil, or become murky, ruining the visual effect.
Always opt for clear mineral oil. It maintains its clarity, doesn’t spoil, and provides the best contrast for your “lava” blobs.
Adding Too Much Alka-Seltzer
It’s tempting to drop in several Alka-Seltzer tablets at once for a super-fast reaction. However, this often leads to an overwhelming amount of fizzing that quickly dissipates, rather than a sustained, calming flow.
Introduce small pieces gradually. This allows for a more controlled and longer-lasting “lava” effect, letting you enjoy the movement for an extended period.
Not Leaving Headspace
Filling the bottle completely to the brim might seem efficient, but it leaves no room for the gas produced by the Alka-Seltzer. This can cause pressure to build up or even overflow.
Always leave at least an inch or two of space at the top of the bottle. This allows the gas to expand and escape safely without making a mess.
Improper Sealing
After creating your lava lamp, it’s crucial to seal it properly. If the lid isn’t tight, the contents can evaporate over time, altering the proportions and weakening the effect.
Ensure your chosen bottle has a lid that screws on tightly or a cork that creates a firm seal. This will keep your lava lamp vibrant for longer.
Troubleshooting
Lava Blobs Aren’t Moving
If your colored water blobs are just sitting at the bottom or not moving much, it could be due to a few factors. The Alka-Seltzer might be old and less reactive, or you might not have added enough.
Try adding a fresh piece of Alka-Seltzer tablet. If that doesn’t work, ensure your water isn’t too cold, as temperature can slightly affect the reaction rate.
Oil is Cloudy or Murky
A cloudy oil layer usually indicates that you’ve used the wrong type of oil, such as a cooking oil. These oils can break down or emulsify with water over time.
Unfortunately, the best solution here is to empty your bottle, clean it thoroughly, and restart the process using only clear mineral oil for the best results.
Reaction is Too Fast and Short-Lived
If your lava lamp fizzes intensely for a short burst and then stops, you likely added too much Alka-Seltzer at once. A large amount causes a rapid release of gas that quickly exhausts the tablets.
For future attempts, break your Alka-Seltzer tablets into smaller pieces. Introduce them one at a time, waiting for the previous piece to finish reacting before adding another.
Key Takeaways
- Always use mineral oil for lasting clarity and effect.
- Fill the bottle with water first, then carefully layer the oil on top.
- Add food coloring to the water layer for vibrant “lava.”
- Break Alka-Seltzer tablets into smaller pieces for a prolonged reaction.
- Leave headspace in the bottle to accommodate gas expansion.
- A light source beneath the bottle enhances the visual display.
Frequently Asked Questions
Can I reuse the lava lamp contents?
Yes, the oil and colored water mixture can be reused. The Alka-Seltzer tablets are consumed during the reaction, so you’ll need to add new ones each time you want to activate the lava lamp effect.
How long does the lava lamp effect last?
Each Alka-Seltzer tablet will produce fizzing for several minutes, depending on its size and how quickly it dissolves. You can continuously add more small pieces of tablet to prolong the effect for as long as you wish.
Is it safe to store the lava lamp with the contents inside?
Absolutely. Once you’re done enjoying the active display, simply cap the bottle tightly. The mineral oil and colored water will remain separated, ready for the next time you want to drop in an Alka-Seltzer tablet.
What if I don’t have mineral oil?
While mineral oil is highly recommended for its clarity and stability, baby oil is a suitable alternative as it is essentially scented mineral oil. Avoid cooking oils as they can turn rancid and cloudy over time.
Our Top Recommended Finds
- Clear Glass Bottle with Lid: A sturdy, transparent bottle provides the perfect viewing window for your lava lamp. Look for a capacity of 16-32 ounces.
- Pure Mineral Oil: Essential for a clear, long-lasting lava lamp. A large bottle ensures you have enough for this project and potential future ones.
- LED Puck Lights: Small, battery-operated lights are ideal for placing under your lava lamp, illuminating the movement from below and enhancing the visual spectacle.
Ignite Your Creativity Today
Creating your own lava lamp is more than just a science experiment; it’s a journey into nostalgic wonder and a fantastic way to personalize your space.
The satisfaction of seeing those colorful blobs rise and fall, knowing you made it yourself, is truly rewarding. Why not gather your supplies and start building your mesmerizing masterpiece this afternoon?
Share your creations with friends, or explore other DIY light projects like galaxy jars or glow stick lanterns. The world of creative crafting awaits!
Beginner-friendly templates, step-by-step guides,
and weekly project ideas in your inbox.