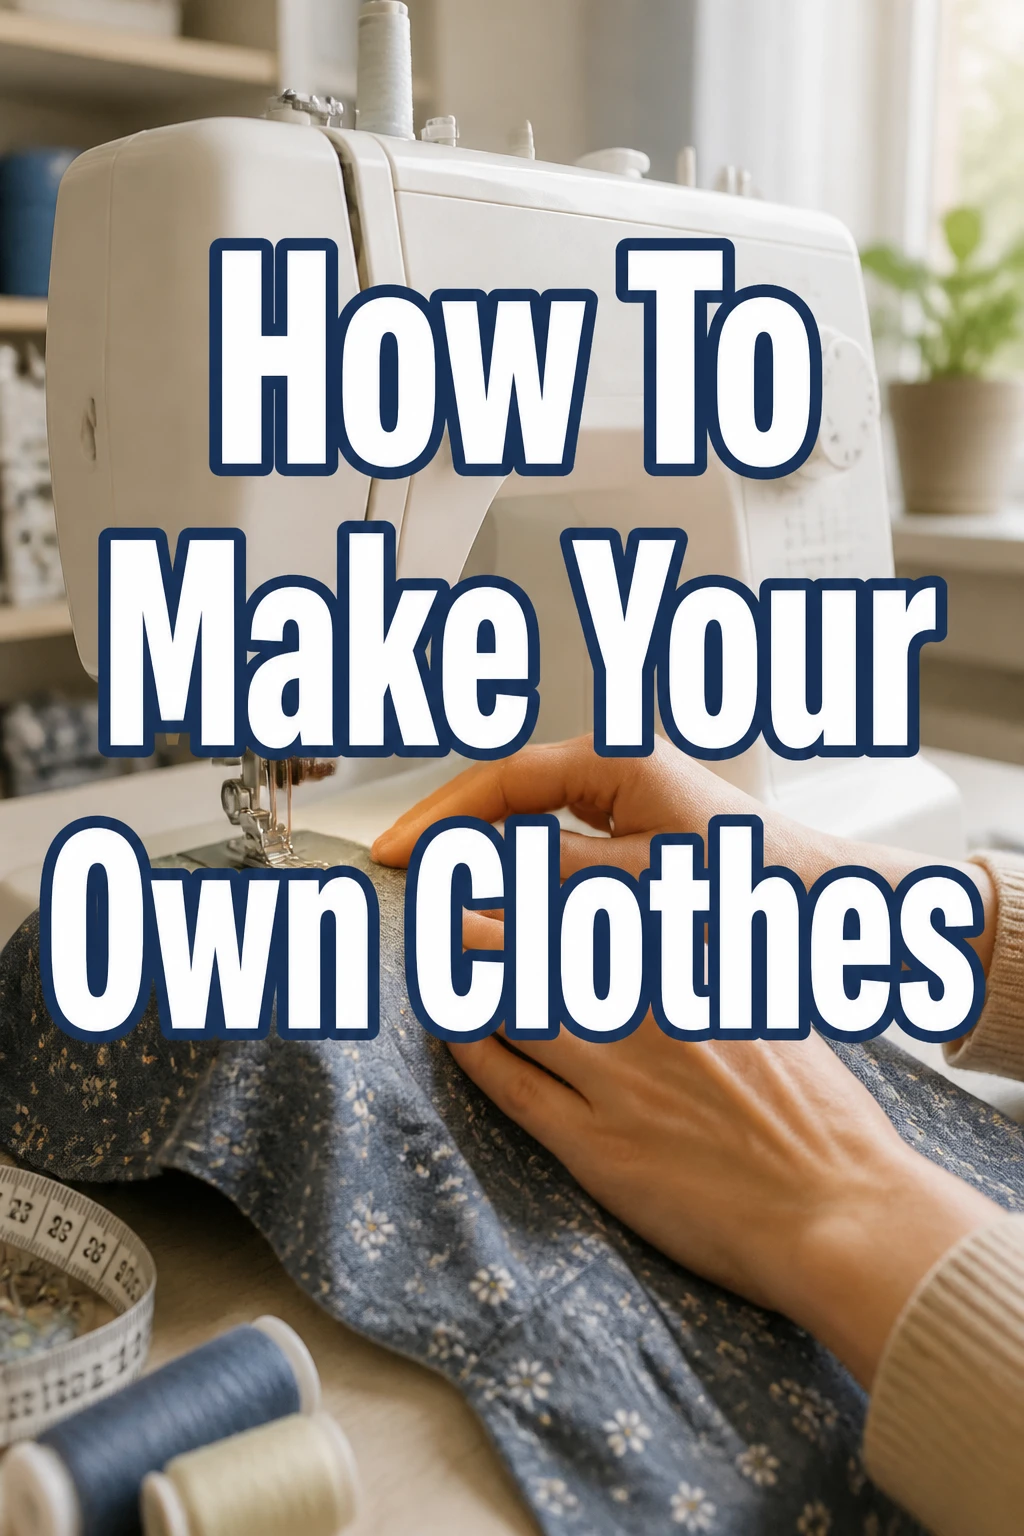
How To Make Your Own Clothes

Beginner-friendly templates, step-by-step guides,
and weekly project ideas in your inbox.
There’s a unique satisfaction that comes from wearing something you’ve created yourself.
I remember the joy of stitching my first wearable skirt, a simple A-line design, and feeling a profound connection to it.
This guide will walk you through the practical steps, drawing on that firsthand experience to help you make your own garments.
Quick Overview
This guide will empower you to transform fabric into fashion, giving you the skills to create personalized pieces.
You’ll learn the essential techniques from choosing patterns to finishing seams, building a solid foundation for your sewing journey.
- Time needed: 10-20 hours for a simple garment (spread over several sessions)
- Difficulty: Beginner
- What you’ll need: Sewing machine, fabric, pattern, thread, scissors, pins, measuring tape
Step-by-Step Instructions
Step 1: Gather Your Inspiration and Choose a Pattern
Begin by thinking about the type of garment you want to create. Consider your skill level; a simple skirt, elastic-waist pants, or a basic top are excellent starting points.
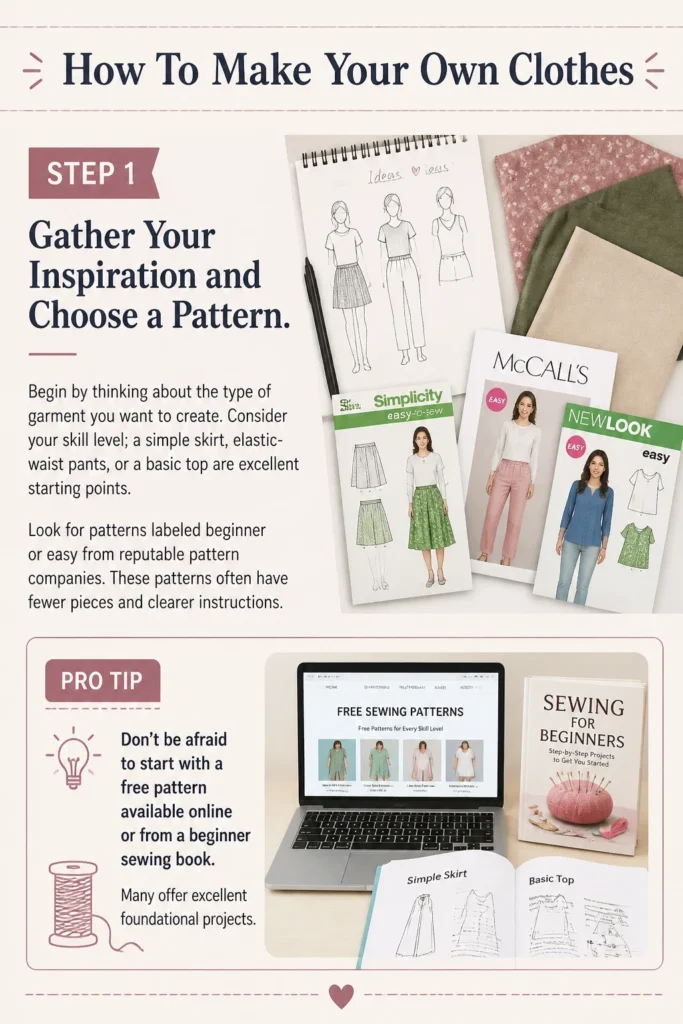
Look for patterns labeled “beginner” or “easy” from reputable pattern companies. These patterns often have fewer pieces and clearer instructions.
Pro Tip: Don’t be afraid to start with a free pattern available online or from a beginner sewing book. Many offer excellent foundational projects.
Step 2: Take Accurate Measurements
Grab a flexible measuring tape and have a friend help you for the most accurate results. Measure your bust, waist, and hips, as well as any other measurements specified by your chosen pattern.
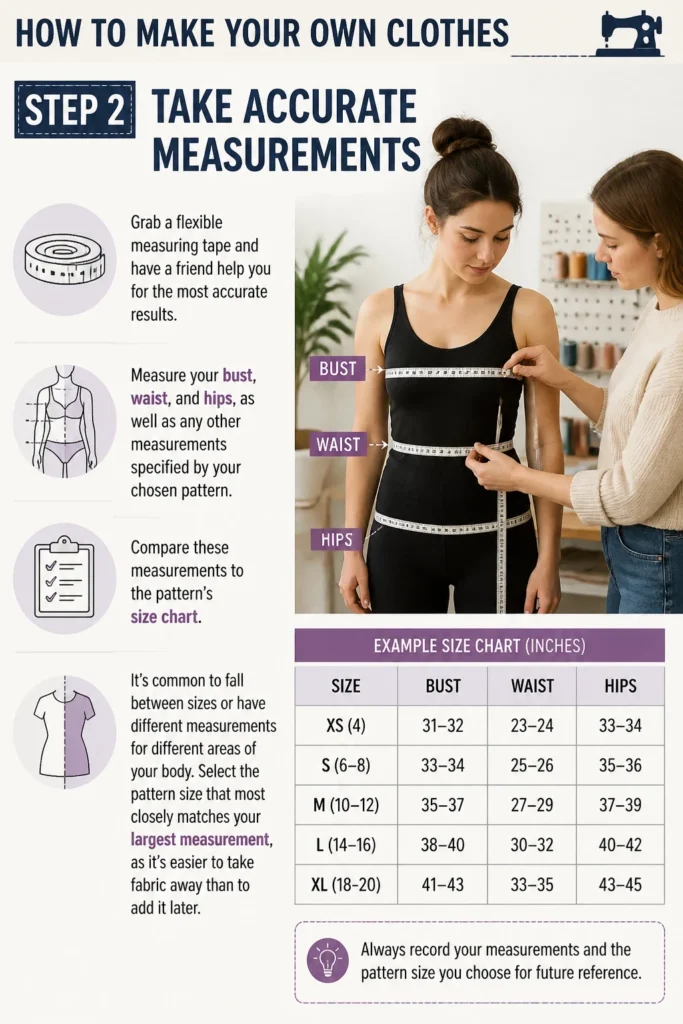
Compare these measurements to the pattern’s size chart. It’s common to fall between sizes or have different measurements for different areas of your body.
Select the pattern size that most closely matches your largest measurement, as it’s easier to take fabric away than to add it later.
Step 3: Select and Prepare Your Fabric
The pattern envelope will recommend suitable fabric types. For beginners, cotton broadcloth, linen, or stable knits are forgiving and easy to work with.
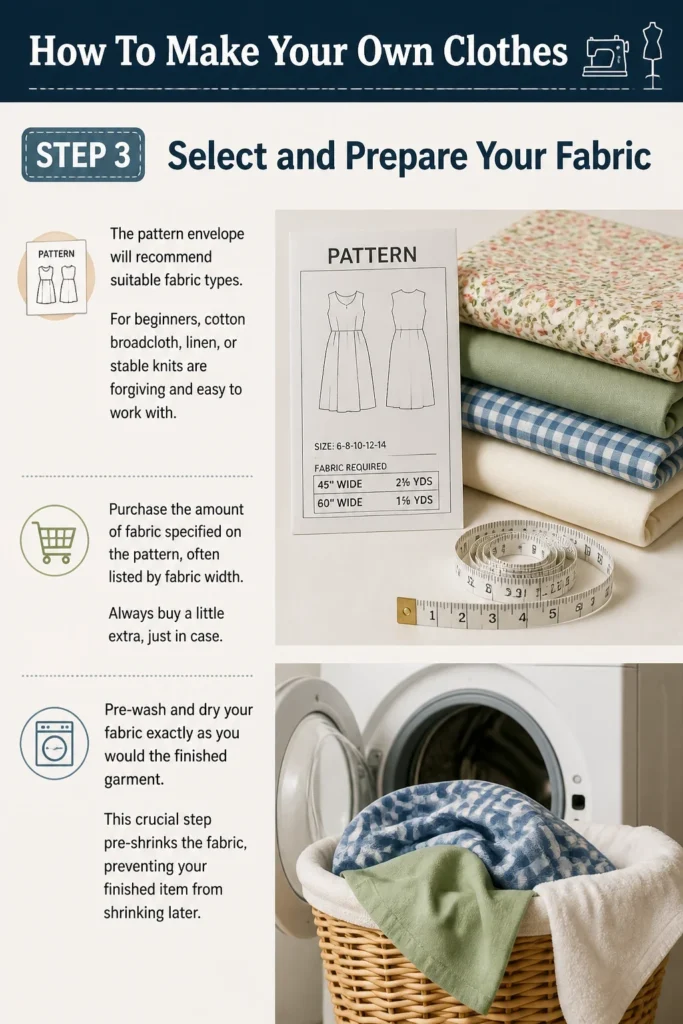
Purchase the amount of fabric specified on the pattern, often listed by fabric width. Always buy a little extra, just in case.
Pre-wash and dry your fabric exactly as you would the finished garment. This crucial step pre-shrinks the fabric, preventing your finished item from shrinking later.
Step 4: Layout and Cut Your Pattern Pieces
Press your pre-washed fabric smooth to remove any wrinkles. Lay it out flat on a large surface, following the grainline instructions on your pattern pieces.
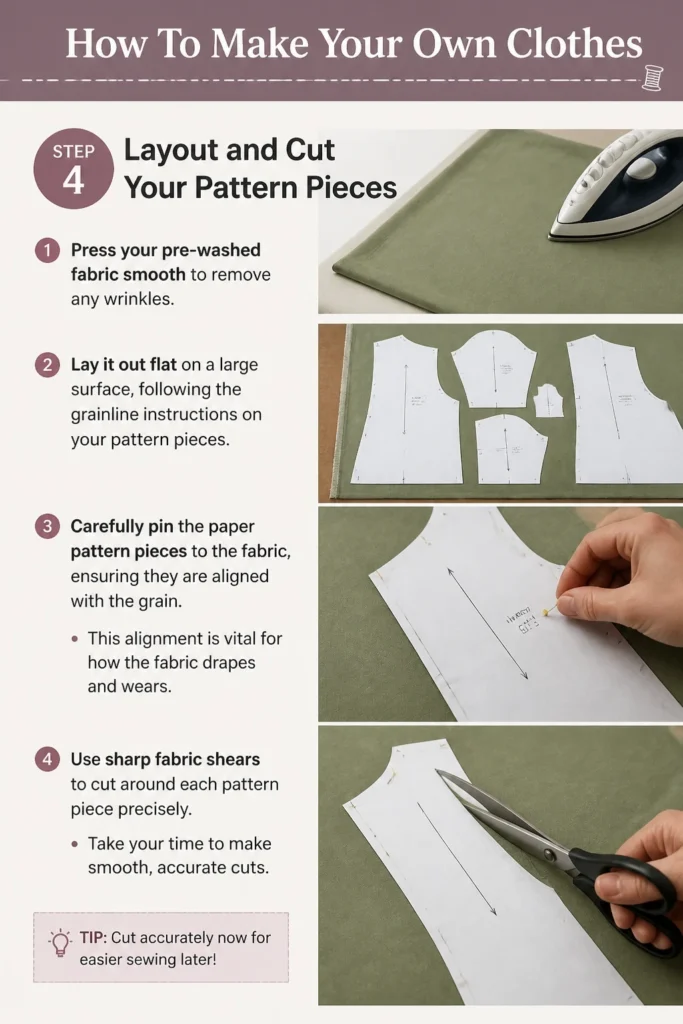
Carefully pin the paper pattern pieces to the fabric, ensuring they are aligned with the grain. This alignment is vital for how the fabric drapes and wears.
Use sharp fabric shears to cut around each pattern piece precisely. Take your time to make smooth, accurate cuts.
Step 5: Mark Your Fabric and Prepare for Sewing
Transfer all pattern markings—notches, darts, buttonhole placements—from the paper pattern to your fabric. Tailor’s chalk, a fabric pen, or tailor’s tacks work well for this.
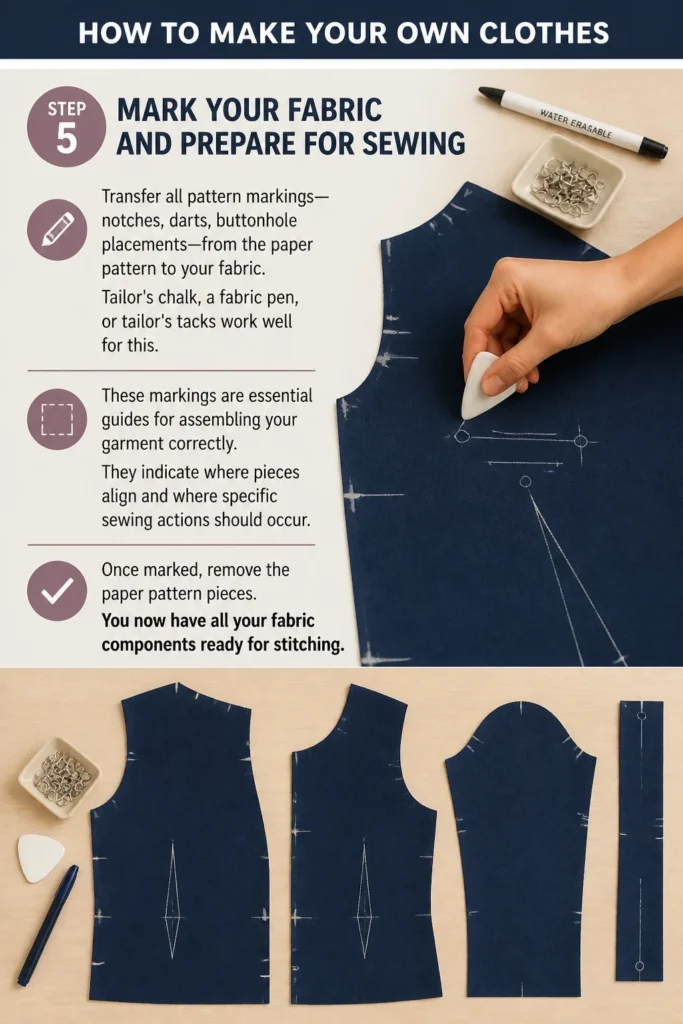
These markings are essential guides for assembling your garment correctly. They indicate where pieces align and where specific sewing actions should occur.
Once marked, remove the paper pattern pieces. You now have all your fabric components ready for stitching.
Step 6: Stitch Your Garment Together
Follow your pattern’s step-by-step instructions carefully. They will guide you through the order of assembly, from darts to seams.
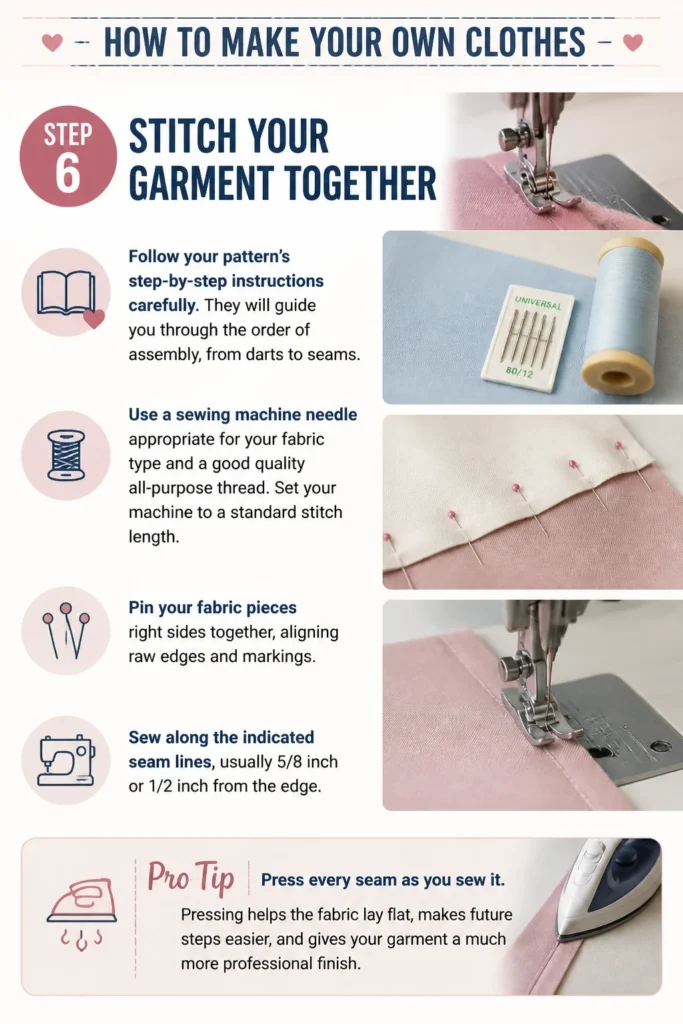
Use a sewing machine needle appropriate for your fabric type and a good quality all-purpose thread. Set your machine to a standard stitch length.
Pin your fabric pieces right sides together, aligning raw edges and markings. Sew along the indicated seam lines, usually 5/8 inch or 1/2 inch from the edge.
Pro Tip: Press every seam as you sew it. Pressing helps the fabric lay flat, makes future steps easier, and gives your garment a much more professional finish.
Step 7: Finish Your Seams
Raw fabric edges can fray over time, weakening your garment. Finishing seams makes your clothes more durable and professional-looking.
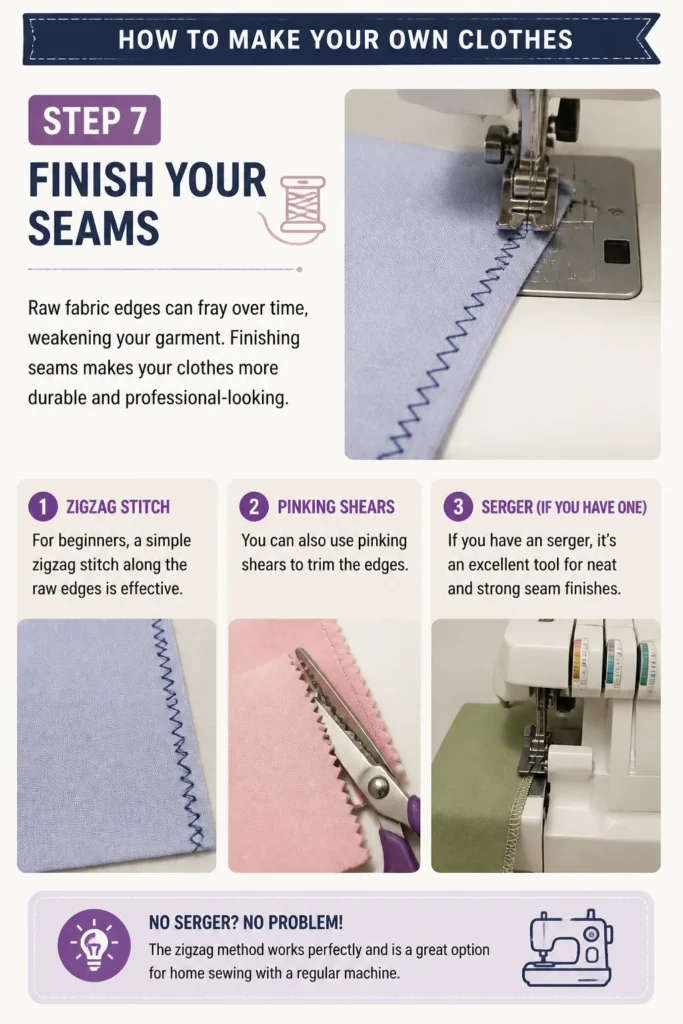
For beginners, a simple zigzag stitch along the raw edges is effective. You can also use pinking shears to trim the edges.
If you have an serger, it’s an excellent tool for neat and strong seam finishes. Otherwise, the zigzag method works perfectly.
Step 8: Hem and Finish Your Garment
The final step in construction is often the hem. Your pattern will specify the hem allowance and how to press and stitch it.
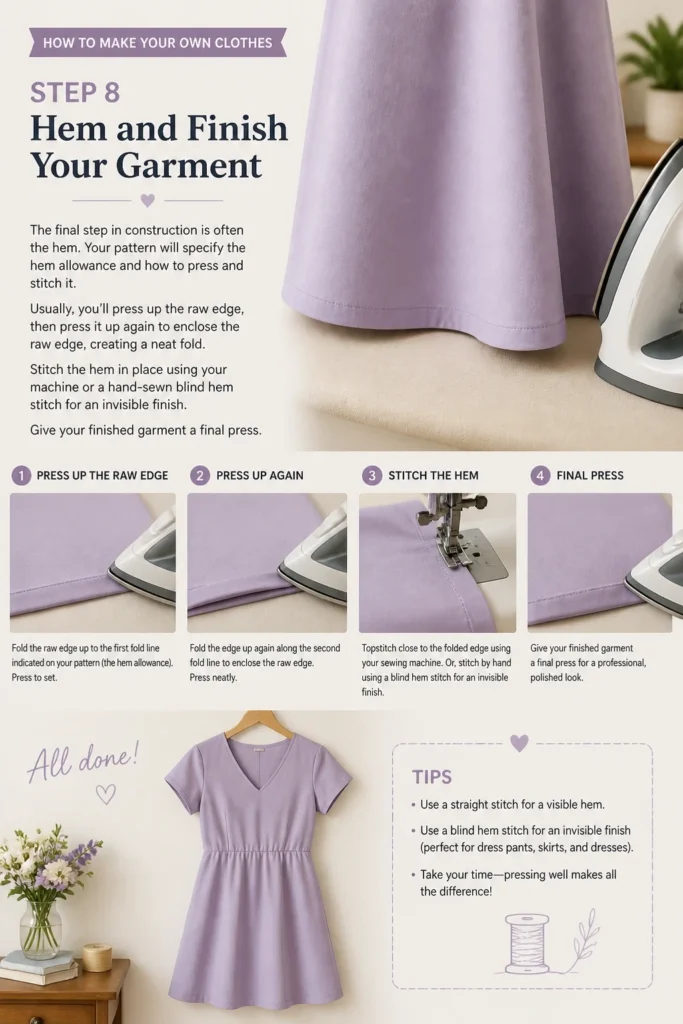
Usually, you’ll press up the raw edge, then press it up again to enclose the raw edge, creating a neat fold.
Stitch the hem in place using your machine or a hand-sewn blind hem stitch for an invisible finish. Give your finished garment a final press.
Common Mistakes to Avoid
Skipping Pre-Washing Fabric
Many beginners are eager to start cutting and sewing immediately, bypassing the crucial step of pre-washing fabric. Fabric often shrinks during its first wash.
If you sew a garment from unwashed fabric, it will likely shrink unevenly after its first wash, leading to a garment that no longer fits or hangs correctly.
Always wash and dry your fabric exactly as you plan to wash the finished garment to ensure consistent sizing and appearance.
Ignoring the Grainline
The grainline marking on a pattern piece indicates how the fabric threads run. Cutting off-grain can cause your garment to twist, pull, or drape awkwardly.
Even a slight deviation from the grainline can significantly impact the final fit and look of your garment, especially with woven fabrics.
Always take the time to align your pattern pieces precisely with the fabric’s grainline before cutting to ensure your garment hangs correctly.
Rushing the Process
Sewing requires patience and precision. Rushing through steps, especially cutting, marking, or pressing, often leads to errors that are difficult to correct later.
Mistakes made early in the process, like inaccurate cuts, can throw off the entire garment, requiring extensive adjustments or even starting over.
Approach each step deliberately, focusing on accuracy and neatness. Taking your time will result in a much more satisfying and professional-looking finished product.
Troubleshooting
My Sewing Machine is Jamming
A common cause of machine jamming is incorrect threading. Double-check both your upper thread path and your bobbin winding and insertion.
Also, ensure you are using the correct needle for your fabric type and that it is inserted correctly, flat side to the back. A dull or bent needle can also cause issues.
My Stitches Look Uneven or Loopy
This usually points to a tension problem. Start by re-threading your machine completely, both the top thread and the bobbin, ensuring the thread is seated correctly in all guides.
Test your stitch on a scrap of your fabric. Adjust the tension dial slightly, one number at a time, until the stitches look balanced on both sides of the fabric.
My Fabric is Puckering While I Sew
Puckering can occur if your stitch length is too short for the fabric, or if you’re pulling the fabric as you sew. Avoid pulling; let the machine’s feed dogs do the work.
Try increasing your stitch length slightly. Also, ensure your presser foot pressure is appropriate for your fabric; lighter pressure for delicate fabrics can help.
Key Takeaways
- Always pre-wash your fabric to prevent future shrinkage and ensure accurate sizing.
- Take precise body measurements and compare them carefully to your pattern’s size chart.
- Cut fabric accurately, paying close attention to grainline markings for proper drape.
- Press every seam as you sew; this simple step significantly improves garment appearance.
- Finish all raw seams to enhance durability and give your handmade clothes a professional look.
- Patience is key; take your time with each step for a more rewarding and successful outcome.
Frequently Asked Questions
Can I really make clothes if I’ve never sewn before?
Absolutely! Many patterns are designed specifically for beginners, guiding you through basic techniques. Start with simple projects like a pillowcase, tote bag, or an elastic-waist skirt to build confidence.
What’s the most important tool for a beginner sewer?
A good quality pair of fabric shears is invaluable. Sharp scissors make clean cuts, which are essential for accurate pattern pieces and a professional finish. Never use fabric shears on paper.
How do I know what type of fabric to buy?
Your pattern envelope will list recommended fabric types, often suggesting specific weaves or fiber content. For beginners, choose stable woven fabrics like cotton broadcloth or linen, as they are less slippery and easier to handle than silks or slippery synthetics.
Is it cheaper to make my own clothes?
Initially, the cost of a sewing machine, tools, and patterns can add up. However, for specific items, or over time as you build your stash and skills, making your own clothes can be more cost-effective, especially for custom fits or unique designs.
Our Top Recommended Finds
- Good Quality Fabric Shears: Essential for clean, precise cuts that don’t fray your fabric edges. Sharp shears make all the difference.
- Sewing Machine with Basic Stitches: A reliable machine with straight stitch and zigzag functions is perfect for beginners. Look for ease of use.
- Large Self-Healing Cutting Mat: Protects your surfaces and provides a clear grid for accurate cutting, especially useful with a rotary cutter.
Your Creative Journey Begins Now
Embarking on the journey of making your own clothes is incredibly rewarding, offering a blend of creativity, skill-building, and personal expression.
Each stitch you make brings you closer to a unique garment, perfectly tailored to your style and body.
Don’t wait to dive into this fulfilling craft. Gather your supplies, choose your first pattern, and start stitching your way to a wardrobe that truly reflects you.
Beginner-friendly templates, step-by-step guides,
and weekly project ideas in your inbox.