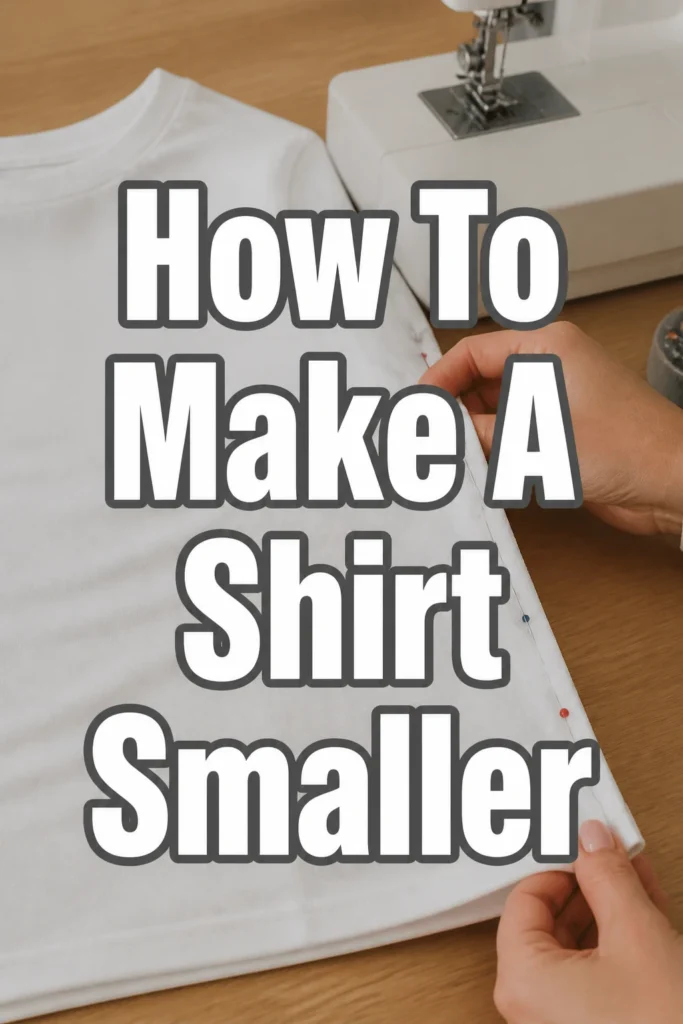
How To Make A Shirt Smaller

Beginner-friendly templates, step-by-step guides,
and weekly project ideas in your inbox.
Ever bought a shirt only to find it’s just a little too loose?
Perhaps a favorite tee has stretched out over time, losing its perfect fit.
I’ve personally salvaged many beloved garments from the donation pile using the methods in this guide, and I’m here to show you exactly how to achieve that ideal fit.
Quick Overview
This guide will equip you with practical techniques to reduce the size of your shirts, ranging from simple laundry methods to basic sewing adjustments.
You’ll learn how to approach different fabric types and achieve a customized fit without professional help.
- Time needed: 1-3 hours (active time, plus drying)
- Difficulty: Beginner
- What you’ll need: Washing machine, dryer, measuring tape, basic sewing kit (optional)
Step-by-Step Instructions
Step 1: Assess Your Shirt and Fabric Type
Examine the shirt you wish to make smaller. Consider its current fit and how much smaller you want it to be.
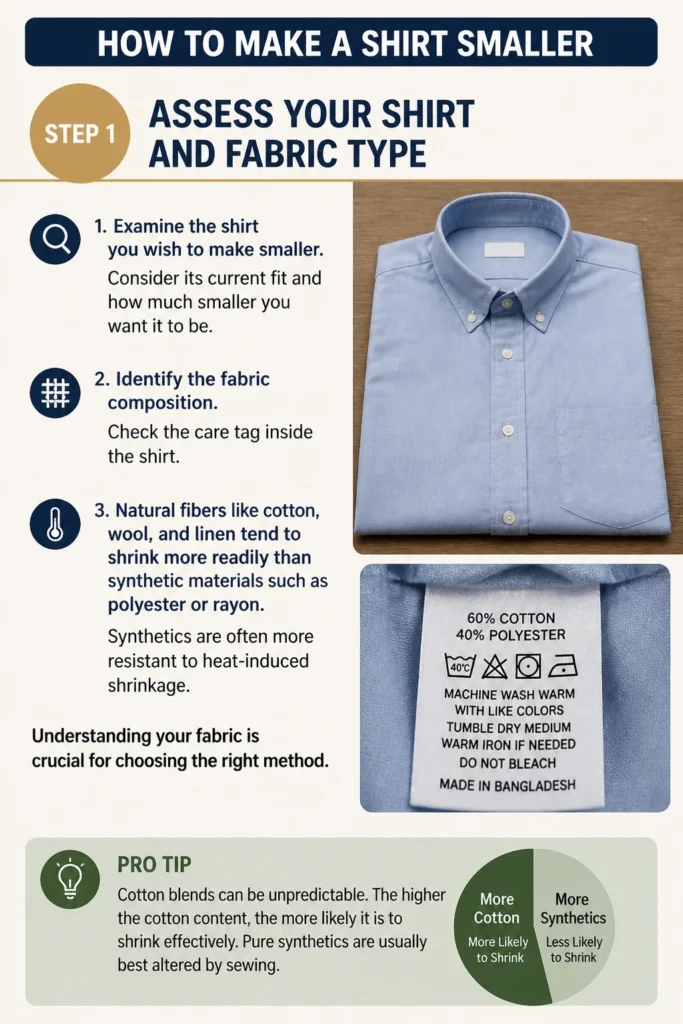
Identify the fabric composition. Check the care tag inside the shirt. Natural fibers like cotton, wool, and linen tend to shrink more readily than synthetic materials such as polyester or rayon.
Synthetics are often more resistant to heat-induced shrinkage. Understanding your fabric is crucial for choosing the right method.
Pro Tip: Cotton blends can be unpredictable. The higher the cotton content, the more likely it is to shrink effectively. Pure synthetics are usually best altered by sewing.
Step 2: Choose Your Shrinking Method
Based on your fabric and desired outcome, you have two primary approaches: controlled heat shrinking or tailoring through sewing.
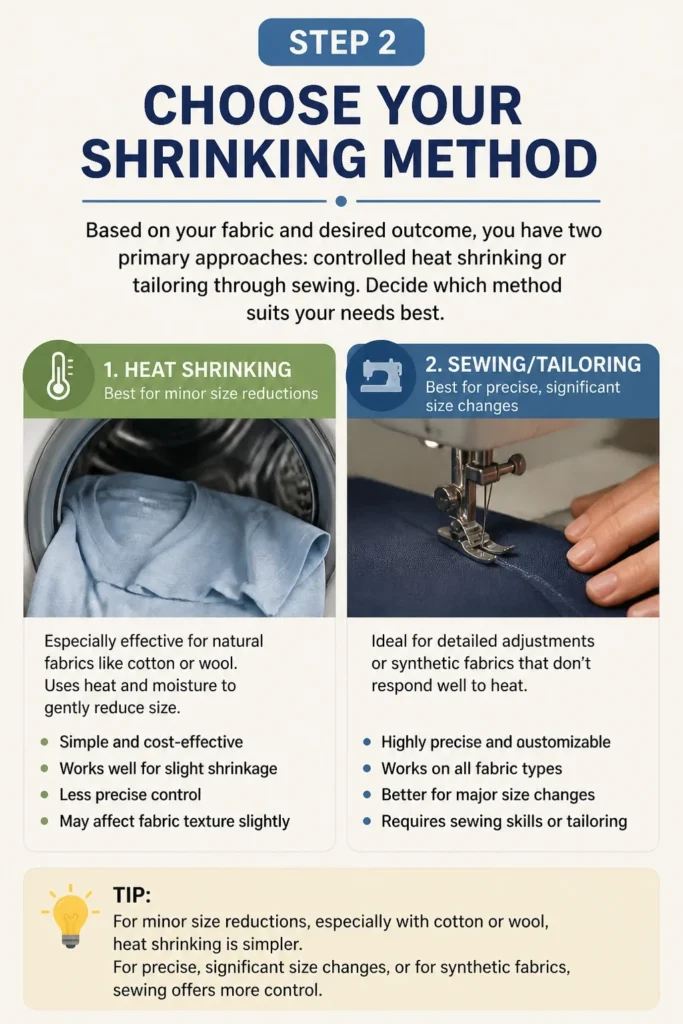
Decide which method suits your needs best. For minor size reductions, especially with cotton or wool, heat shrinking is simpler.
For precise, significant size changes, or for synthetic fabrics, sewing offers more control.
Step 3: Prepare for Heat Shrinking (If Applicable)
If you’re opting for the wash and dry method, prepare your laundry area. You’ll need access to a washing machine and a clothes dryer.
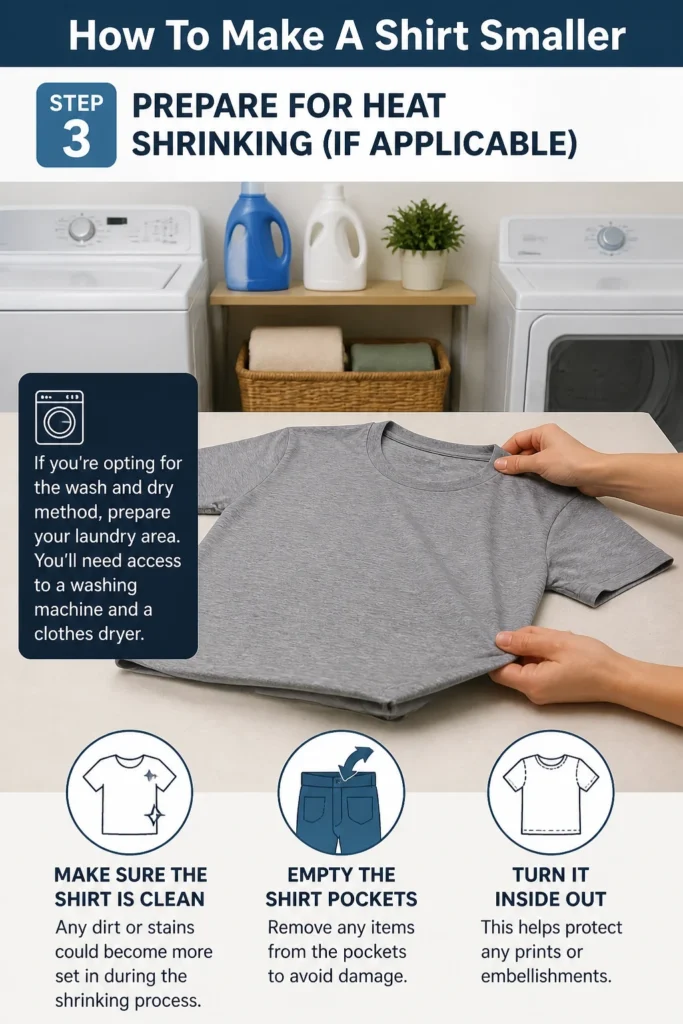
Make sure the shirt is clean before you start. Any dirt or stains could become more set in during the shrinking process.
Empty the shirt pockets and turn it inside out. This helps protect any prints or embellishments.
Step 4: Wash with Hot Water
Place your shirt into the washing machine. For maximum shrinkage, especially with cotton, use the hottest water setting available.
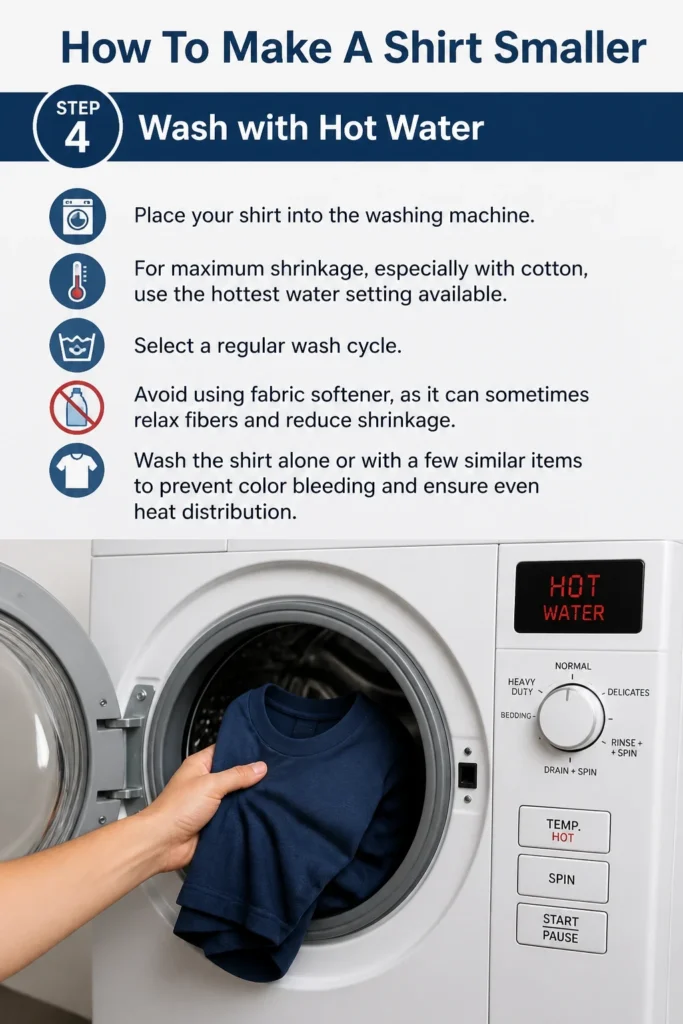
Select a regular wash cycle. Avoid using fabric softener, as it can sometimes relax fibers and reduce shrinkage.
Wash the shirt alone or with a few similar items to prevent color bleeding and ensure even heat distribution.
Step 5: Dry on High Heat
Immediately after washing, transfer the wet shirt to the clothes dryer. Select the highest heat setting your dryer offers.
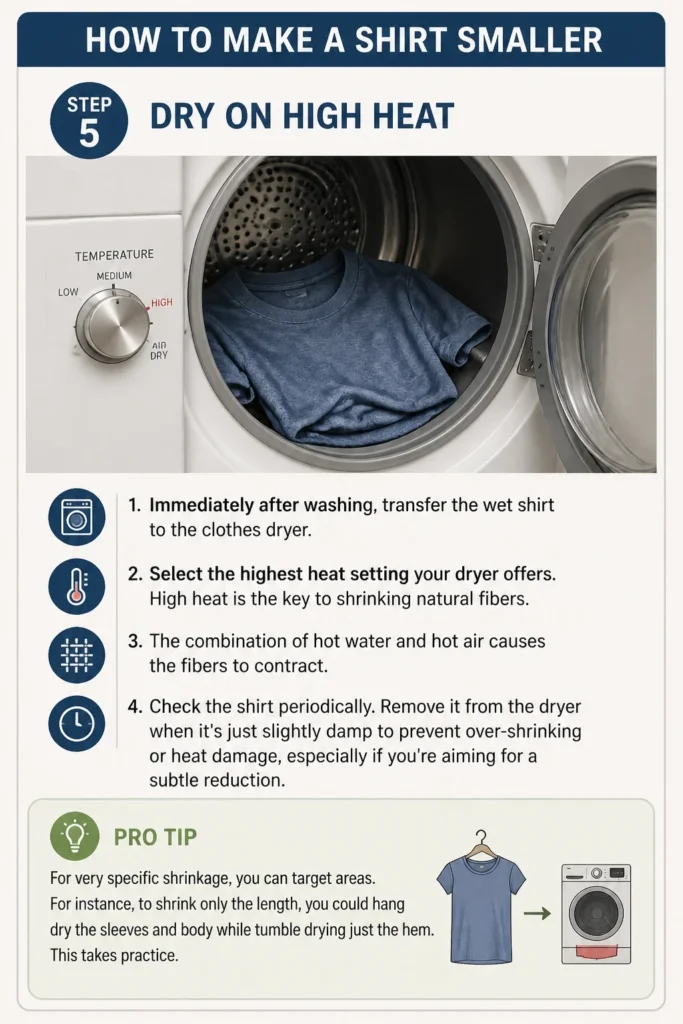
High heat is the key to shrinking natural fibers. The combination of hot water and hot air causes the fibers to contract.
Check the shirt periodically. Remove it from the dryer when it’s just slightly damp to prevent over-shrinking or heat damage, especially if you’re aiming for a subtle reduction.
Pro Tip: For very specific shrinkage, you can target areas. For instance, to shrink only the length, you could hang dry the sleeves and body while tumble drying just the hem. This takes practice.
Step 6: Measure and Mark (For Sewing Method)
If heat shrinking wasn’t enough, or if you’re working with synthetics, put the shirt on inside out. Use a well-fitting shirt as a guide or have a friend help you pin.
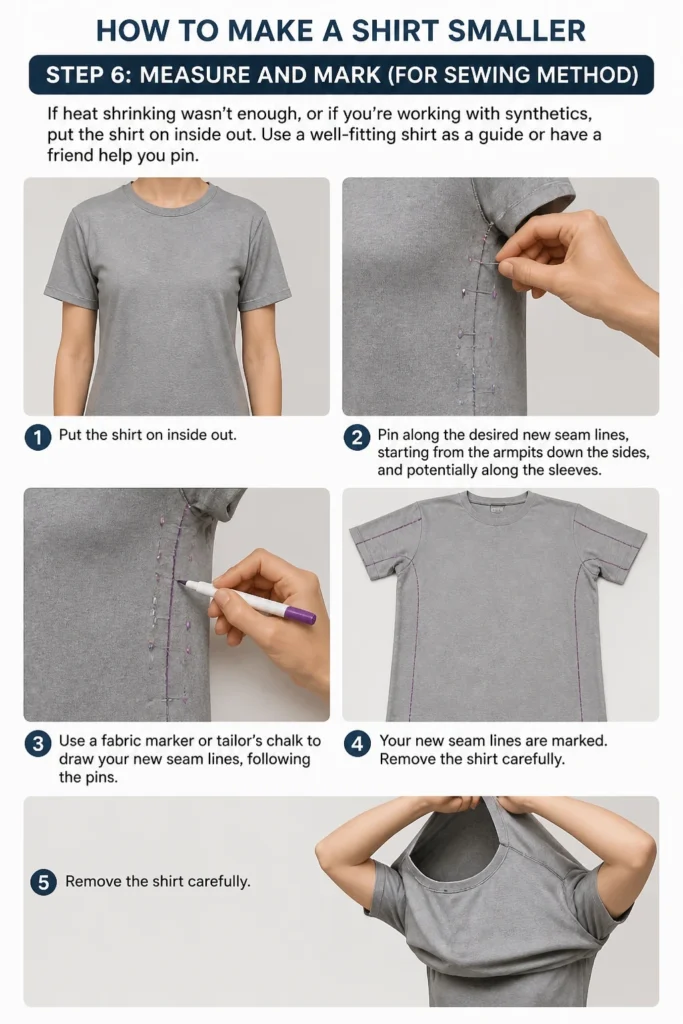
Pin along the desired new seam lines, starting from the armpits down the sides, and potentially along the sleeves.
Use a fabric marker or tailor’s chalk to draw your new seam lines, following the pins. Remove the shirt carefully.
Step 7: Trim Excess Fabric (For Sewing Method)
Lay the shirt flat on a clean, hard surface. Smooth out any wrinkles.
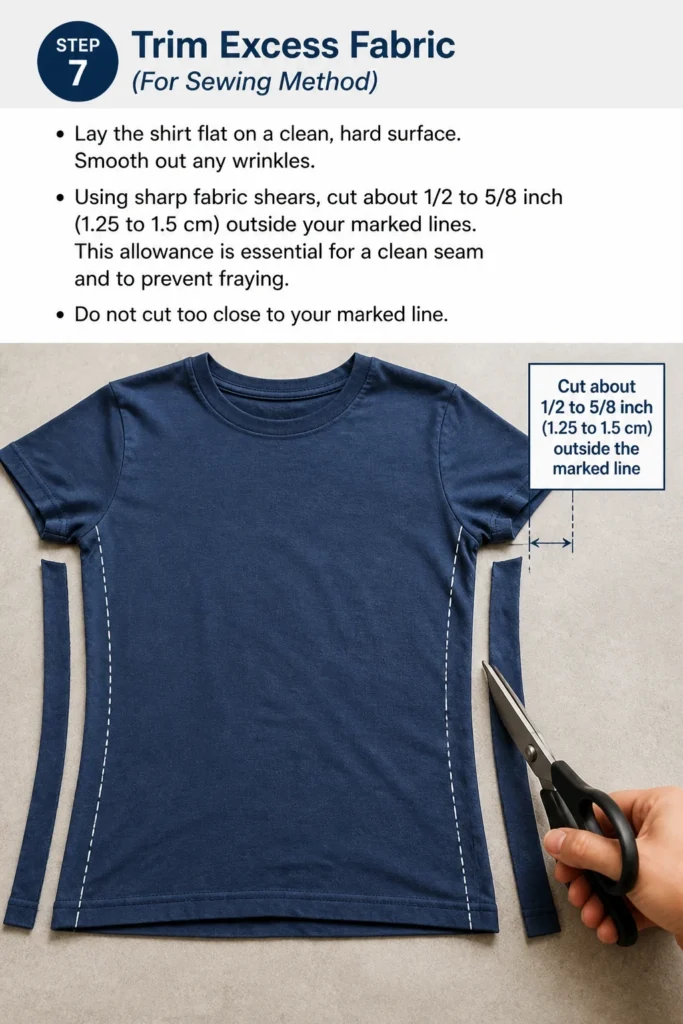
Using sharp fabric shears, cut about 1/2 to 5/8 inch (1.25 to 1.5 cm) outside your marked lines.
This allowance is essential for a clean seam and to prevent fraying. Do not cut too close to your marked line.
Step 8: Sew New Seams
Thread your sewing machine with a color that matches your shirt. Choose a straight stitch setting.
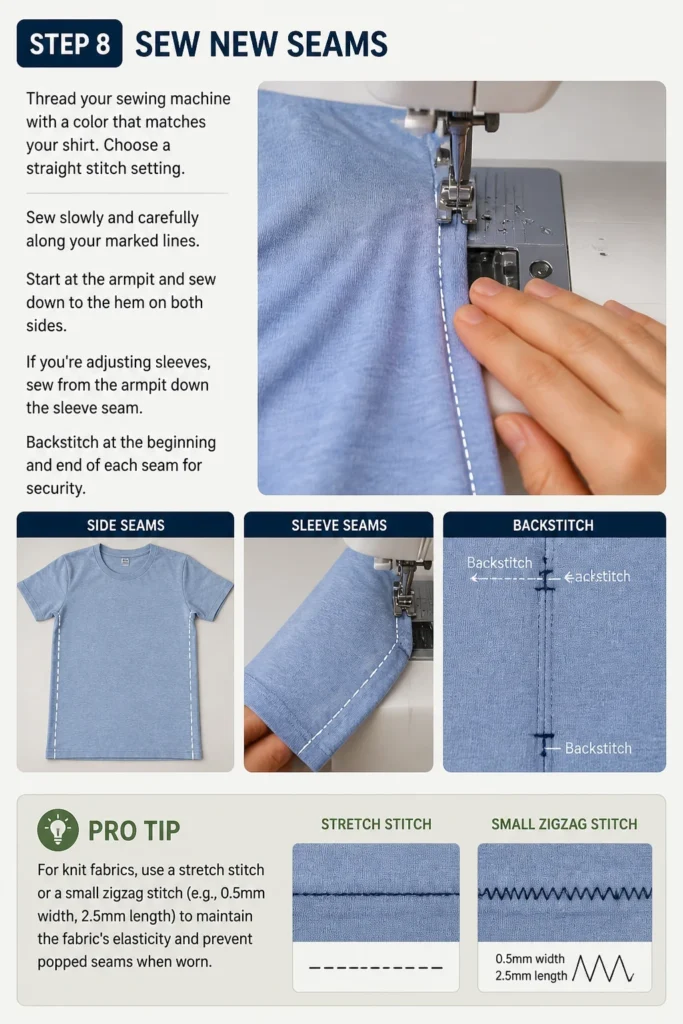
Sew slowly and carefully along your marked lines. Start at the armpit and sew down to the hem on both sides.
If you’re adjusting sleeves, sew from the armpit down the sleeve seam. Backstitch at the beginning and end of each seam for security.
Pro Tip: For knit fabrics, use a stretch stitch or a small zigzag stitch (e.g., 0.5mm width, 2.5mm length) to maintain the fabric’s elasticity and prevent popped seams when worn.
Step 9: Finish Seams and Try On
Once you’ve sewn your new seams, trim any loose threads. For a professional finish, you can serge or zigzag stitch the raw edges of the fabric inside the shirt to prevent fraying.
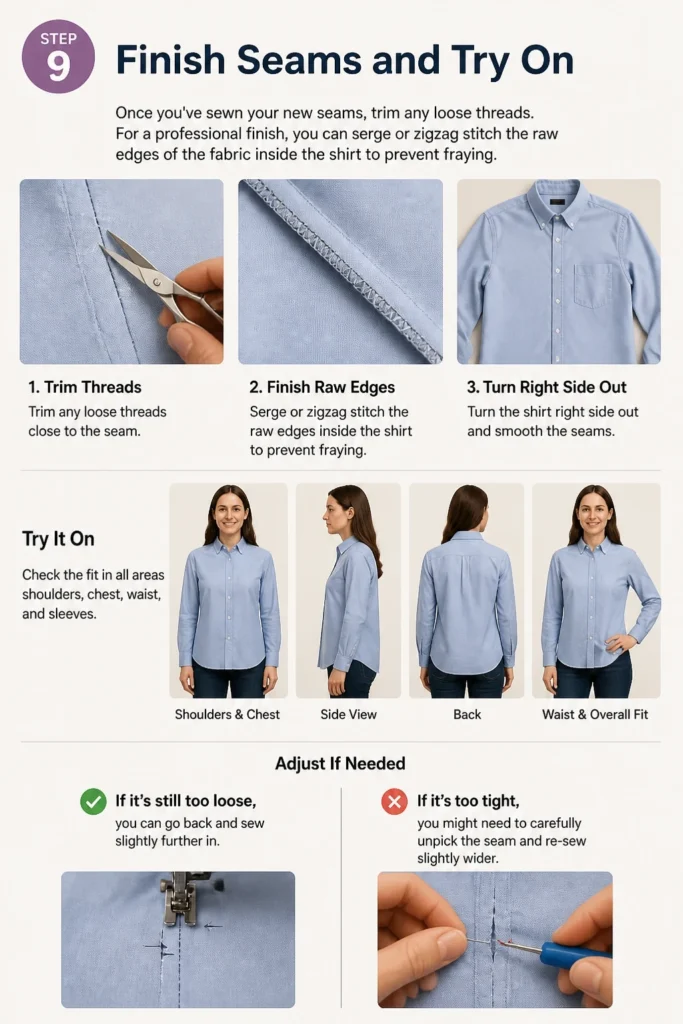
Turn the shirt right side out and try it on. Check the fit in all areas: shoulders, chest, waist, and sleeves.
If it’s still too loose, you can go back and sew slightly further in. If it’s too tight, you might need to carefully unpick the seam and re-sew slightly wider.
Common Mistakes to Avoid
Over-Shrinking
One of the most common pitfalls is shrinking a shirt too much, making it unwearable. This often happens by leaving it in the high-heat dryer for too long without checking.
Always start with a moderate approach if you’re unsure, or remove the shirt while it’s still slightly damp to assess the shrinkage. You can always re-dry it for more reduction, but you can’t easily un-shrink it.
Uneven Shrinkage
Sometimes, a shirt can shrink unevenly, leading to a distorted shape. This can occur if the shirt is bunched up in the washing machine or dryer, preventing uniform heat exposure.
Ensure the shirt has enough room to move freely during washing and drying. Consider washing it alone or with minimal items to promote even shrinkage.
Ignoring Fabric Composition
Attempting to shrink a 100% synthetic shirt (like polyester) with heat is usually futile and can even damage the fabric. Synthetics melt or distort under high heat, they don’t shrink like natural fibers.
Always check the care label for fabric content before attempting any shrinking methods. If it’s synthetic, plan on tailoring by sewing for best results.
Skipping Measuring and Pinning
When sewing, eyeballing cuts or seams is a recipe for disaster. This leads to crooked lines, uneven sides, and a poor fit.
Always take the time to accurately measure, mark with fabric chalk, and pin your new seam lines. This precision ensures a professional-looking and well-fitting result.
Troubleshooting
Shirt Still Too Big After Shrinking
If your shirt didn’t shrink enough after the first hot wash and high-heat dry cycle, you can repeat the process.
Some fabrics require multiple cycles to achieve maximum shrinkage. You can also try boiling water briefly before machine washing for an even more aggressive shrinking method, but this carries a higher risk of damage.
Shirt Shrunk Too Much
Unfortunately, un-shrinking a shirt is very difficult, if not impossible, especially for natural fibers that have been significantly heat-treated.
For minor over-shrinking, you can try gently stretching the damp shirt by hand and letting it air dry. For more severe cases, consider repurposing the shirt or accepting the new smaller size.
Seams Look Uneven or Bulky After Sewing
If your sewn seams appear lumpy or not straight, it might be due to rushing or not having enough practice.
Carefully unpick the stitches (using a seam ripper) and re-sew the seam. Take your time, ensure the fabric is flat, and guide it slowly through the machine. Pressing the seams with an iron after sewing can also help flatten them.
Key Takeaways
- Always check the shirt’s fabric composition before attempting to shrink it.
- Natural fibers like cotton and wool respond best to heat shrinking.
- Synthetic fabrics require tailoring with a sewing machine for effective size reduction.
- For heat shrinking, hot water and high heat in the dryer are crucial.
- When sewing, measure, mark, and pin meticulously for precise results.
- Start cautiously with shrinking methods; you can always shrink more, but rarely less.
Frequently Asked Questions
What fabrics shrink best?
Cotton, wool, and linen are the best candidates for heat-induced shrinking. These natural fibers are prone to contracting when exposed to high temperatures, making them ideal for this method.
Can I shrink a shirt without a dryer?
Yes, you can. After washing in hot water, you can hang the shirt to dry in direct sunlight on a hot day, which provides natural high heat. Alternatively, you can use a hairdryer on a high setting, focusing on specific areas, though this is more labor-intensive.
How much will a shirt typically shrink?
The amount of shrinkage depends heavily on the fabric type, its weave, and how it was manufactured. Cotton can shrink anywhere from 5-15%, sometimes more if it’s untreated. Wool can shrink significantly, often up to 20% or more, if not handled carefully. Synthetics will barely shrink, if at all.
Will shrinking damage the shirt?
While controlled shrinking is generally safe for appropriate fabrics, excessive heat can sometimes cause damage. Over-shrinking can distort the fabric, fade colors, or even cause seams to pucker. Always proceed with caution and monitor the shirt closely.
Our Top Recommended Finds
- Good Quality Measuring Tape: Essential for accurate measurements, whether you’re assessing shrinkage or marking new seams.
- Sharp Fabric Shears: A good pair of shears makes clean, precise cuts for tailoring, preventing frayed edges and frustration.
- Basic Sewing Machine: For more significant or precise alterations, a simple sewing machine offers speed and professional-looking stitches compared to hand-sewing.
Transform Your Wardrobe Today
Now you have the knowledge and steps to tackle those ill-fitting shirts with confidence.
Don’t let a slightly-off size keep you from enjoying your favorite garments or finding new treasures.
Start with a shirt you’re willing to experiment with, follow these instructions, and soon you’ll be enjoying a perfectly tailored fit.
Beginner-friendly templates, step-by-step guides,
and weekly project ideas in your inbox.