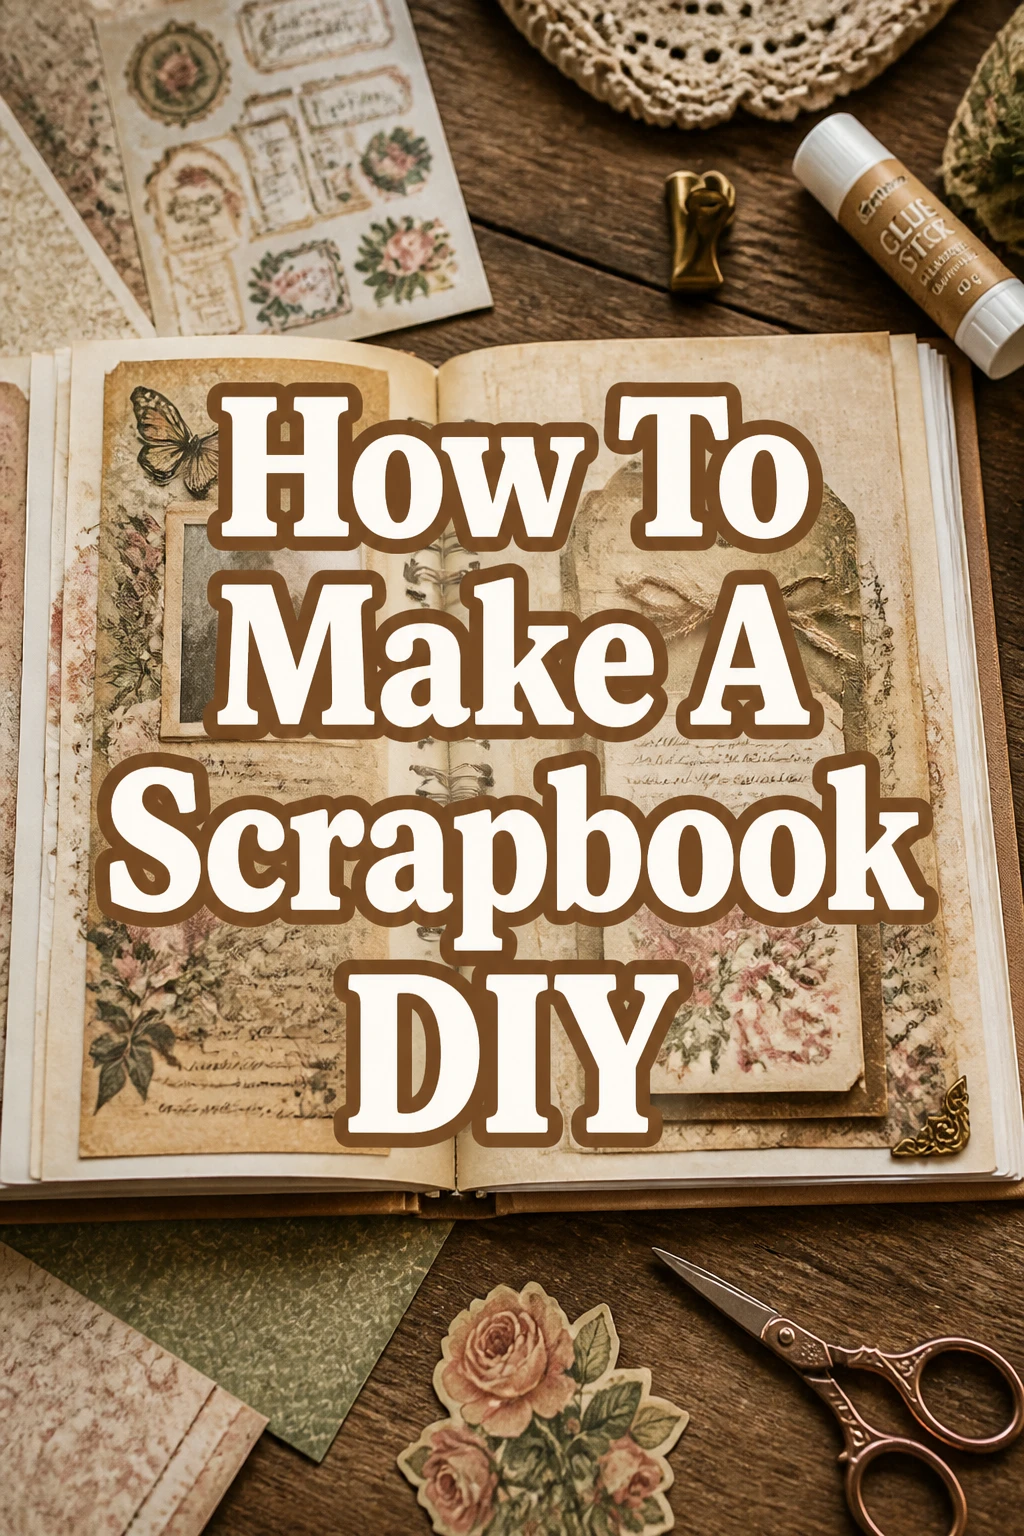
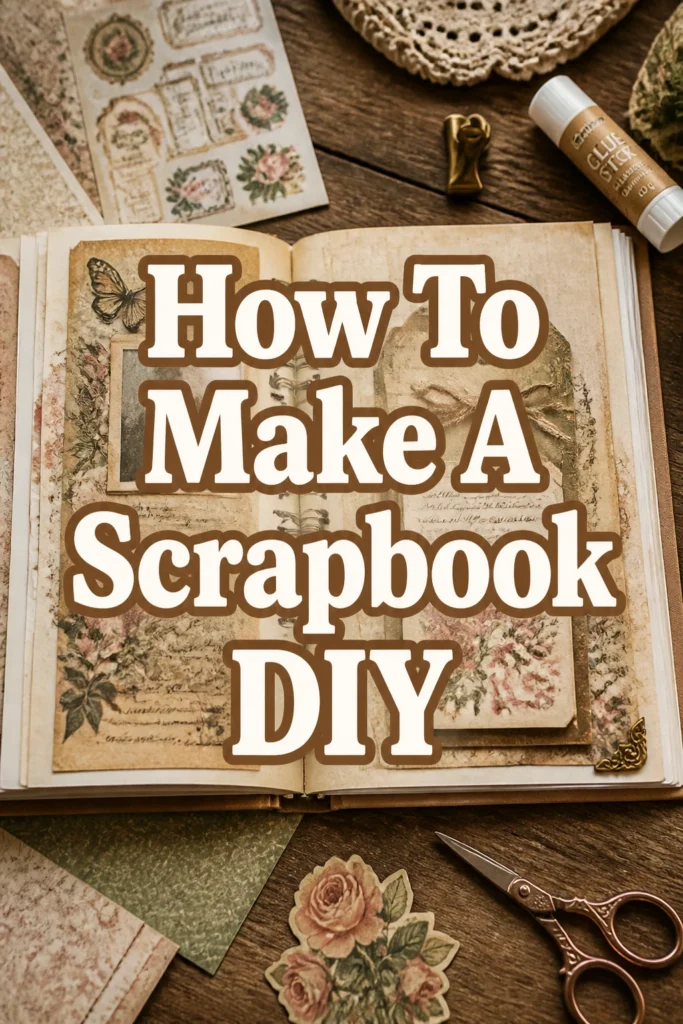
How To Make A Scrapbook DIY

Beginner-friendly templates, step-by-step guides,
and weekly project ideas in your inbox.
There’s a special joy in flipping through old photos, isn’t there?
My own family albums, passed down through generations, always spark conversations and bring smiles.
This guide will help you create your very own cherished keepsake, capturing memories in a tangible, beautiful way.
Quick Overview
By following these steps, you’ll transform your cherished photographs and mementos into a unique, personalized scrapbook.
It’s a wonderful way to tell your story, preserve family history, or create a thoughtful gift.
- Time needed: 4-10 hours (can be spread over several days or weeks)
- Difficulty: Beginner
- What you’ll need: Photos, scrapbook album, acid-free paper, adhesive, scissors, pens, and personal embellishments.
Step-by-Step Instructions
Step 1: Gather Your Memories and Materials
The first step is to collect all the items you want to include. Think beyond just photos.
Tickets, letters, drawings, fabric swatches, or small trinkets can add wonderful depth.
Organize your photos by event, date, or theme to make the process smoother.
Pro Tip: Don’t feel pressured to use every photo. Select the ones that tell the story best or evoke the strongest feelings. You can always make multiple scrapbooks.
Next, gather your essential tools and supplies. This includes your album, paper, adhesives, and cutting tools.
Having everything ready before you start prevents interruptions and keeps your creative flow going.
Step 2: Choose Your Scrapbook and Theme
Select an album that suits your project. Sizes range from small 6×6 inches to large 12×12 inches.
Consider whether you want a D-ring album for easy page additions or a post-bound album for a more permanent feel.
Decide on a theme for your scrapbook or even for individual pages. This could be a vacation, a year, a person’s life, or a specific event like a wedding or baby’s first year.
A theme helps unify your design choices and makes the storytelling more cohesive.
Step 3: Plan Your Layouts
Before gluing anything down, experiment with your page layouts. Place your photos and embellishments loosely on the page.
This allows you to adjust arrangements, try different combinations, and visualize the final look.
Think about balance and flow. Most pages look good with an odd number of photos (one, three, or five) as a starting point.
Vary photo sizes and orientations to add visual interest.
Pro Tip: Use a piece of scratch paper or a digital app to sketch out your ideas. This saves your precious scrapbook paper from mistakes. Take a photo of a layout you like before removing items to glue them down.
Consider the story each page will tell. Arrange elements to guide the viewer’s eye through the narrative.
Leave some white space around elements; it helps the page breathe and prevents it from looking cluttered.
Step 4: Prepare Your Photos and Embellishments
Trim your photos if necessary to fit your layouts. You can crop out distracting backgrounds or unwanted elements.
Use a paper trimmer for straight cuts or decorative scissors for unique edges.
Matting photos with a slightly larger piece of coordinating paper can make them stand out and add a professional touch.
This simple technique frames your photos beautifully.
Prepare any embellishments you plan to use. This might involve punching shapes, adding glitter, or layering stickers.
Ensure all materials are acid-free and photo-safe to protect your memories over time.
Step 5: Assemble Your Pages
Once you’re happy with a layout, begin adhering your elements. Start with the largest items first, usually the background papers or large photos.
Apply adhesive evenly to prevent buckling and ensure a secure bond.
Work from the back to the front of your layout. This means gluing down items that are meant to be underneath others first.
Layer smaller photos and embellishments on top.
Pro Tip: Use a repositionable adhesive for items you might want to adjust slightly. For permanent placement, a strong, acid-free glue stick or adhesive runner is ideal.
Take your time with each page. Enjoy the process of bringing your vision to life.
Remember, there’s no single “right” way to create a scrapbook; it’s all about personal expression.
Step 6: Add Journaling and Personal Touches
Journaling is what truly brings your scrapbook to life. Write down dates, names, locations, and most importantly, the stories and feelings behind the photos.
These details will be invaluable years from now.
You can handwrite your journaling directly onto the page, type it and print it on paper strips, or use pre-made journaling cards.
Varying your handwriting or fonts can add visual appeal.
Personal touches like handwritten notes, small drawings, or even snippets of poetry make your scrapbook uniquely yours.
These elements turn a collection of photos into a rich, personal narrative.
Step 7: Protect Your Creation
Once your pages are complete, insert them into page protectors. These clear sleeves shield your pages from dust, spills, and fingerprints.
Ensure the page protectors are also acid-free and archival quality.
Store your finished scrapbook in a cool, dry place away from direct sunlight. Extreme temperatures and humidity can damage photos and paper.
A sturdy box or bookshelf is an ideal storage solution.
Step 8: Review and Reflect
Take some time to look through your completed scrapbook. Enjoy the journey you’ve created.
Share it with friends and family, inviting them to reminisce with you.
This reflective process is a rewarding part of scrapbooking.
It allows you to appreciate the memories and the effort you put into preserving them.
Common Mistakes to Avoid
Over-Cluttering Pages
A common pitfall is trying to fit too much onto one page. Too many photos, stickers, and embellishments can make a page look messy and overwhelming.
Instead, aim for a balanced design with some negative space. This allows each element to stand out and the eye to rest, making the page more enjoyable to view.
Skipping Journaling
Many people focus solely on the visual elements and forget to add text. Without journaling, the stories behind your photos can be lost over time.
Make a conscious effort to include dates, names, places, and anecdotes. Even short captions can add immense value and context to your memories.
Using Non-Archival Materials
Using materials that are not acid-free or photo-safe can lead to irreversible damage. Over time, acids in paper, glue, and ink can yellow photos, make them brittle, or cause colors to fade.
Always check labels for “acid-free,” “lignin-free,” and “photo-safe” to ensure your scrapbook will last for generations.
Aiming for Perfection Over Progress
The desire for a perfect scrapbook can lead to creative paralysis, where you never actually start or finish a project. Remember that scrapbooking is a creative outlet, not a competition.
Embrace imperfections and focus on the joy of preserving your memories. The most important thing is to get started and enjoy the process.
Troubleshooting
Pages Feel Empty
If a page looks too sparse, consider adding more texture or layers. Try matting your photos with an extra layer of paper, or adding some subtle stamping in the background.
Journaling can also fill space effectively. Expand on the story, or add a relevant quote or poem. Small clusters of embellishments can also help fill gaps without overwhelming the page.
Adhesive Not Sticking
Ensure your surfaces are clean and dry before applying adhesive. Dust or oils can prevent proper adhesion. If using a liquid glue, apply a thin, even layer and give it time to cure.
For stubborn items, try a stronger adhesive specifically designed for heavier embellishments, like a strong double-sided tape or a craft glue gun.
Creative Block
When inspiration wanes, step away from your project for a bit. Look through other scrapbooks, craft magazines, or online galleries for ideas. Sometimes, just organizing your supplies can spark new ideas.
Try working on a different page or a simpler layout to regain momentum. Don’t force creativity; it often returns when you least expect it.
Key Takeaways
- Gathering and organizing your memories before starting streamlines the entire process.
- Choosing a theme or color scheme helps create a cohesive and visually appealing scrapbook.
- Always plan your layouts loosely before committing with adhesive to avoid mistakes.
- Journaling is crucial; it adds the stories and emotions that make your scrapbook truly meaningful.
- Use only acid-free and photo-safe materials to ensure your cherished memories are preserved for years.
- Embrace your unique style and don’t strive for unattainable perfection; the joy is in the creation.
Frequently Asked Questions
What’s the best type of adhesive?
The best adhesive depends on what you’re sticking. For photos and paper, an acid-free adhesive runner or glue stick works well. For heavier embellishments, use strong double-sided tape or liquid craft glue. Always ensure it’s labeled “photo-safe.”
Can I use digital photos?
Absolutely! Most modern scrapbooks incorporate digital photos. You’ll need to print them using a good quality printer and archival ink. Consider professional photo printing services for the best longevity and color accuracy.
How do I store my finished scrapbook?
Store your scrapbook flat in a cool, dry place away from direct sunlight, extreme temperatures, and humidity. A sturdy bookshelf or an archival storage box is ideal. Page protectors will also add an extra layer of defense against environmental damage.
What if I’m not artistic?
You don’t need to be an artist to create a beautiful scrapbook. Focus on clear storytelling and simple layouts. Pre-made kits, stickers, and stencils can help you achieve polished looks without needing advanced artistic skills. Your unique handwriting and personal touches are more valuable than perfect drawings.
Our Top Recommended Finds
- Acid-Free Cardstock: Essential for backgrounds and photo mats, ensuring your pages won’t degrade over time.
- Photo-Safe Adhesive Runner: Provides a clean, quick, and permanent bond for photos and paper without mess.
- Precision Craft Scissors: Ideal for intricate cuts and trimming photos accurately, adding a professional touch to your work.
Your Story Awaits
Creating a scrapbook is more than just a craft; it’s a journey through your memories, a tangible record of moments that matter.
It’s a gift to yourself and future generations, preserving stories that might otherwise fade.
Don’t let your precious photos gather dust in a box. Pick up your supplies, open your heart to your memories, and start crafting your unique story today.
Beginner-friendly templates, step-by-step guides,
and weekly project ideas in your inbox.