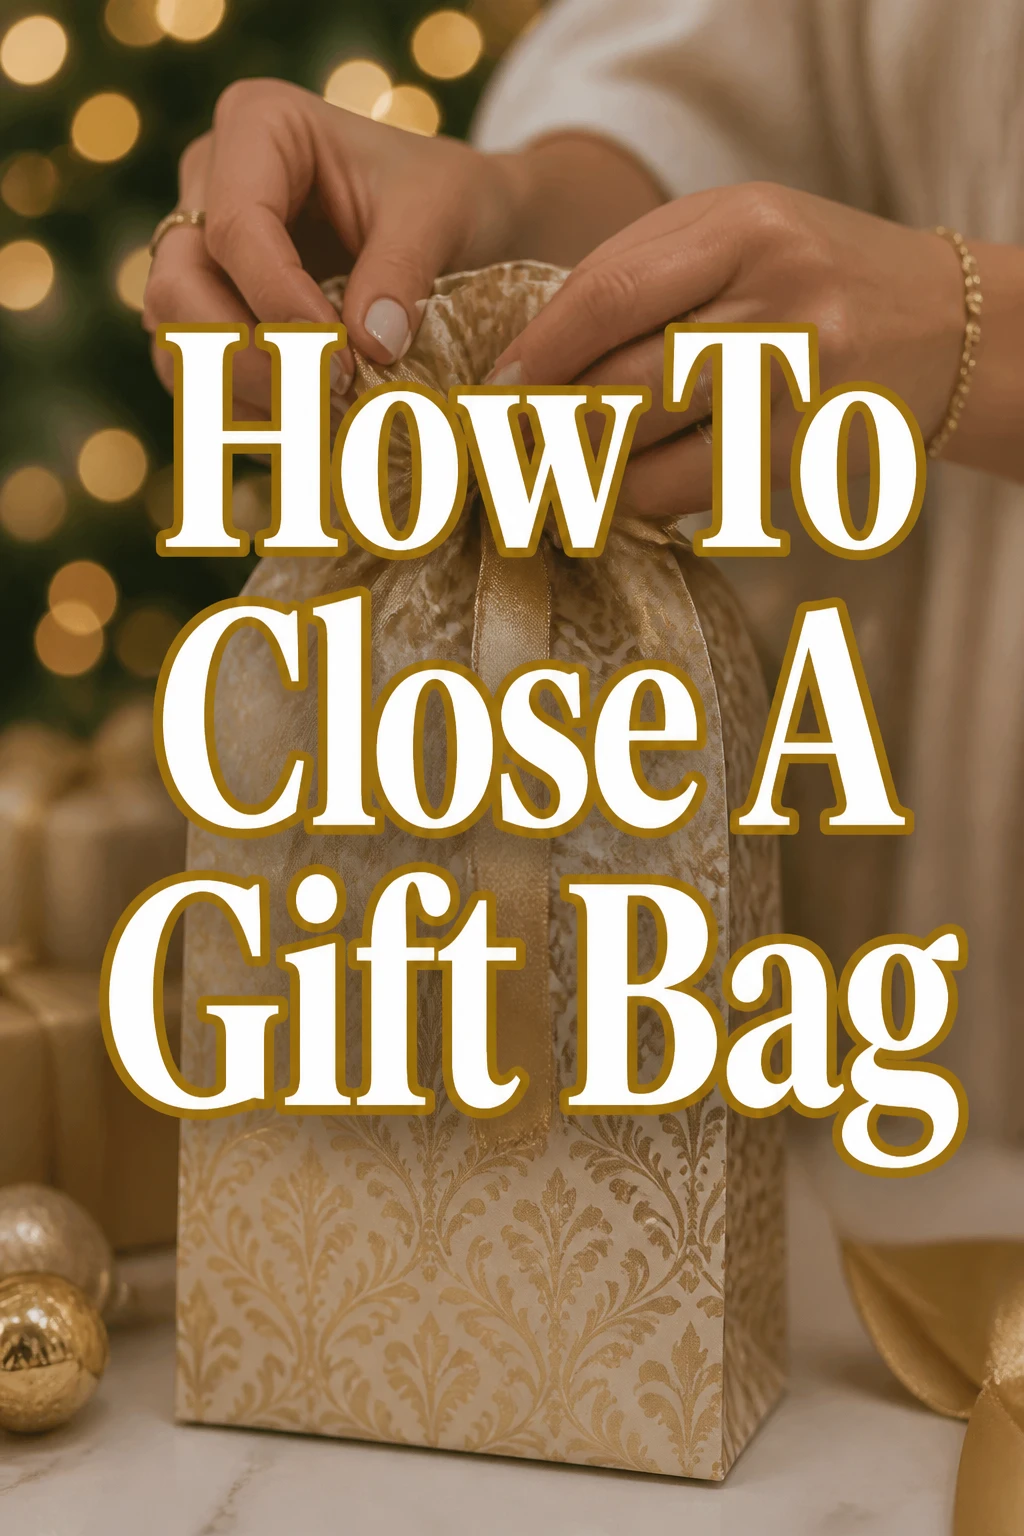
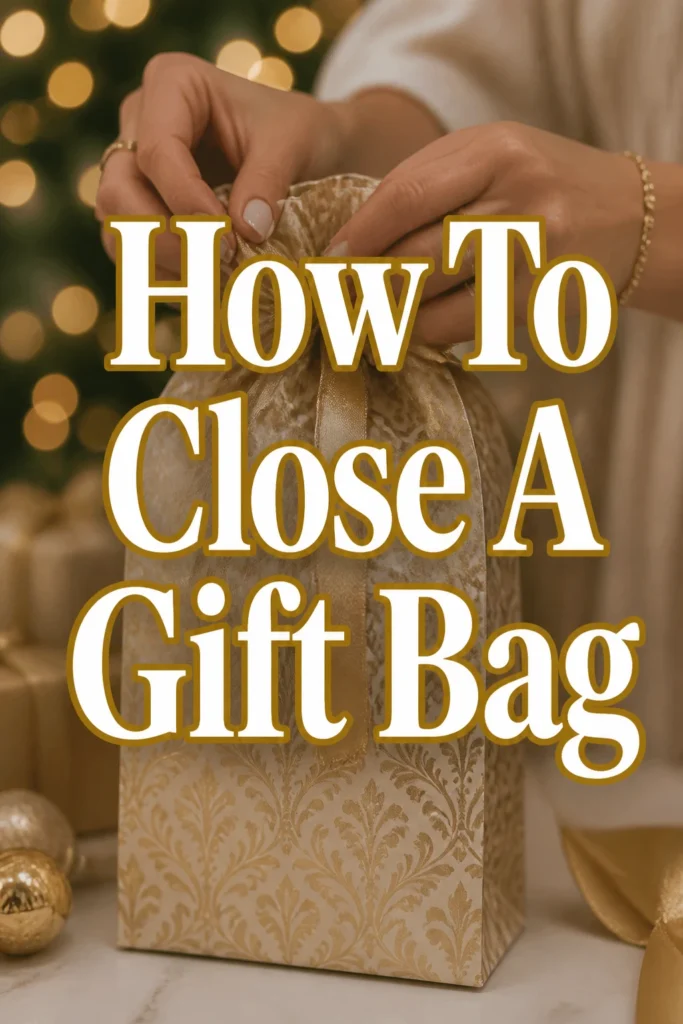
How To Close A Gift Bag

Beginner-friendly templates, step-by-step guides,
and weekly project ideas in your inbox.
There’s a subtle art to presenting a gift beautifully, and it often comes down to the smallest details.
A perfectly closed gift bag doesn’t just look neat; it builds anticipation and shows the recipient you put thought into their present.
Having prepared countless gifts over the years, from birthdays to holidays, I’ve refined the techniques to ensure every bag looks professionally wrapped, and I’m excited to share those trusted methods with you.
Quick Overview
This guide will walk you through the process of elegantly closing a gift bag, ensuring your present makes a fantastic first impression. You’ll learn how to secure the contents, add decorative touches, and avoid common presentation pitfalls.
- Time needed: 5-10 minutes (per bag)
- Difficulty: Beginner
- What you’ll need: Gift bag, gift, tissue paper, ribbon or gift clip, gift tag (optional), scissors.
Step-by-Step Instructions
Step 1: Select the Right Bag and Contents
Before you even think about closing, ensure your gift bag is the appropriate size for your item. A bag that’s too small will bulge unattractively, while one too large can make the gift seem insignificant.
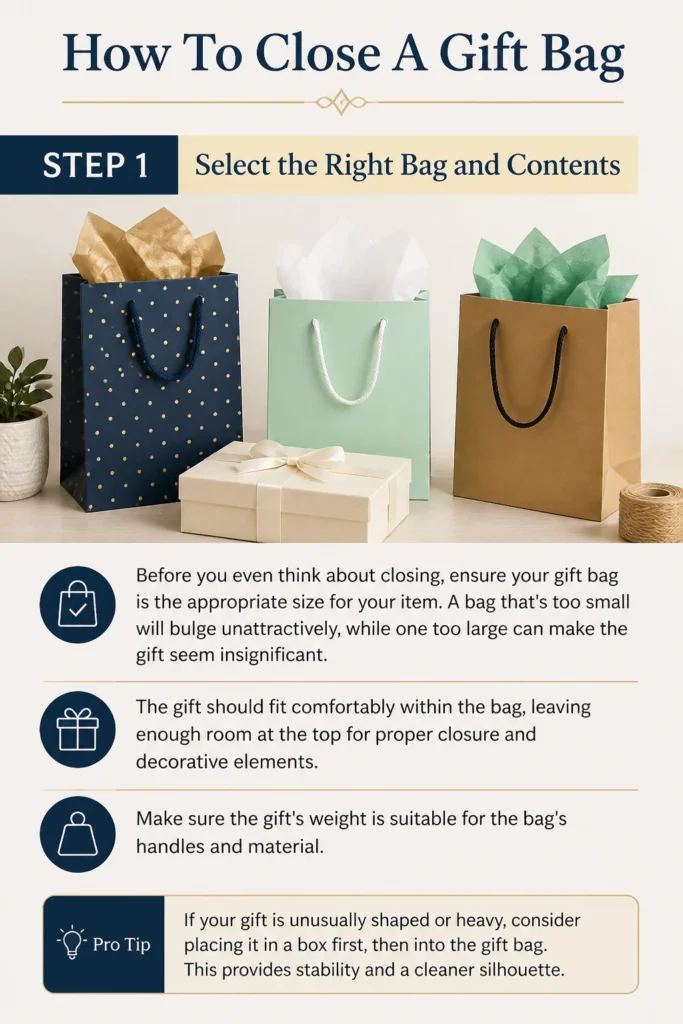
The gift should fit comfortably within the bag, leaving enough room at the top for proper closure and decorative elements. Make sure the gift’s weight is suitable for the bag’s handles and material.
Pro Tip: If your gift is unusually shaped or heavy, consider placing it in a box first, then into the gift bag. This provides stability and a cleaner silhouette.
Step 2: Position the Gift Securely
Carefully place your gift inside the bag, aiming for a stable, central position. If the gift is prone to shifting, you might want to add a layer of tissue paper to the bottom for cushioning.
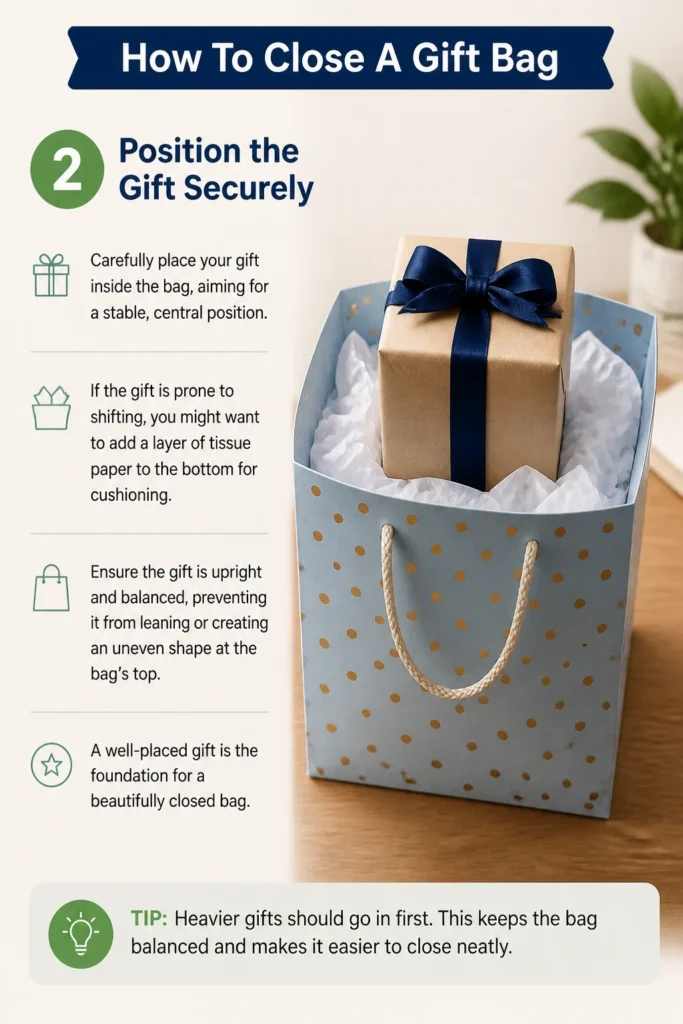
Ensure the gift is upright and balanced, preventing it from leaning or creating an uneven shape at the bag’s top. A well-placed gift is the foundation for a beautifully closed bag.
Step 3: Prepare the Top Edges of the Bag
Once your gift is settled, gently smooth out the top edges of the gift bag. Any creases or wrinkles here will detract from the final presentation.
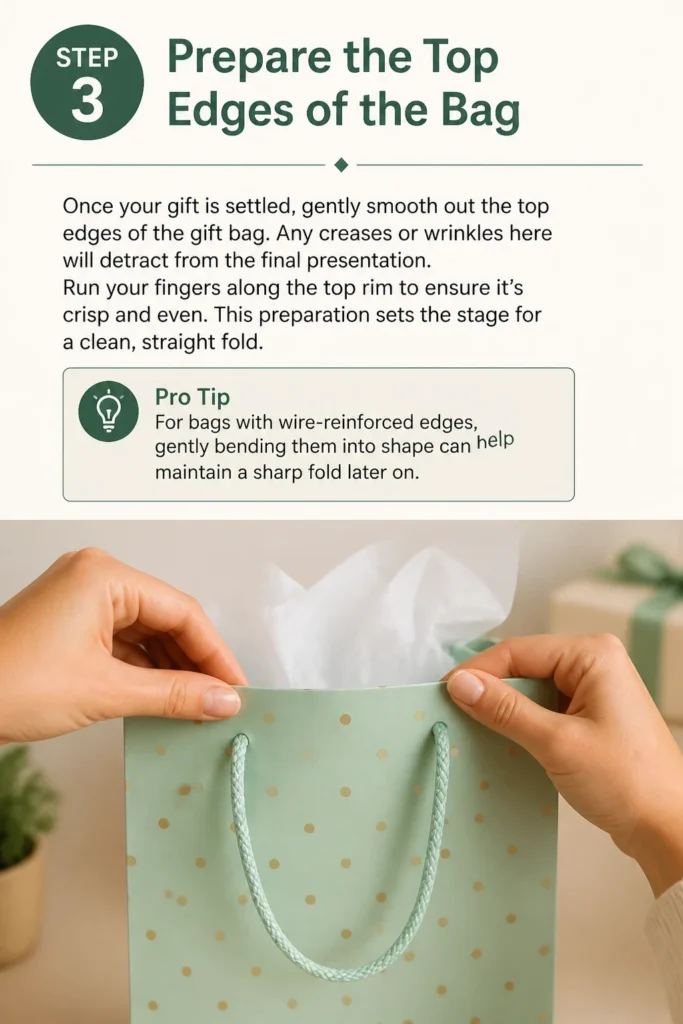
Run your fingers along the top rim to ensure it’s crisp and even. This preparation sets the stage for a clean, straight fold.
Pro Tip: For bags with wire-reinforced edges, gently bending them into shape can help maintain a sharp fold later on.
Step 4: Create the Initial Fold
Now, it’s time to begin closing the bag. Bring the two longer sides of the bag’s top opening together, as if you’re trying to meet them in the middle.
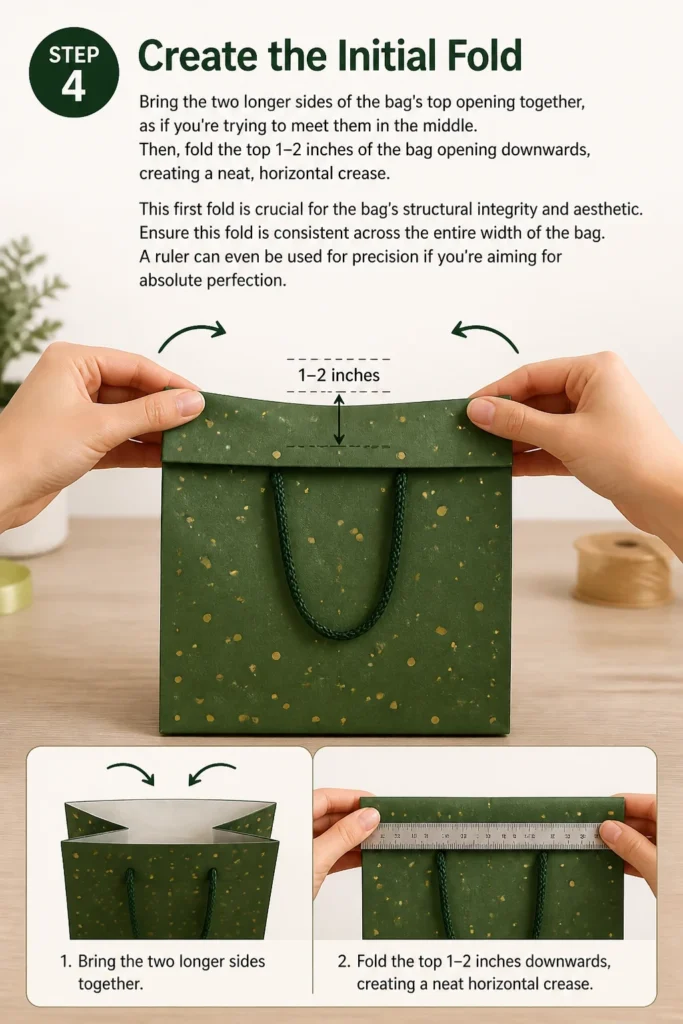
Then, fold the top 1-2 inches of the bag opening downwards, creating a neat, horizontal crease. This first fold is crucial for the bag’s structural integrity and aesthetic.
Ensure this fold is consistent across the entire width of the bag. A ruler can even be used for precision if you’re aiming for absolute perfection.
Step 5: Reinforce the Fold for Stability
After making the initial fold, press down firmly along the crease to set it in place. You can use your fingers or the edge of a ruler for a sharper line.
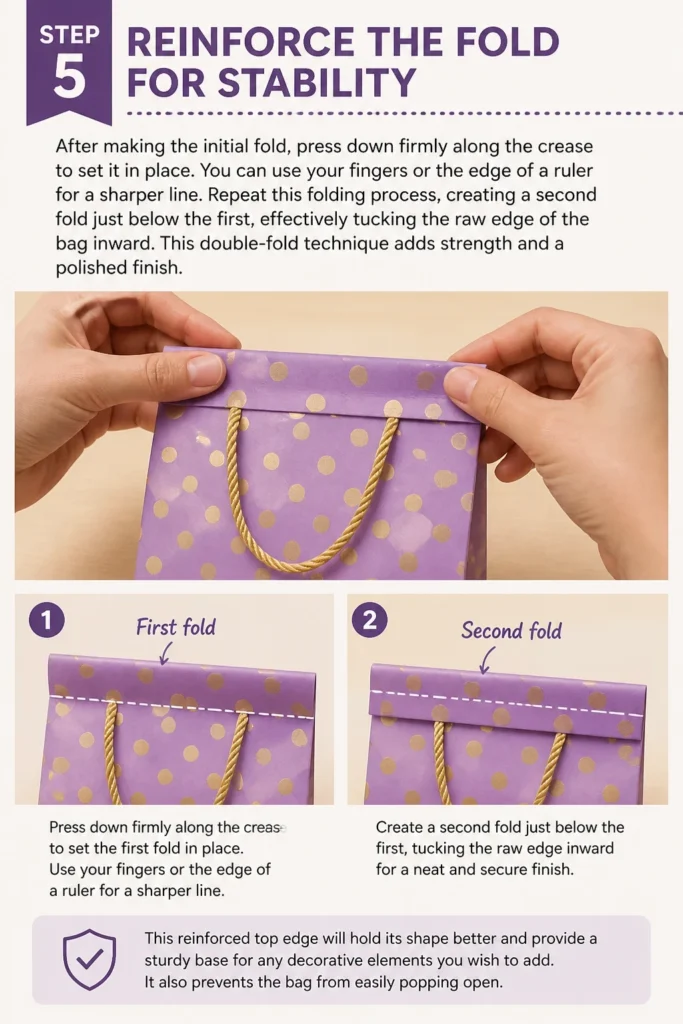
Repeat this folding process, creating a second fold just below the first, effectively tucking the raw edge of the bag inward. This double-fold technique adds strength and a polished finish.
This reinforced top edge will hold its shape better and provide a sturdy base for any decorative elements you wish to add. It also prevents the bag from easily popping open.
Step 6: Add Decorative Tissue Paper (Optional but Recommended)
If you’re using tissue paper, this is the ideal moment to incorporate it. Fluff several sheets of tissue paper and gently insert them into the bag, allowing them to peek out artistically from the top opening.
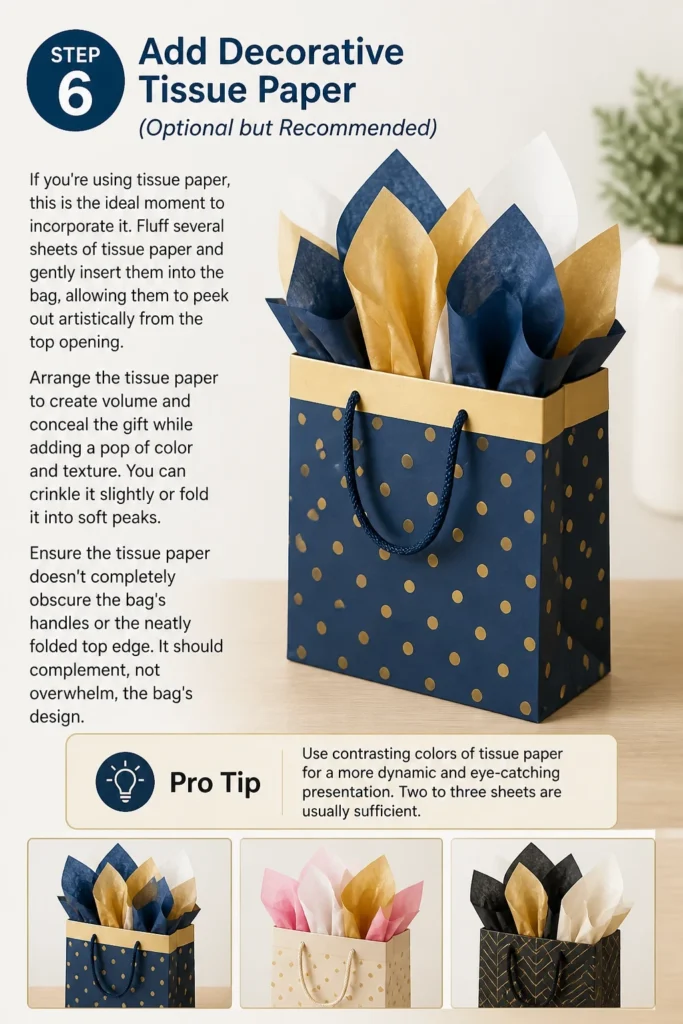
Arrange the tissue paper to create volume and conceal the gift while adding a pop of color and texture. You can crinkle it slightly or fold it into soft peaks.
Ensure the tissue paper doesn’t completely obscure the bag’s handles or the neatly folded top edge. It should complement, not overwhelm, the bag’s design.
Pro Tip: Use contrasting colors of tissue paper for a more dynamic and eye-catching presentation. Two to three sheets are usually sufficient.
Step 7: Attach a Gift Tag or Card
Before fully securing the bag, attach your gift tag or card. This ensures it’s visible and doesn’t get lost in the final closure.
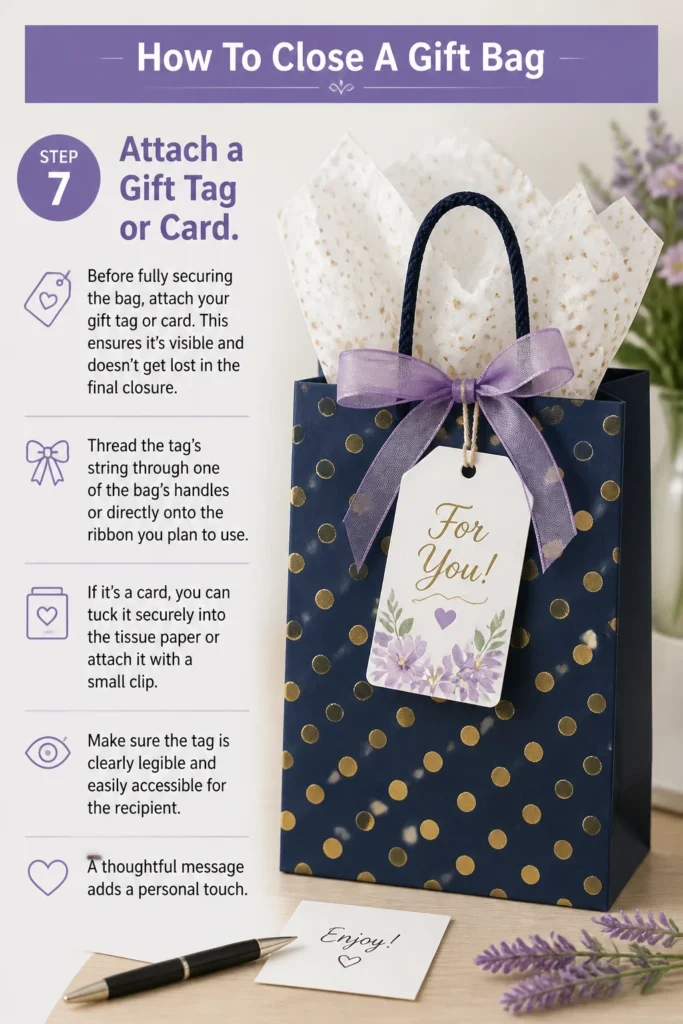
Thread the tag’s string through one of the bag’s handles or directly onto the ribbon you plan to use. If it’s a card, you can tuck it securely into the tissue paper or attach it with a small clip.
Make sure the tag is clearly legible and easily accessible for the recipient. A thoughtful message adds a personal touch.
Step 8: Secure with Ribbon or a Gift Clip
To finalize the closure, you have several elegant options. Choose a ribbon that complements your bag and tissue paper. Cut a generous length, typically 2-3 times the width of the bag.
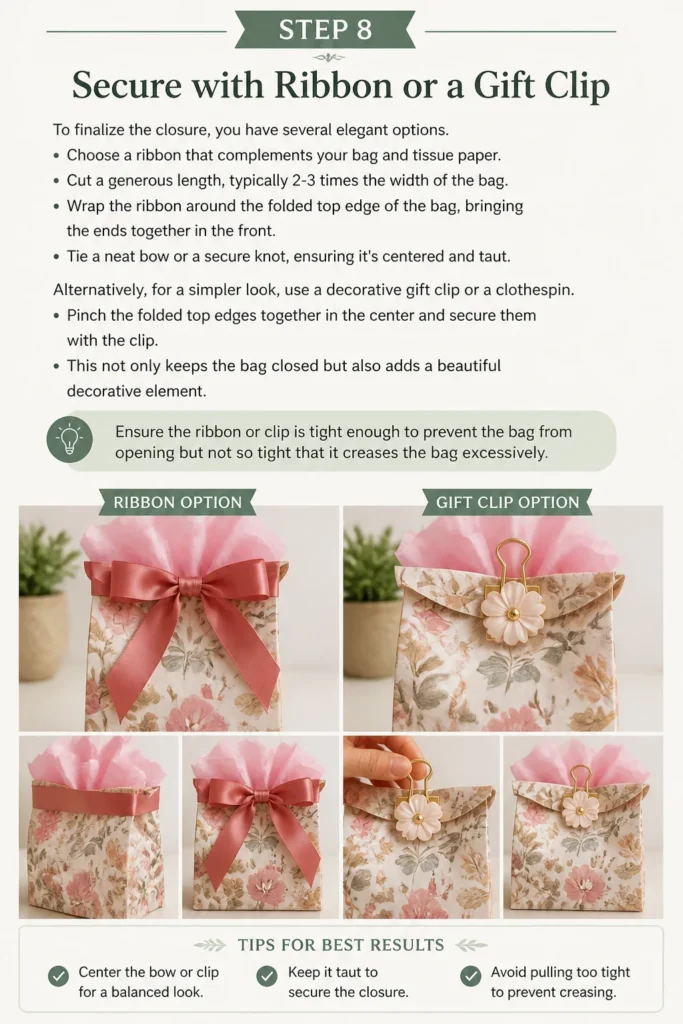
Wrap the ribbon around the folded top edge of the bag, bringing the ends together in the front. Tie a neat bow or a secure knot, ensuring it’s centered and taut.
Alternatively, for a simpler look, use a decorative gift clip or a clothespin. Pinch the folded top edges together in the center and secure them with the clip.
This not only keeps the bag closed but also adds a beautiful decorative element. Ensure the ribbon or clip is tight enough to prevent the bag from opening but not so tight that it creases the bag excessively.
Step 9: Add Embellishments (Optional)
For an extra touch of flair, consider adding small embellishments. This could be a sprig of greenery, a small ornament, or a miniature floral arrangement.
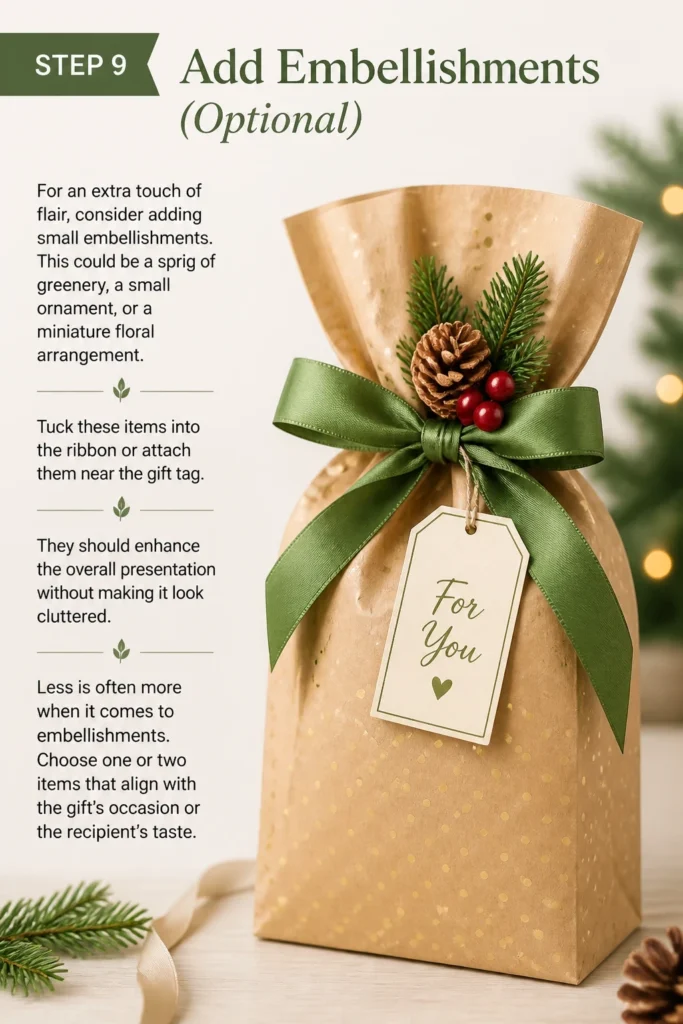
Tuck these items into the ribbon or attach them near the gift tag. They should enhance the overall presentation without making it look cluttered.
Less is often more when it comes to embellishments. Choose one or two items that align with the gift’s occasion or the recipient’s taste.
Step 10: Final Inspection and Adjustments
Take a moment to step back and admire your handiwork. Inspect the bag from all angles to ensure everything is perfectly aligned and secure.
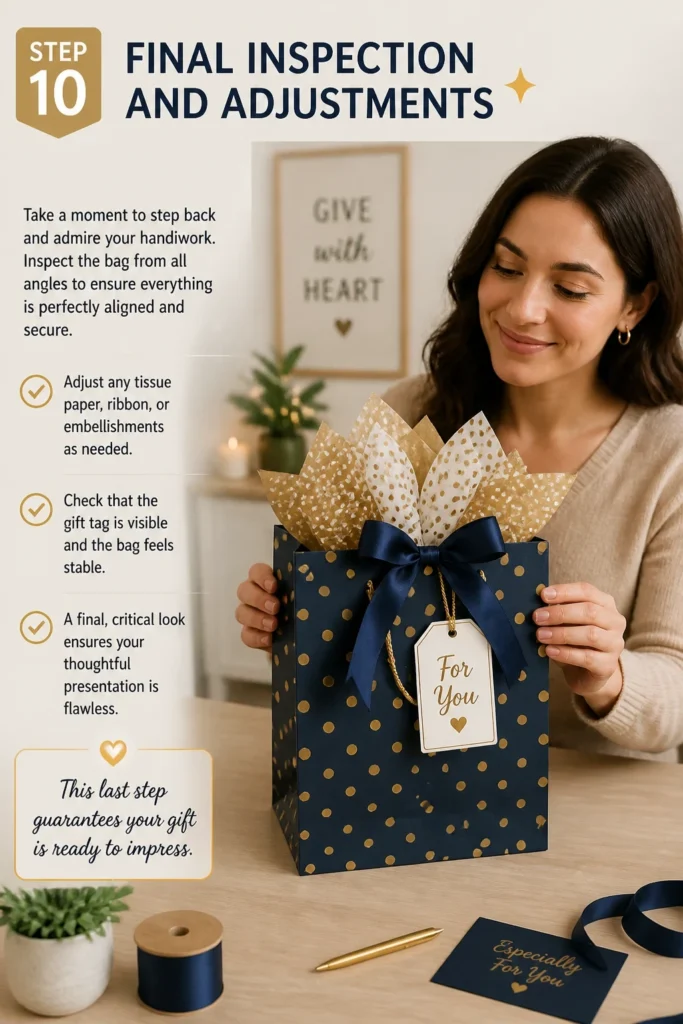
Adjust any tissue paper, ribbon, or embellishments as needed. Check that the gift tag is visible and the bag feels stable.
A final, critical look ensures your thoughtful presentation is flawless. This last step guarantees your gift is ready to impress.
Common Mistakes to Avoid
Overstuffing the Bag
Trying to fit too much into a gift bag is a common pitfall. An overstuffed bag looks strained, can tear easily, and makes it difficult to achieve a neat closure.
Always opt for a slightly larger bag if you’re unsure, allowing ample room for the gift, tissue paper, and a clean fold at the top. This prevents bulging and ensures the bag maintains its elegant shape.
Neglecting the Top Fold
Some people simply crinkle the top of the bag or just tie a ribbon around the handles without creating a proper fold. This results in a messy, unfinished appearance.
The crisp, reinforced fold is fundamental to a polished look. It provides a stable base for decorations and gives the bag structure, making it look intentionally closed rather than hastily gathered.
Using Wrinkled Tissue Paper
Tissue paper adds volume and elegance, but if it’s wrinkled or crushed, it detracts from the presentation. Avoid using tissue paper that looks like it’s been pulled from the bottom of a drawer.
Always use fresh, crisp sheets of tissue paper. Gently fluff and arrange them to create a soft, inviting texture that enhances the gift, rather than detracting from it.
Insecure Ribbon or Clip
A beautiful ribbon or clip is only effective if it securely closes the bag. A loosely tied bow or a weak clip can easily come undone, exposing the gift prematurely.
Ensure your ribbon is tied tightly with a secure knot or bow. If using a clip, test its grip to make sure it firmly holds the bag’s edges together, guaranteeing the surprise remains intact.
Troubleshooting
Bag Won’t Stay Closed
If your bag keeps springing open after you’ve folded it, the material might be too stiff or the fold wasn’t pressed firmly enough. Try pressing the fold again with more force, or even using a bone folder or the back of a spoon to create a sharper crease.
For stubborn bags, a small piece of double-sided tape or a dot of glue on the inside of the folded flap can provide extra adhesion before you add the ribbon or clip. This helps to secure the initial fold.
Gift is Visible Through Tissue Paper
Sometimes, despite adding tissue, the gift’s shape or color can still be seen peeking through. This often happens if the tissue paper is too sparse or too thin.
Add more layers of tissue paper, ensuring they are well-fluffed and strategically placed to completely obscure the gift. You can also use opaque tissue paper or opt for a darker color to provide better coverage.
Ribbon Slips Off
If your ribbon tends to slide down the bag or won’t stay in place, it might be due to the bag’s slick surface or an insufficient knot. Ensure you’re tying a tight, secure knot before forming the bow.
You can also create a small notch on the sides of the bag’s folded top edge, where the ribbon passes, to help it grip. Alternatively, a tiny dab of hot glue or a glue dot on the back of the ribbon where it meets the bag can keep it perfectly positioned.
Key Takeaways
- Always select a gift bag that is appropriately sized for your present.
- Create a clean, reinforced double-fold at the top of the bag for a polished look.
- Use fresh, neatly arranged tissue paper to add volume and conceal the gift.
- Secure the bag with a tight ribbon, a firm clip, or other decorative fasteners.
- Attach gift tags or cards before the final closure to ensure visibility.
- Take time for a final inspection to make any necessary adjustments for a perfect presentation.
Frequently Asked Questions
Can I close a gift bag without tissue paper?
Absolutely. While tissue paper adds a nice touch, it’s not strictly necessary. If you’re skipping tissue, ensure your gift is neatly presented within the bag and that the top fold is extra crisp. You might want to use a more elaborate ribbon or clip to compensate for the lack of internal decoration.
How do I make a gift bag look luxurious?
To elevate a gift bag, focus on quality materials. Choose a sturdy bag with a subtle texture, use silk or satin ribbon, and select thick, crinkle-free tissue paper. Add a personalized, handwritten tag and a small, elegant embellishment like a wax seal or a fresh flower sprig for a truly luxurious feel.
What if my gift bag has no handles?
For bags without handles, the closing process is similar but requires a different securing method. After creating your reinforced top fold, you can punch two small holes through the fold (about an inch apart) and thread your ribbon through them to tie a bow. Alternatively, use a decorative clip that holds the entire folded edge securely.
How can I reuse gift bags effectively?
To reuse gift bags, handle them gently when opening to avoid tearing. Carefully remove any tape or labels. If the bag has a slight crease, you can sometimes gently press it flat with a warm, dry iron on a low setting (test a small area first). Store bags flat or nested inside each other to keep them in pristine condition for future use.
Our Top Recommended Finds
- High-Quality Satin Ribbon Set: Offers a variety of colors and widths to perfectly match any gift bag, adding a touch of elegance and ensuring a secure closure.
- Premium Tissue Paper Assortment: Provides diverse colors and textures, allowing for creative layering and a luxurious feel that beautifully conceals your gift.
- Decorative Gift Clips/Clothespins: A stylish alternative to ribbon, these clips offer a quick and charming way to secure gift bags, especially for a rustic or minimalist aesthetic.
Your Next Masterpiece Awaits
Mastering the art of closing a gift bag is a small but significant detail that elevates the entire gift-giving experience. It transforms a simple present into a thoughtfully prepared gesture, showing your recipient just how much you care.
Now that you have these practical steps and valuable insights, you’re ready to create beautifully presented gifts every time. Don’t underestimate the power of a perfectly closed bag to build excitement and leave a lasting impression.
Go ahead, gather your supplies, and start transforming your gift presentations today. The joy of giving, beautifully packaged, is truly unmatched.
Beginner-friendly templates, step-by-step guides,
and weekly project ideas in your inbox.