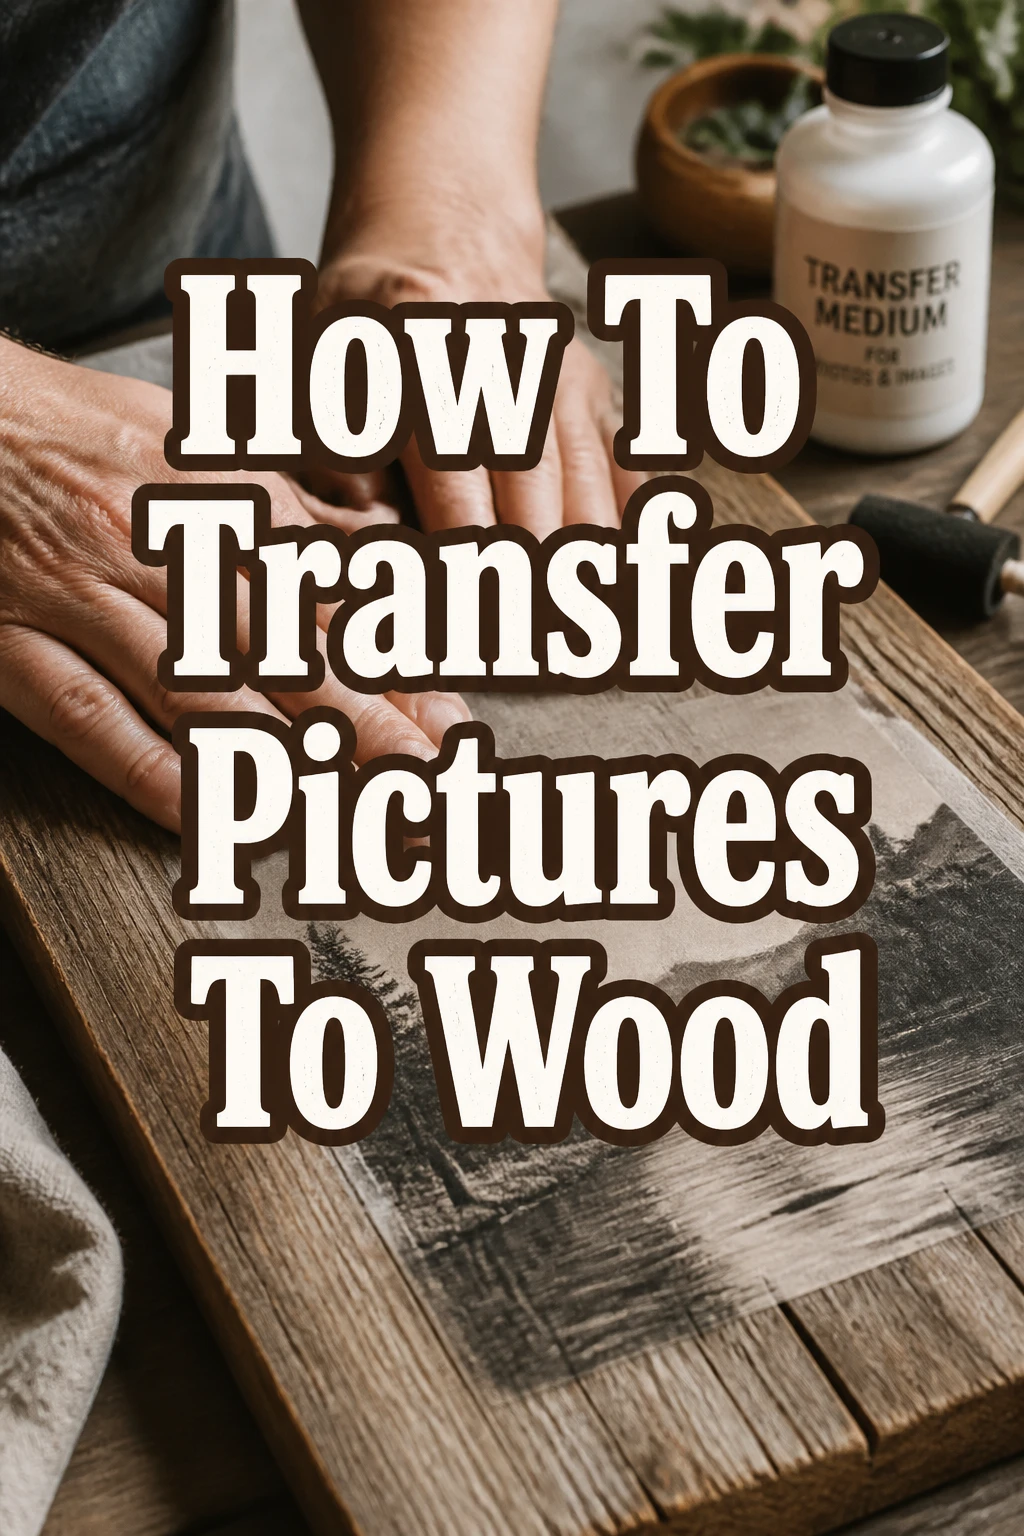
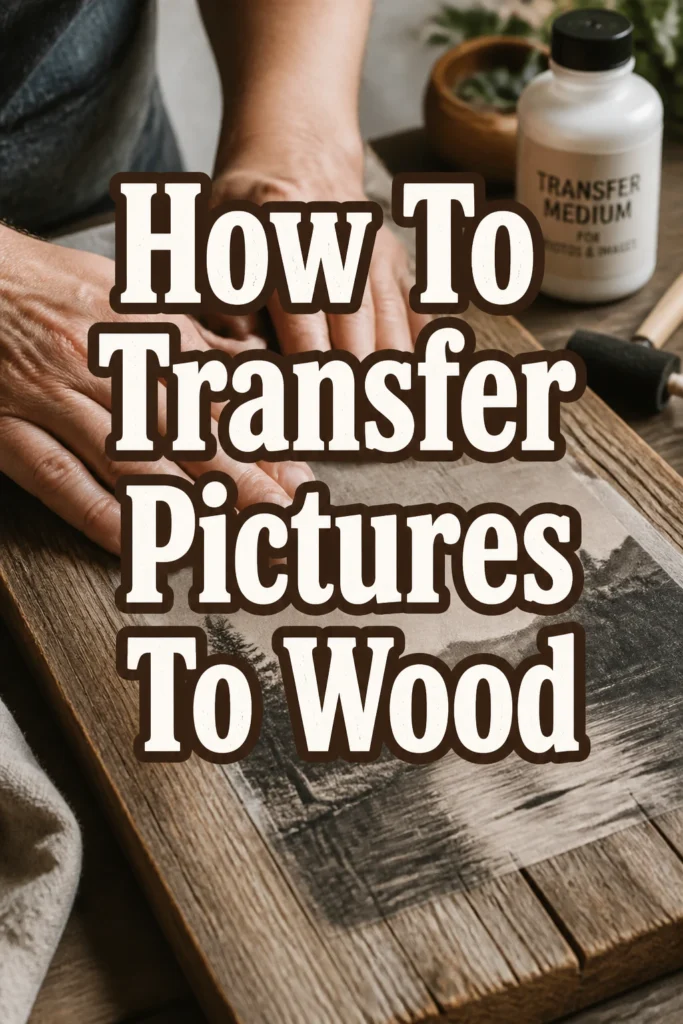
How To Transfer Pictures To Wood

Beginner-friendly templates, step-by-step guides,
and weekly project ideas in your inbox.
Remember that cherished photo, the one you always wished could live beyond a screen or paper?
I’ve spent countless hours in my workshop, transforming digital memories into tangible art, and I’m excited to share my proven method with you.
This guide cuts through the guesswork, offering clear, actionable steps to bring your favorite images to life on wood.
Quick Overview
This guide will walk you through the process of transferring a printed image onto a wooden surface, creating a unique piece of art or a personalized gift. You will learn the best materials to use, how to prepare your surface, and the techniques for a successful transfer.
- Time needed: 3-5 hours (including drying time)
- Difficulty: Beginner
- What you’ll need: Laser-printed image, wood surface, gel medium, brayer or credit card, damp cloth, fine-grit sandpaper, sealant.
Step-by-Step Instructions
Step 1: Choose Your Image and Wood
The foundation of a great wood transfer begins with selecting the right image and wood. Your chosen picture should be vibrant and have good contrast for the best results. A laser-printed image is crucial, as inkjet prints will not transfer properly due to the different ink composition.
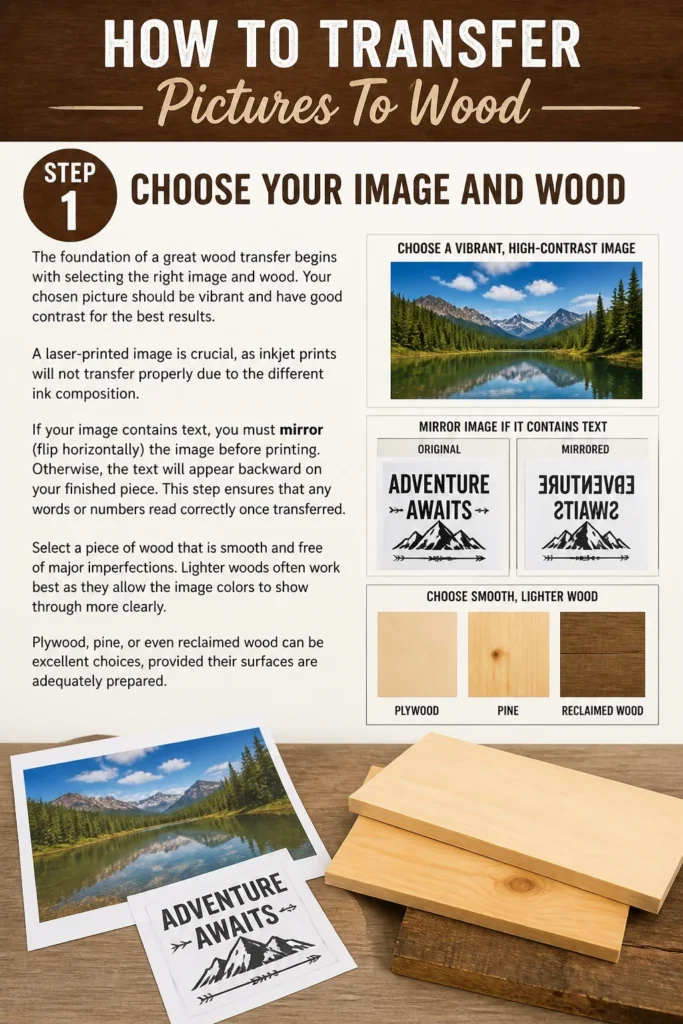
If your image contains text, you must mirror (flip horizontally) the image before printing. Otherwise, the text will appear backward on your finished piece. This step ensures that any words or numbers read correctly once transferred.
Select a piece of wood that is smooth and free of major imperfections. Lighter woods often work best as they allow the image colors to show through more clearly. Plywood, pine, or even reclaimed wood can be excellent choices, provided their surfaces are adequately prepared.
Pro Tip: For your first attempt, choose a simple image without intricate details or text. This helps you get a feel for the process without added complexity.
Step 2: Prepare Your Wood Surface
A smooth surface is essential for a clean, even transfer. Start by sanding your wood piece thoroughly with fine-grit sandpaper, such as 220-grit. Sanding helps the gel medium adhere better and prevents any bumps or splinters from interfering with the image.
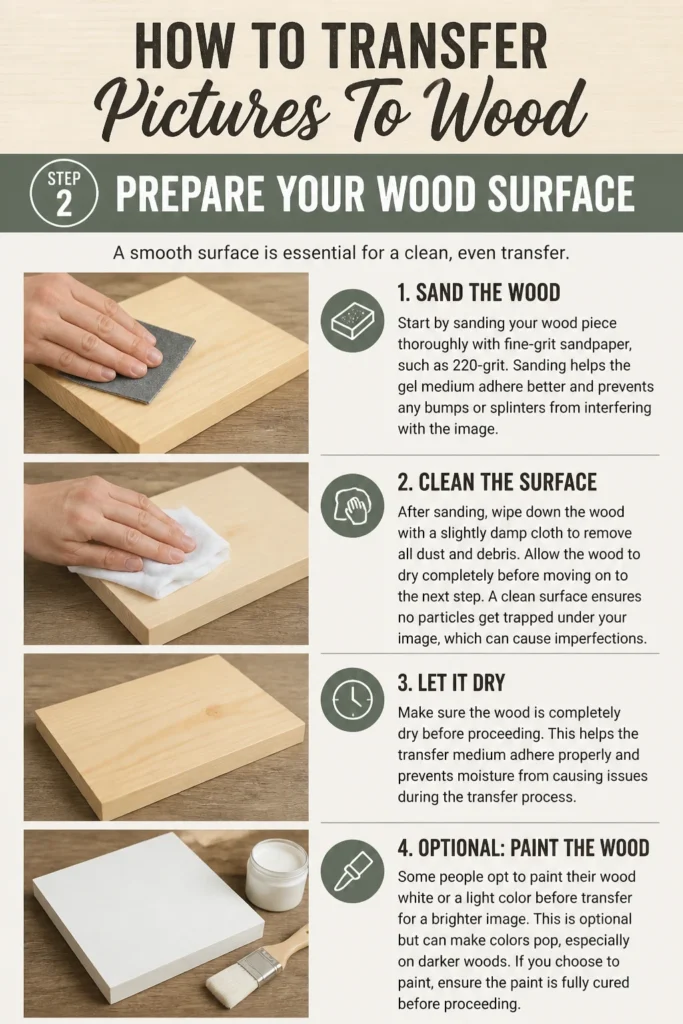
After sanding, wipe down the wood with a slightly damp cloth to remove all dust and debris. Allow the wood to dry completely before moving on to the next step. A clean surface ensures no particles get trapped under your image, which can cause imperfections.
Some people opt to paint their wood white or a light color before transfer for a brighter image. This is optional but can make colors pop, especially on darker woods. If you choose to paint, ensure the paint is fully cured before proceeding.
Step 3: Print Your Image
As mentioned, a laser printer is non-negotiable for this technique. The toner from a laser printer is what reacts with the gel medium to transfer the image effectively. Inkjet inks, being water-based, will simply smudge and not transfer properly.
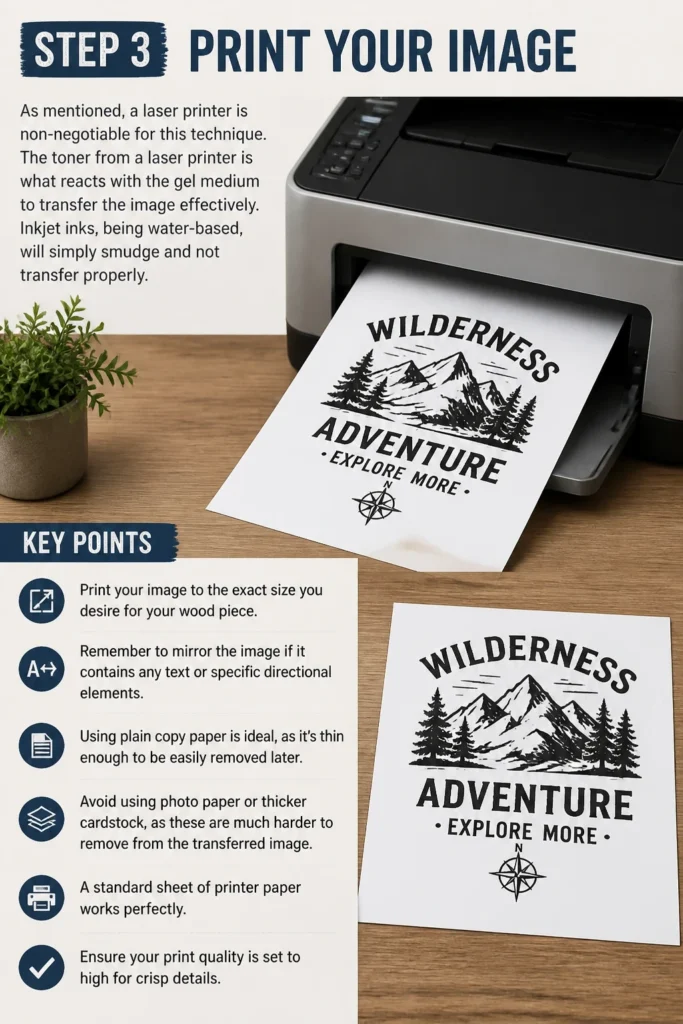
Print your image to the exact size you desire for your wood piece. Remember to mirror the image if it contains any text or specific directional elements. Using plain copy paper is ideal, as it’s thin enough to be easily removed later.
Avoid using photo paper or thicker cardstock, as these are much harder to remove from the transferred image. A standard sheet of printer paper works perfectly. Ensure your print quality is set to high for crisp details.
Step 4: Apply the Gel Medium
Now it’s time to apply the adhesive that will bond your image to the wood. Use a generous, but not overly thick, layer of gel medium on the printed side of your image. You can also apply it directly to the wood surface, ensuring full coverage.
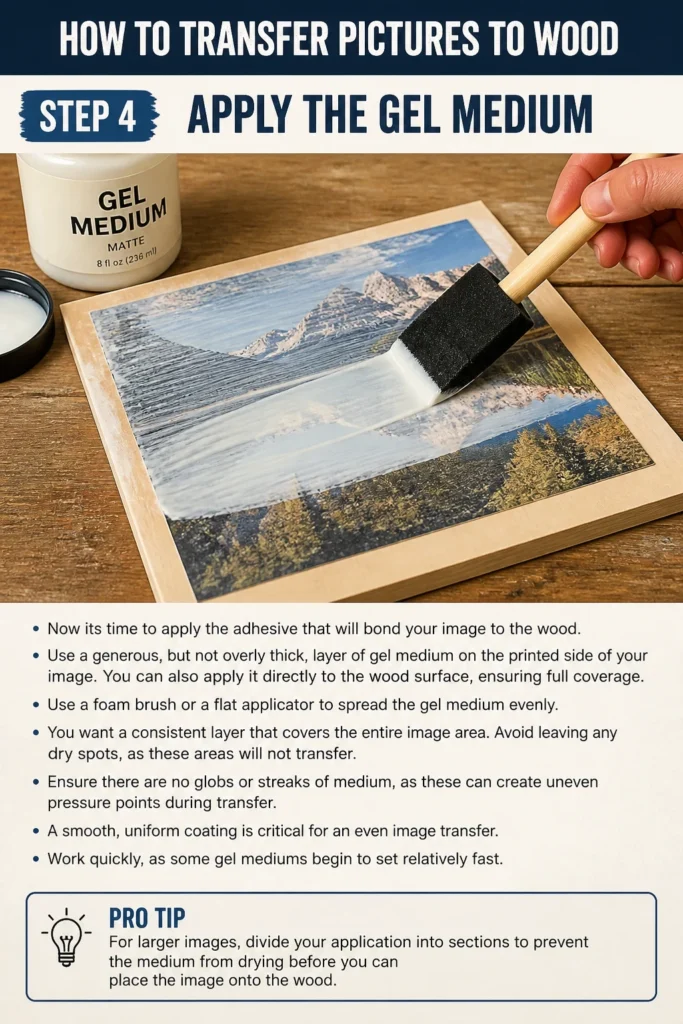
Use a foam brush or a flat applicator to spread the gel medium evenly. You want a consistent layer that covers the entire image area. Avoid leaving any dry spots, as these areas will not transfer.
Ensure there are no globs or streaks of medium, as these can create uneven pressure points during transfer. A smooth, uniform coating is critical for an even image transfer. Work quickly, as some gel mediums begin to set relatively fast.
Pro Tip: For larger images, divide your application into sections to prevent the medium from drying before you can place the image. This ensures consistent adhesion across the entire surface.
Step 5: Position the Image
Carefully pick up your laser-printed image, with the wet gel medium side facing down. Align it precisely onto your prepared wood surface. Take your time with this step, as once the paper touches the wood, it’s difficult to reposition without smudging.
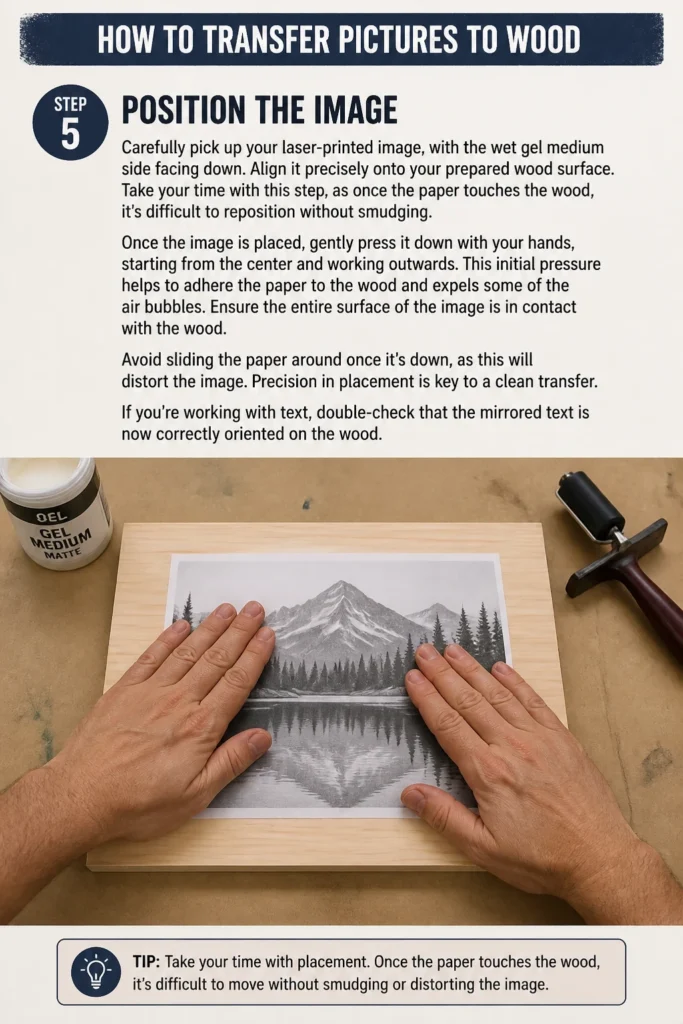
Once the image is placed, gently press it down with your hands, starting from the center and working outwards. This initial pressure helps to adhere the paper to the wood and expels some of the air bubbles. Ensure the entire surface of the image is in contact with the wood.
Avoid sliding the paper around once it’s down, as this will distort the image. Precision in placement is key to a clean transfer. If you’re working with text, double-check that the mirrored text is now correctly oriented on the wood.
Step 6: Smooth Out Bubbles
After placing the image, it’s crucial to remove any trapped air bubbles or excess gel medium. Use a brayer, a credit card, or even the edge of a ruler for this task. Start from the center of the image and firmly roll or scrape outwards.
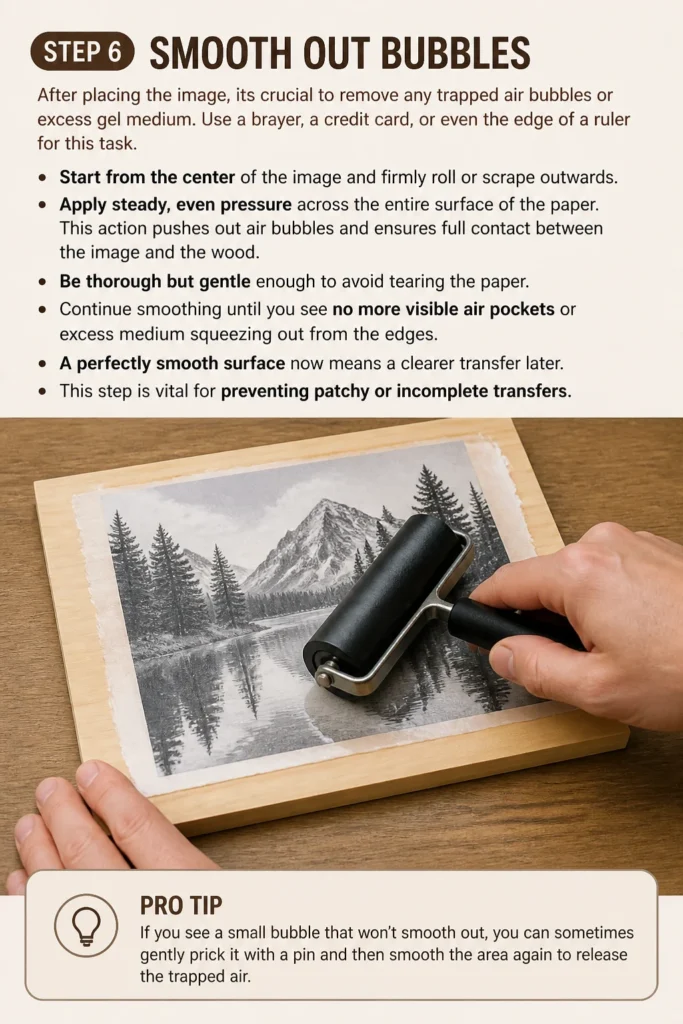
Apply steady, even pressure across the entire surface of the paper. This action pushes out air bubbles and ensures full contact between the image and the wood. Be thorough but gentle enough to avoid tearing the paper.
Continue smoothing until you see no more visible air pockets or excess medium squeezing out from the edges. A perfectly smooth surface now means a clearer transfer later. This step is vital for preventing patchy or incomplete transfers.
Pro Tip: If you see a small bubble that won’t smooth out, you can sometimes gently prick it with a pin and then re-smooth the area. Do this carefully to avoid damaging the paper.
Step 7: Allow for Drying
Patience is a virtue, especially in this step. The gel medium needs ample time to dry completely and bond the image toner to the wood. This usually takes a minimum of 8-12 hours, but for best results, allow it to dry for 24 hours.
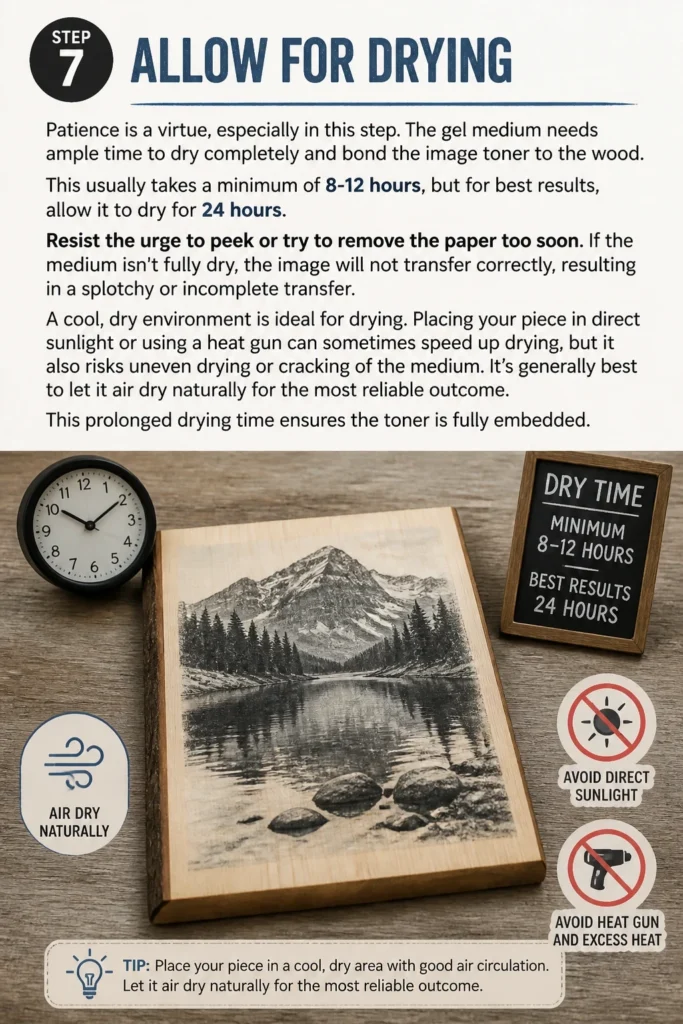
Resist the urge to peek or try to remove the paper too soon. If the medium isn’t fully dry, the image will not transfer correctly, resulting in a splotchy or incomplete transfer. A cool, dry environment is ideal for drying.
Placing your piece in direct sunlight or using a heat gun can sometimes speed up drying, but it also risks uneven drying or cracking of the medium. It’s generally best to let it air dry naturally for the most reliable outcome. This prolonged drying time ensures the toner is fully embedded.
Step 8: Remove the Paper Backing
This is the most satisfying, yet delicate, part of the process. Once the gel medium is completely dry, dampen a cloth or sponge with water. Gently begin to rub the paper backing in small, circular motions.
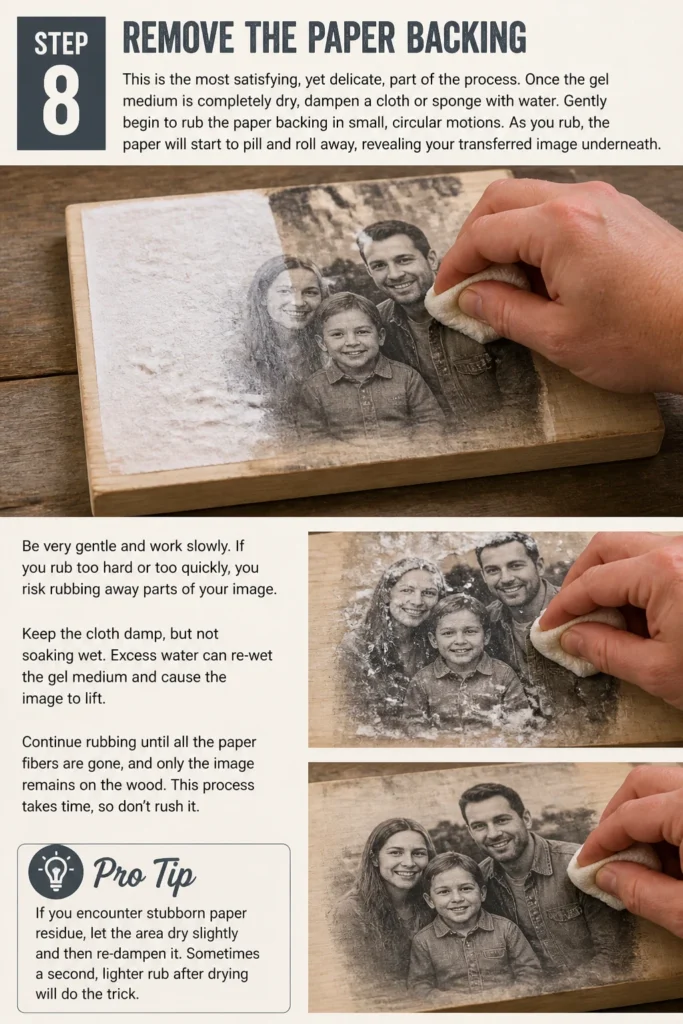
As you rub, the paper will start to pill and roll away, revealing your transferred image underneath. Be very gentle and work slowly. If you rub too hard or too quickly, you risk rubbing away parts of your image.
Keep the cloth damp, but not soaking wet. Excess water can re-wet the gel medium and cause the image to lift. Continue rubbing until all the paper fibers are gone, and only the image remains on the wood. This process takes time, so don’t rush it.
Pro Tip: If you encounter stubborn paper residue, let the area dry slightly and then re-dampen it. Sometimes a second, lighter rub after partial drying works wonders for removing the last bits of paper.
Step 9: Clean Up and Finish
After successfully removing all the paper, your image is now permanently transferred to the wood. You might notice a slight milky haze from the gel medium. This is normal and will clear up when you apply a sealant.
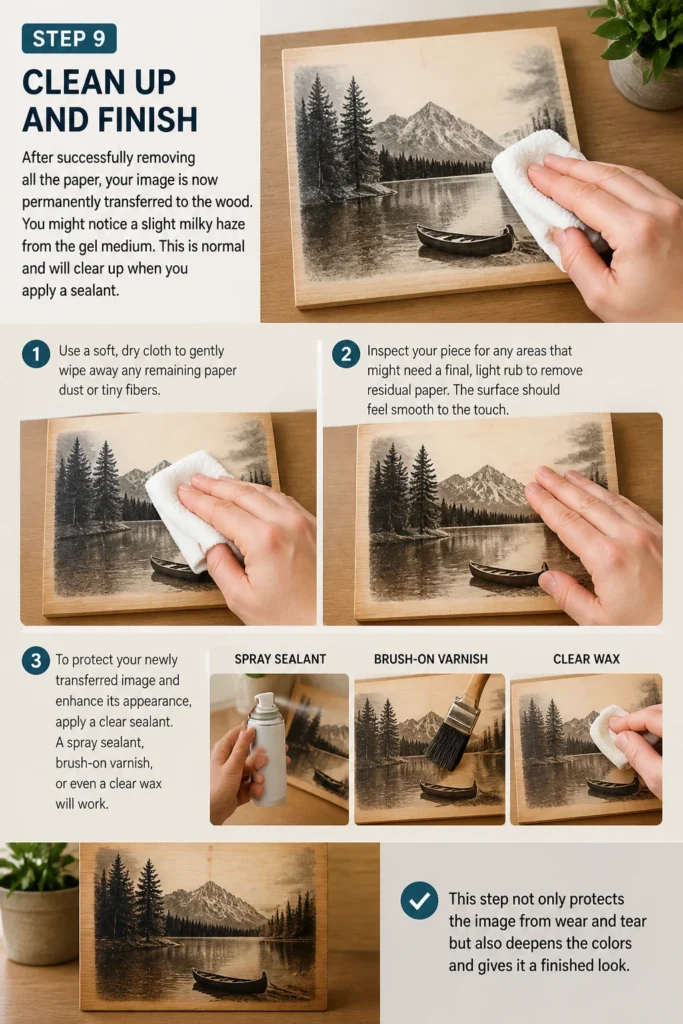
Use a soft, dry cloth to gently wipe away any remaining paper dust or tiny fibers. Inspect your piece for any areas that might need a final, light rub to remove residual paper. The surface should feel smooth to the touch.
To protect your newly transferred image and enhance its appearance, apply a clear sealant. A spray sealant, brush-on varnish, or even a clear wax will work. This step not only protects the image from wear and tear but also deepens the colors and gives it a finished look.
Common Mistakes to Avoid
Using Inkjet Prints
Many beginners make the mistake of using an inkjet printer for their images. Inkjet ink is water-based and will simply bleed or smudge when it comes into contact with the gel medium and water during the transfer process. This results in a messy, unusable transfer with no clear image. Always ensure your image is printed using a laser printer, which uses toner that bonds effectively with the gel medium.
Applying Too Much or Too Little Gel Medium
The amount of gel medium applied is critical for a successful transfer. Too little medium will result in patchy, incomplete transfers because not enough toner is picked up from the paper. Conversely, applying too much medium can create a thick, uneven layer that traps air bubbles and makes paper removal difficult, leaving a cloudy residue. Aim for a consistent, medium layer that covers the entire image area without pooling.
Impatience During Drying and Paper Removal
Rushing the drying process is a common pitfall. If the gel medium isn’t fully cured, the toner won’t have properly bonded to the wood, leading to the image peeling off with the paper. Similarly, being too aggressive or impatient during paper removal can rub away parts of your image. Allow ample drying time (at least 12-24 hours) and then approach the paper removal with gentle, circular motions and a damp cloth.
Not Mirroring the Image
For any image containing text, numbers, or a specific orientation, failing to mirror (horizontally flip) the image before printing will lead to disappointment. When transferred, the image will be reversed, making text unreadable. Always double-check your print settings to ensure the image is mirrored if it contains any elements that need to be read or oriented a specific way.
Troubleshooting
Image Not Transferring Fully or Appears Patchy
If parts of your image are missing or the transfer looks inconsistent, several factors could be at play. It might indicate that the gel medium was not applied evenly, leaving dry spots that didn’t bond with the toner. Alternatively, insufficient pressure during the smoothing step could have left air bubbles, preventing full contact. Ensure even medium application and thorough smoothing with a brayer. Allowing more drying time can also sometimes help bond stubborn areas.
Stubborn Paper Residue Remaining
Finding small bits of paper stuck to your image after rubbing is a common issue. This often happens if the paper wasn’t fully saturated or if you didn’t rub long enough. To fix this, let the area dry slightly, then re-dampen a clean cloth and gently rub the stubborn spots again. Fine-grit sandpaper (like 400-grit) can also be used very lightly once the piece is completely dry to remove tiny, thin paper fibers without damaging the image.
Image Appears Blurry or Faded
A blurry or faded transfer can be disappointing. This usually points to issues with the original print quality or improper paper removal. Ensure your laser printer is printing at its highest quality setting for a crisp image. If the image looks faded, it might be due to rubbing too hard during paper removal, which can partially lift the toner. Always use gentle, controlled movements when removing paper to preserve image clarity.
Key Takeaways
- Laser-printed images are absolutely essential for successful toner transfer.
- Thorough wood preparation, including sanding and cleaning, is crucial for adhesion.
- Apply gel medium evenly and avoid both excessive and insufficient amounts.
- Patience during the 12-24 hour drying period ensures proper bonding.
- Gentle, circular rubbing is key to removing paper without damaging the image.
- Always mirror images with text or specific orientations before printing.
Frequently Asked Questions
Can I use any type of wood for this project?
While you can use various types of wood, smoother, lighter-colored woods tend to yield the best results. Pine, birch, or even sanded plywood work wonderfully as they allow the image colors to show through clearly. Rough or very dark woods might obscure details or alter the image’s appearance.
What if I don’t have a laser printer?
If you don’t own a laser printer, you can often get your images laser-printed at local print shops, office supply stores, or libraries for a small fee. This is a common solution, as inkjet prints simply won’t work for this transfer method due to the difference in ink composition.
How do I protect the finished piece from wear and tear?
To protect your transferred image from moisture, scuffs, and fading, it’s highly recommended to apply a clear sealant. Options include spray varnishes, brush-on clear coats, or even a layer of clear wax. Ensure the sealant is appropriate for wood and fully cured before handling the piece extensively.
Can I transfer photos to curved surfaces?
Transferring to curved surfaces is more challenging but certainly possible. The key is to ensure complete contact between the image and the curved surface during placement and smoothing. You might need to make small relief cuts in the paper along the edges to help it conform without wrinkling. Practice on a similar curved scrap piece first.
Our Top Recommended Finds
- Mod Podge Photo Transfer Medium: This specific gel medium is formulated for photo transfers, offering reliable adhesion and easy paper removal.
- Rubber Brayer: An essential tool for smoothing out air bubbles and ensuring even contact between the image and wood surface, significantly improving transfer quality.
- Fine-Grit Sandpaper Assortment: Having a range of fine-grit sandpaper (220-400 grit) helps you achieve a perfectly smooth wood surface and allows for gentle removal of any stubborn paper residue post-transfer.
Your Next Masterpiece Awaits
You now possess the practical knowledge to transform your favorite photographs and designs into stunning wooden art. This process, while requiring patience, offers immense creative satisfaction and opens up a world of personalized decor and gifting possibilities.
Don’t let your cherished memories stay hidden on a screen. Gather your materials, choose that special image, and embark on your first wood transfer project today. Imagine the joy of seeing your digital moments come to life, beautifully etched onto a tangible piece of wood.
Beginner-friendly templates, step-by-step guides,
and weekly project ideas in your inbox.