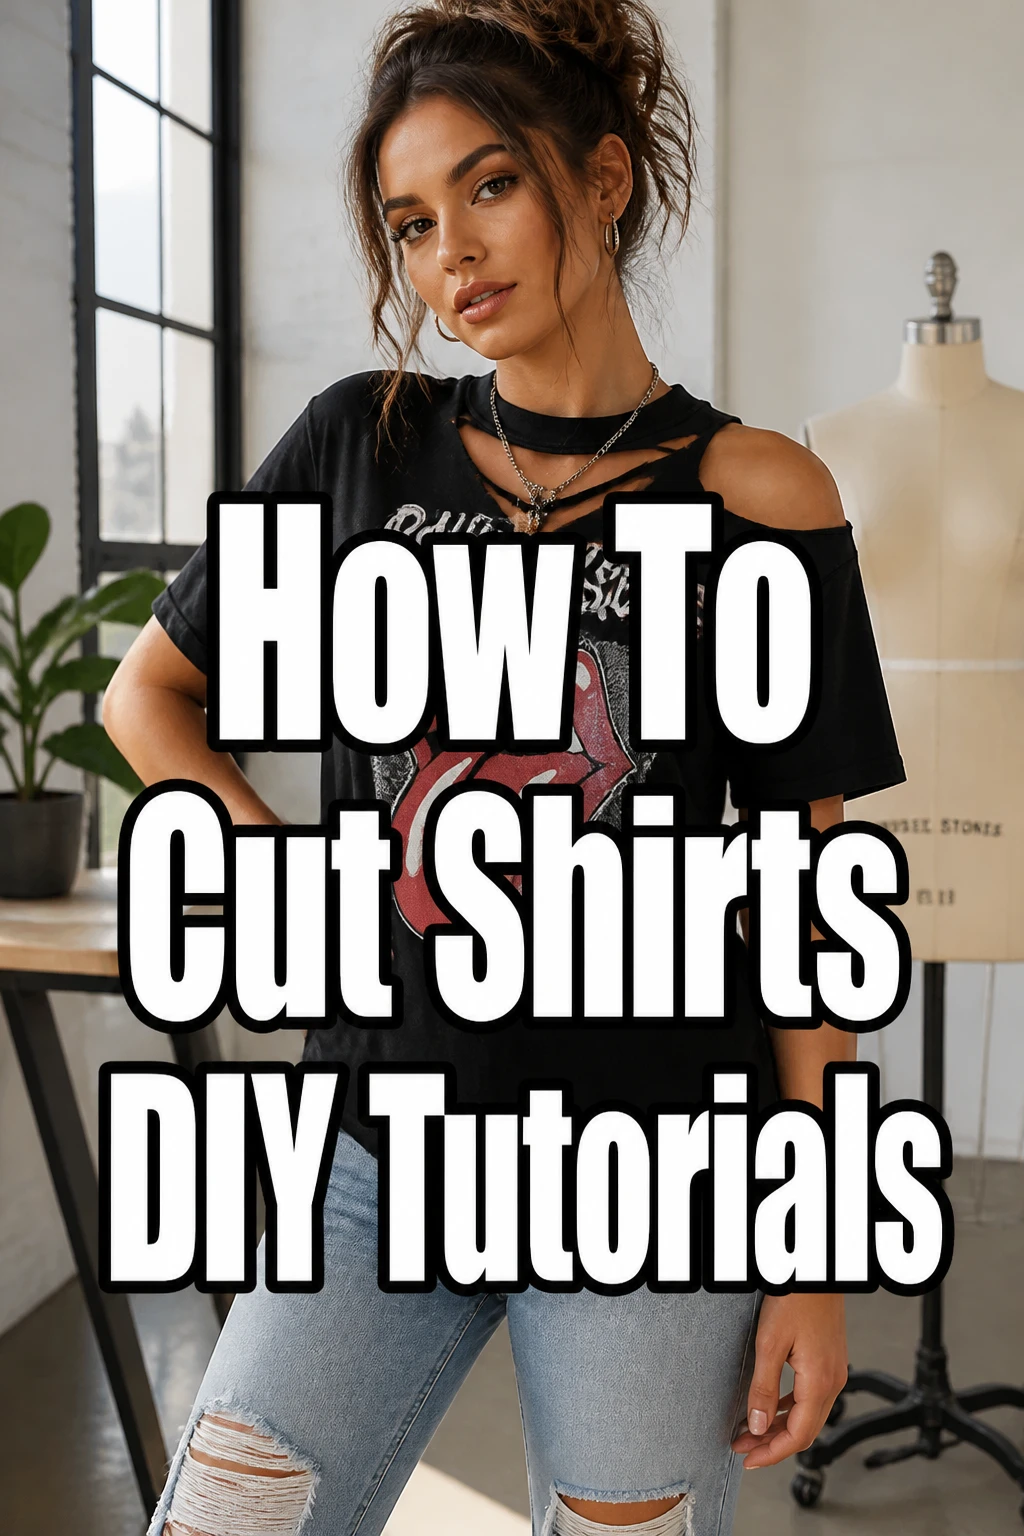
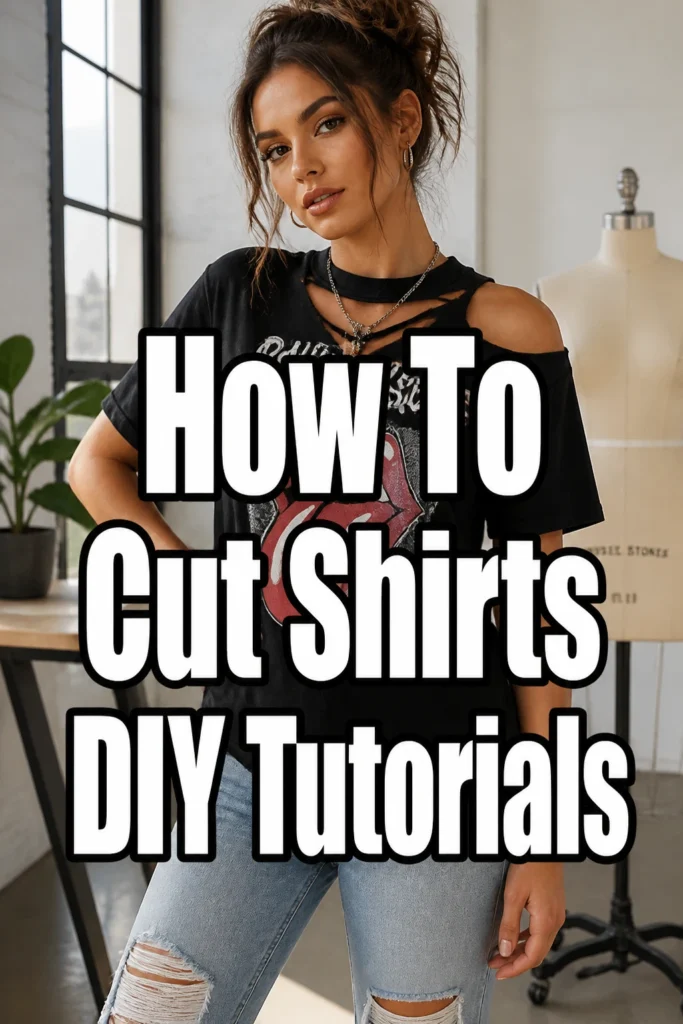
How To Cut Shirts DIY Tutorials

Beginner-friendly templates, step-by-step guides,
and weekly project ideas in your inbox.
I remember the first time I tried to turn a boxy oversized t-shirt into a cute crop top using kitchen scissors and no plan.
The edges were jagged and the front was significantly shorter than the back because I cut it while the fabric was bunched up.
Since that afternoon, I have spent years refining these techniques to ensure every DIY project looks like a high-end boutique find rather than a craft project gone wrong.
Quick Overview
This guide will teach you how to transform basic t-shirts into custom pieces that fit your body perfectly.
- Time needed: 20 to 45 minutes
- Difficulty: Beginner
- What you’ll need: Fabric shears, tailor’s chalk, a ruler, and a flat workspace
Step 1: Prepare Your Fabric and Workspace
Clear a large, flat surface like a dining table or a clean hardwood floor to lay your shirt out completely flat.
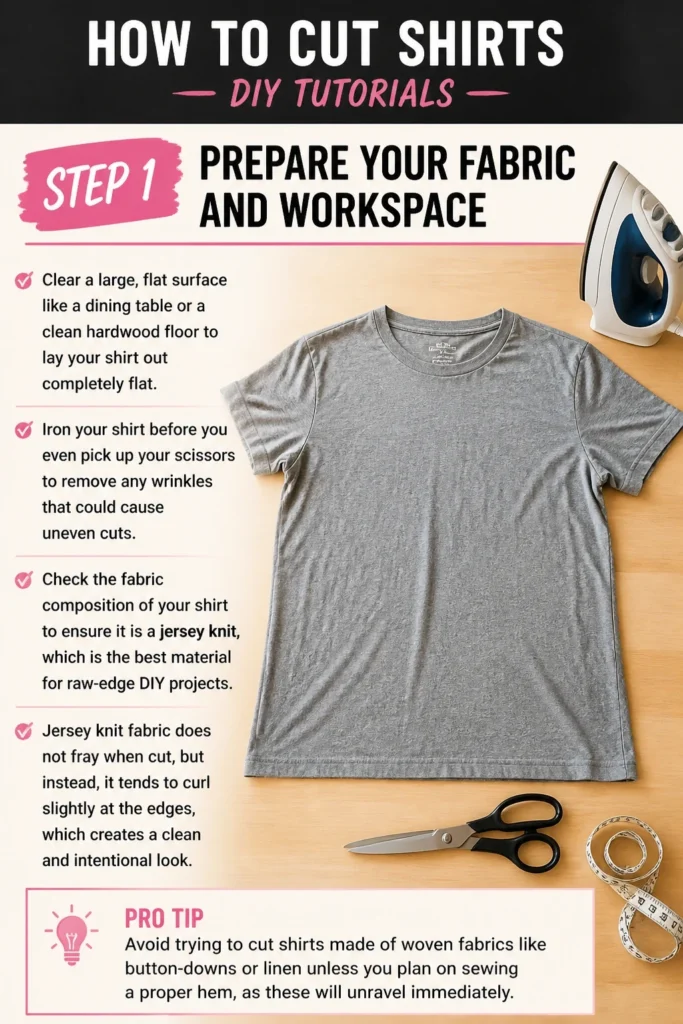
Iron your shirt before you even pick up your scissors to remove any wrinkles that could cause uneven cuts.
Check the fabric composition of your shirt to ensure it is a jersey knit, which is the best material for raw-edge DIY projects.
Jersey knit fabric does not fray when cut, but instead, it tends to curl slightly at the edges, which creates a clean and intentional look.
Pro Tip: Avoid trying to cut shirts made of woven fabrics like button-downs or linen unless you plan on sewing a proper hem, as these will unravel immediately.
Step 2: Choose Your Desired Style
Decide if you want a classic crop top, a muscle tee with deep armholes, or a wide off-the-shoulder neckline.
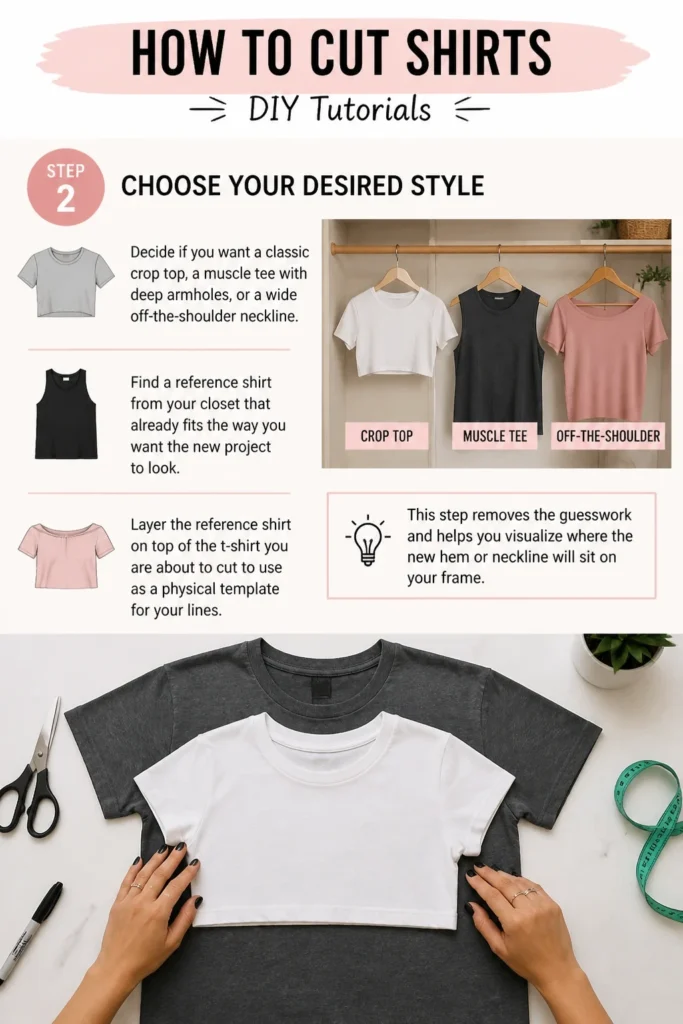
Find a reference shirt from your closet that already fits the way you want the new project to look.
Layer the reference shirt on top of the t-shirt you are about to cut to use as a physical template for your lines.
This step removes the guesswork and helps you visualize where the new hem or neckline will sit on your frame.
Step 3: Mark Your Lines With Precision
Use tailor’s chalk or a washable fabric marker to draw your cutting lines directly onto the fabric.
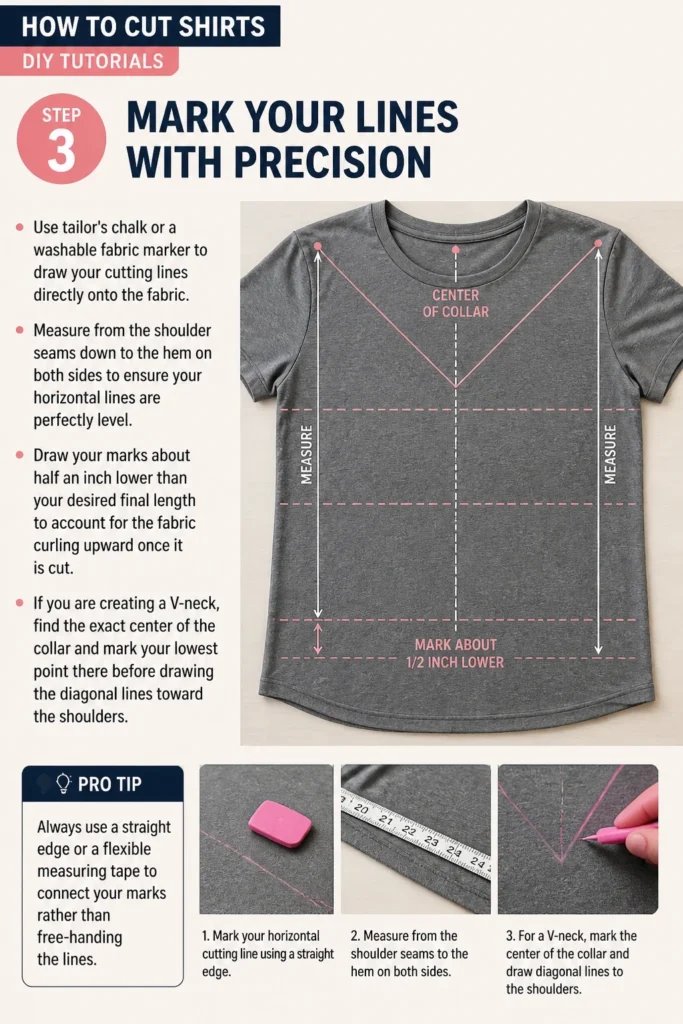
Measure from the shoulder seams down to the hem on both sides to ensure your horizontal lines are perfectly level.
Draw your marks about half an inch lower than your desired final length to account for the fabric curling upward once it is cut.
If you are creating a V-neck, find the exact center of the collar and mark your lowest point there before drawing the diagonal lines toward the shoulders.
Pro Tip: Always use a straight edge or a flexible measuring tape to connect your marks rather than free-handing the lines.
Step 4: Master the Neckline Cut
Separate the front and back layers of the shirt if you only want to change the depth of the front neckline.
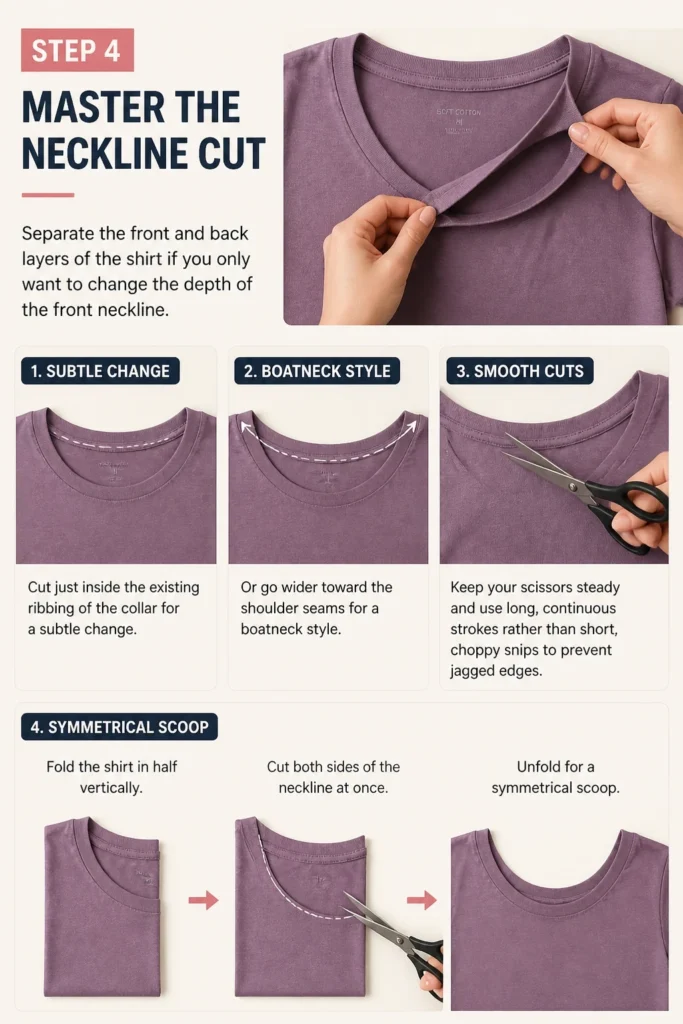
Cut just inside the existing ribbing of the collar for a subtle change, or go wider toward the shoulder seams for a boatneck style.
Keep your scissors steady and use long, continuous strokes rather than short, choppy snips to prevent jagged edges.
If you want a symmetrical scoop, fold the shirt in half vertically and cut both sides of the neckline at once.
Step 5: Modify the Sleeves and Armholes
Remove the sleeve seams entirely if you are aiming for a muscle tee or a tank top look.
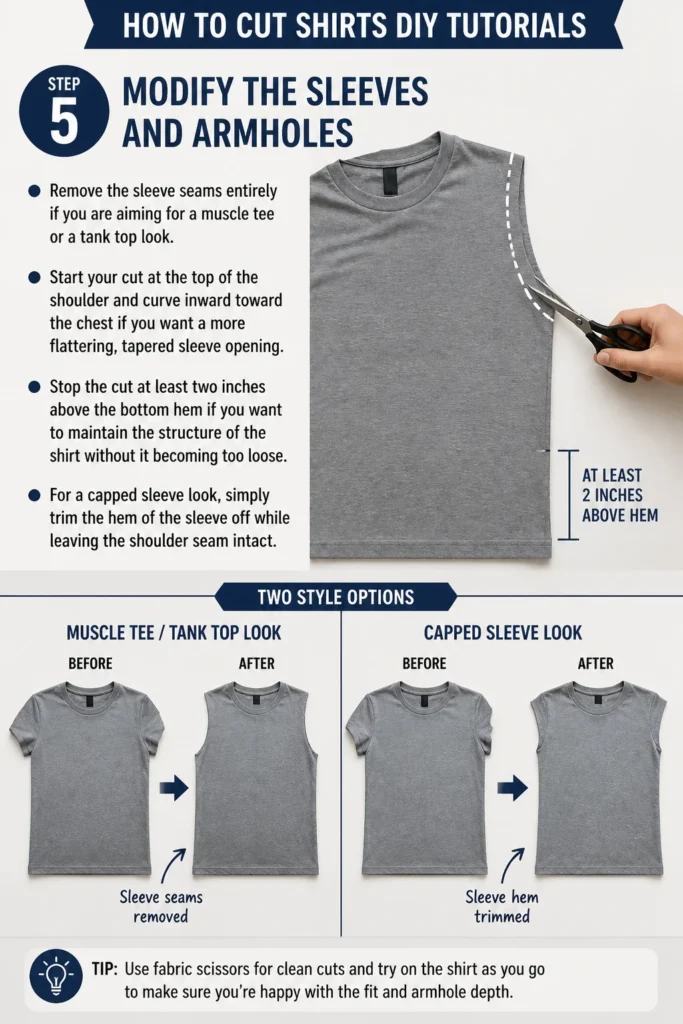
Start your cut at the top of the shoulder and curve inward toward the chest if you want a more flattering, tapered sleeve opening.
Stop the cut at least two inches above the bottom hem if you want to maintain the structure of the shirt without it becoming too loose.
For a capped sleeve look, simply trim the hem of the sleeve off while leaving the shoulder seam intact.
Step 6: Execute the Hemline Cut
Position your scissors at the side seam and follow your chalk line across the width of the shirt.
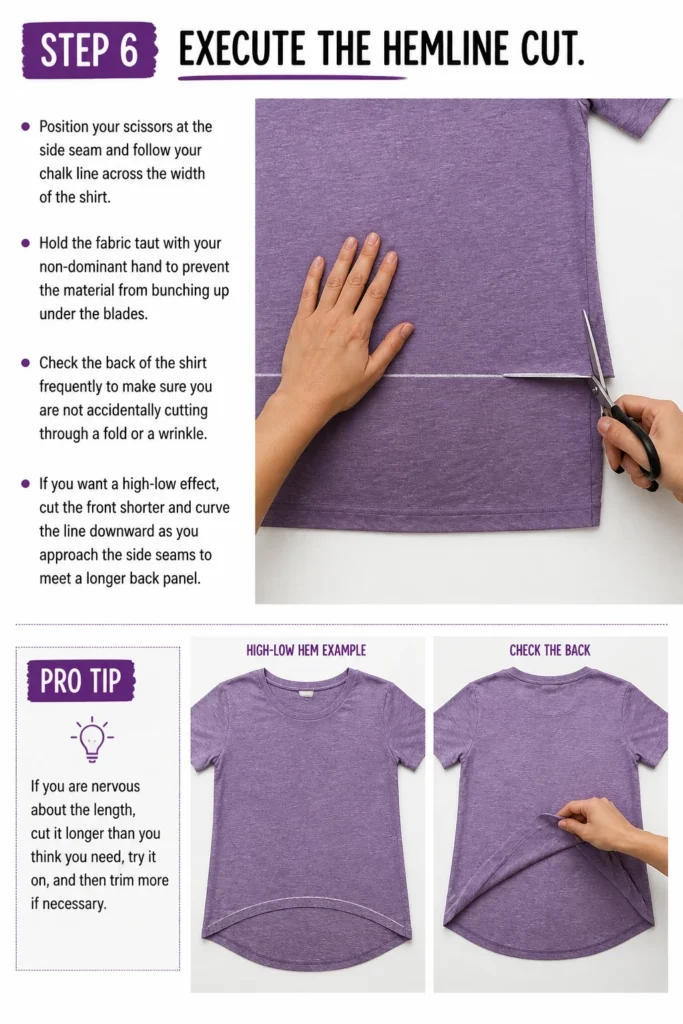
Hold the fabric taut with your non-dominant hand to prevent the material from bunching up under the blades.
Check the back of the shirt frequently to make sure you are not accidentally cutting through a fold or a wrinkle.
If you want a high-low effect, cut the front shorter and curve the line downward as you approach the side seams to meet a longer back panel.
Pro Tip: If you are nervous about the length, cut it longer than you think you need, try it on, and then trim more if necessary.
Step 7: The Stretch and Roll Technique
Grip the newly cut edges of the fabric firmly with both hands.
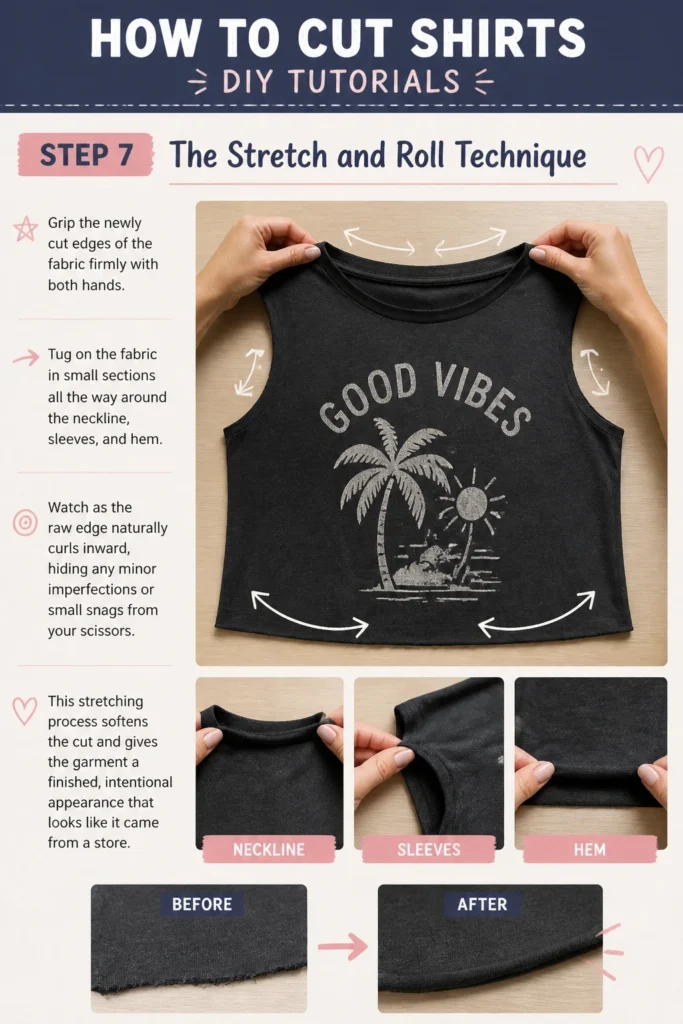
Tug on the fabric in small sections all the way around the neckline, sleeves, and hem.
Watch as the raw edge naturally curls inward, hiding any minor imperfections or small snags from your scissors.
This stretching process softens the cut and gives the garment a finished, intentional appearance that looks like it came from a store.
Step 8: Final Refinement and Cleaning
Try the shirt on one last time to check for symmetry and overall fit.
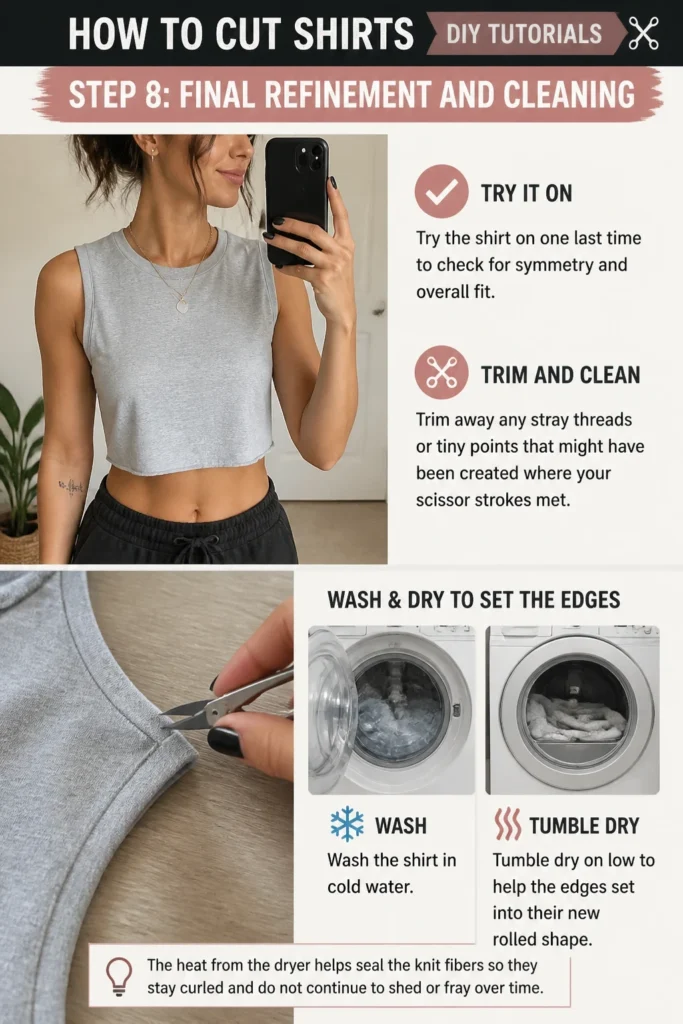
Trim away any stray threads or tiny points that might have been created where your scissor strokes met.
Wash the shirt in cold water and tumble dry on low to help the edges set into their new rolled shape.
The heat from the dryer helps “seal” the knit fibers so they stay curled and do not continue to shed or fray over time.
Common Mistakes to Avoid
Using Paper Scissors
Using standard household scissors is the quickest way to ruin a shirt. These blades are often too dull to slice through knit fabric cleanly, leading to chewed edges and uneven lines. Invest in a pair of dedicated fabric shears that are only used for cloth to maintain their sharpness.
Cutting While Wearing the Shirt
It is tempting to just snip a little off the bottom while you are standing in front of a mirror. However, your body creates curves and tension that distort the fabric. Always lay the garment flat on a hard surface to ensure your measurements and cuts are accurate.
Ignoring the Side Seams
Many beginners forget to align the side seams before they start cutting the hem. If the side seams are twisted or not perfectly stacked, one side of your shirt will end up shorter than the other. Take the time to smooth out the shirt and align the seams before marking your lines.
Forgetting the Fabric Grain
Fabric has a direction, and cutting against the natural stretch can cause the shirt to hang strangely. Ensure your shirt is pulled straight and not skewed diagonally before you begin. A skewed shirt will result in a hem that twists around your waist after the first wash.
Troubleshooting
The Edges Look Jagged or Choppy
This usually happens when you use small, quick cutting motions. To fix this, go back over the edge with very sharp scissors and use the full length of the blade in one smooth motion. If the edge is still messy, the “stretch and roll” technique will usually hide these minor flaws.
The Shirt Is Too Short
If you accidentally cut the hem too high, you can transform the mistake into a stylistic choice. You can cut fringe into the bottom of the shirt to add length, or wear it as a layering piece over a longer tank top. Alternatively, you can use the discarded fabric to create a matching headband or hair tie.
The Neckline Is Uneven
Uneven necklines are common when cutting the front and back at the same time. Fold the shirt in half vertically, aligning the shoulder seams and the center of the collar. Trim the lopsided side to match the other while the shirt is folded to ensure perfect symmetry.
Key Takeaways
- Always use sharp fabric shears to ensure clean and professional edges.
- Iron your shirt before cutting to eliminate wrinkles that cause measurement errors.
- Jersey knit fabric is the best choice for DIY cutting because it rolls rather than frays.
- Mark your lines with chalk and use a reference shirt to guide your design.
- Stretch the raw edges after cutting to create a finished, boutique-style look.
- Wash and dry the garment immediately after cutting to set the new shape.
Frequently Asked Questions
Will my shirt fall apart if I do not sew the edges?
If your shirt is made of a cotton jersey or a synthetic knit blend, it will not fall apart. These fabrics are constructed in a way that prevents them from unraveling like a woven fabric would. The edges will simply curl up slightly, which is a popular aesthetic in casual wear.
How do I make sure the sleeves are the same length?
The best way to get identical sleeves is to fold the shirt in half so the sleeves are perfectly stacked on top of each other. Cut through both layers at once using a very sharp pair of shears. This ensures that the angle and length are mirrored perfectly on both sides.
Can I fix a hole I accidentally cut in the middle of the shirt?
If you accidentally nick the main body of the shirt, you can turn it into a “distressed” look. Add a few more small, intentional cuts or holes in surrounding areas to make the mistake look like a design element. This works particularly well for rocker-style tees or gym shirts.
What is the best way to cut a perfectly straight line?
Using a rotary cutter and a self-healing mat is the most effective way to get a perfectly straight line. If you only have scissors, use a long ruler to draw a solid line with chalk first. Follow that line slowly, keeping the bottom blade of the scissors in contact with the table at all times.
Our Top Recommended Finds
- Professional Fabric Shears: Look for heavy-duty stainless steel blades that can glide through multiple layers of cotton without snagging.
- Tailors Chalk Set: A variety of colors will help you mark lines on both light and dark fabrics clearly without leaving permanent stains.
- Acrylic Quilting Ruler: A long, clear ruler allows you to see the fabric underneath while you measure, ensuring your lines are square to the seams.
Start Your Wardrobe Transformation Today
Now that you have the foundational skills to modify your clothing, you can stop settling for shirts that do not fit your style.
Take an old shirt from the back of your closet and practice these techniques before moving on to your favorite pieces.
Once you master the basic crop and neckline adjustment, you can experiment with more advanced techniques like back-braiding or lattice cutting.
The beauty of DIY fashion is that there are no mistakes, only opportunities to create something entirely unique to you.
Beginner-friendly templates, step-by-step guides,
and weekly project ideas in your inbox.