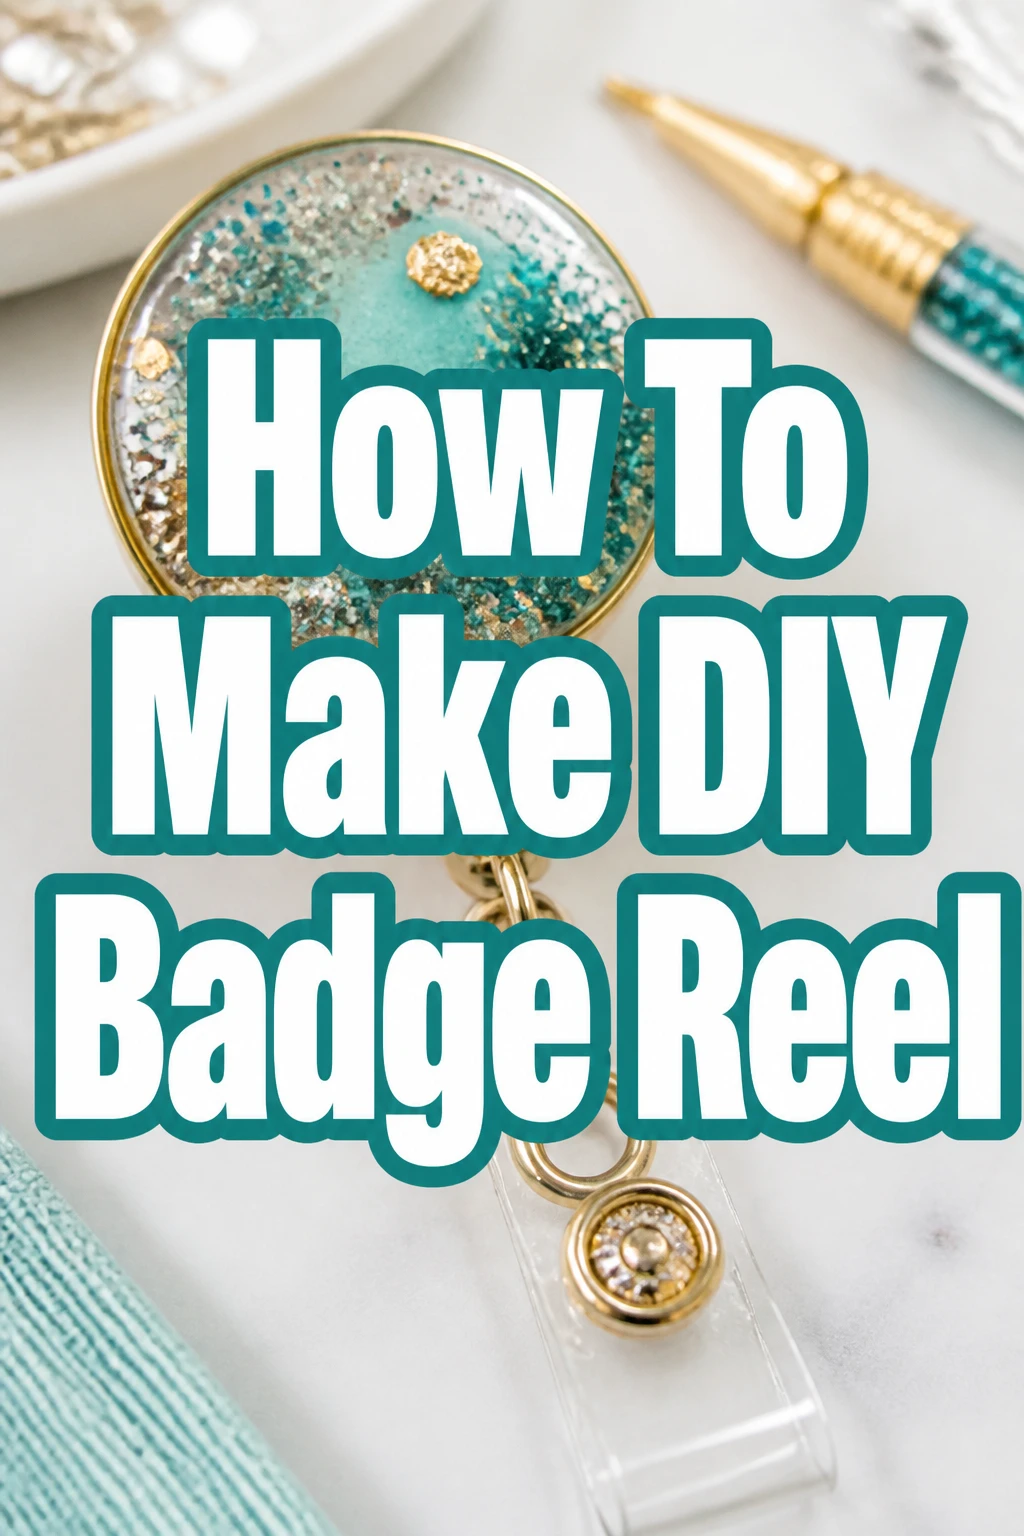
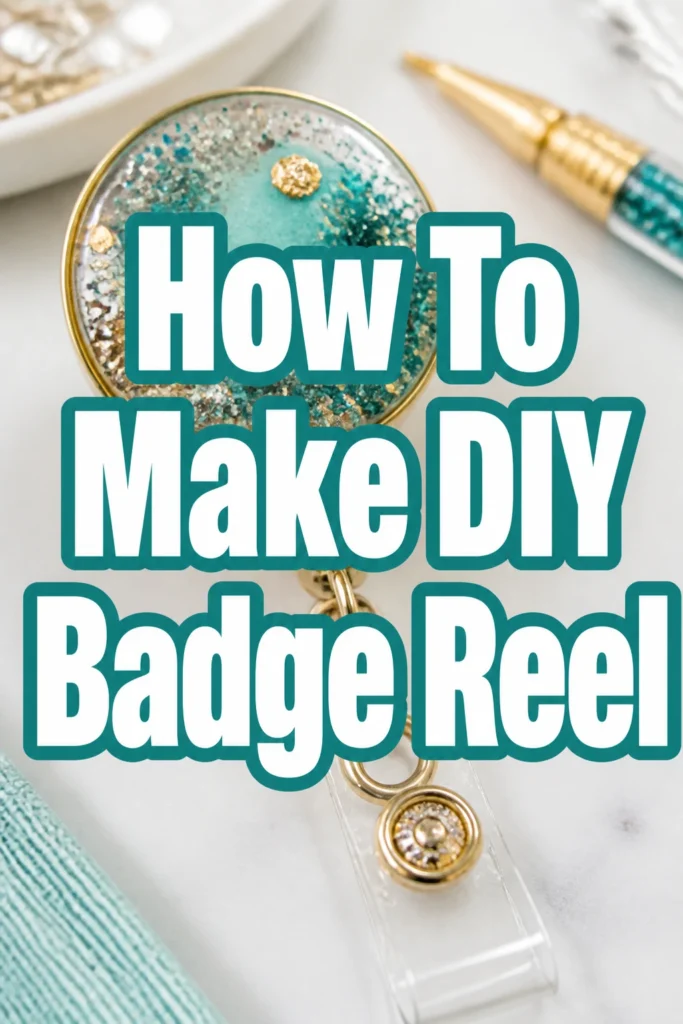
How To Make DIY Badge Reel

Beginner-friendly templates, step-by-step guides,
and weekly project ideas in your inbox.
Making your own badge reel is a fantastic way to personalize your everyday work or school accessories.
I’ve crafted dozens of these over the years, from simple designs to intricate, multi-layered creations, and I’m excited to share my proven methods with you.
This guide will walk you through each step, ensuring you create a durable and stylish badge reel that truly reflects your personality.
Quick Overview
You’re about to transform a basic badge reel into a personalized accessory that stands out. This project is perfect for adding a touch of flair to your scrubs, uniform, or ID.
- Time needed: 45-90 minutes (including drying time)
- Difficulty: Beginner
- What you’ll need: Blank retractable badge reel, adhesive, decorative elements, clear sealant
Step-by-Step Instructions
Step 1: Gather Your Supplies
Before you begin, lay out all your materials on a clean, flat surface. This prevents interruptions and helps you visualize your design.
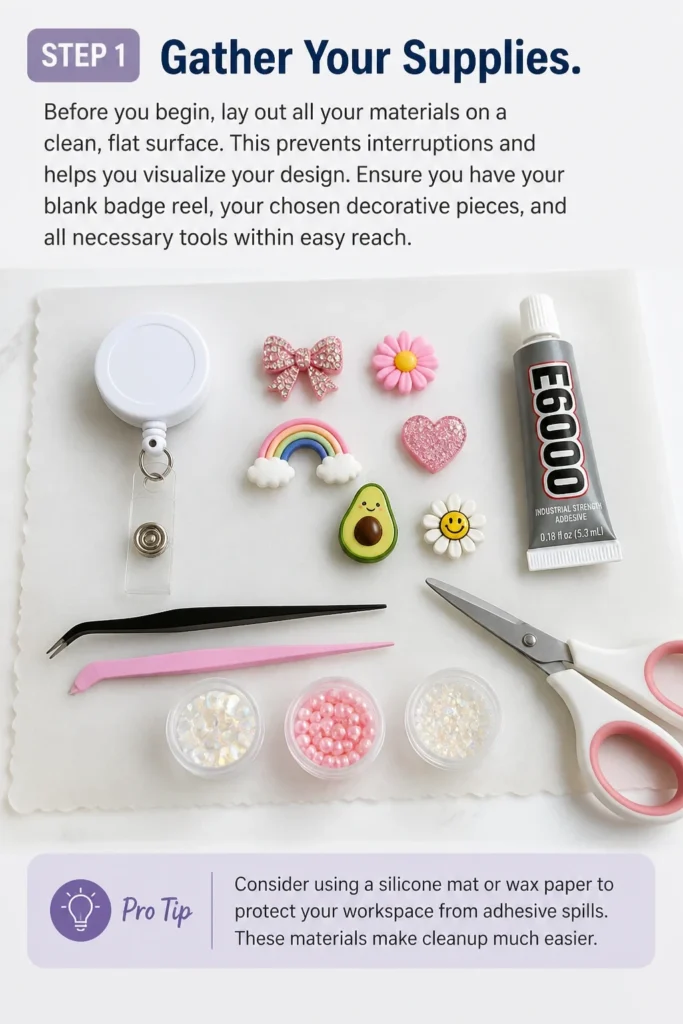
Ensure you have your blank badge reel, your chosen decorative pieces, and all necessary tools within easy reach.
Pro Tip: Consider using a silicone mat or wax paper to protect your workspace from adhesive spills. These materials make cleanup much easier.
Step 2: Choose Your Base Badge Reel
Select a high-quality blank retractable badge reel. These are readily available online or at craft stores.
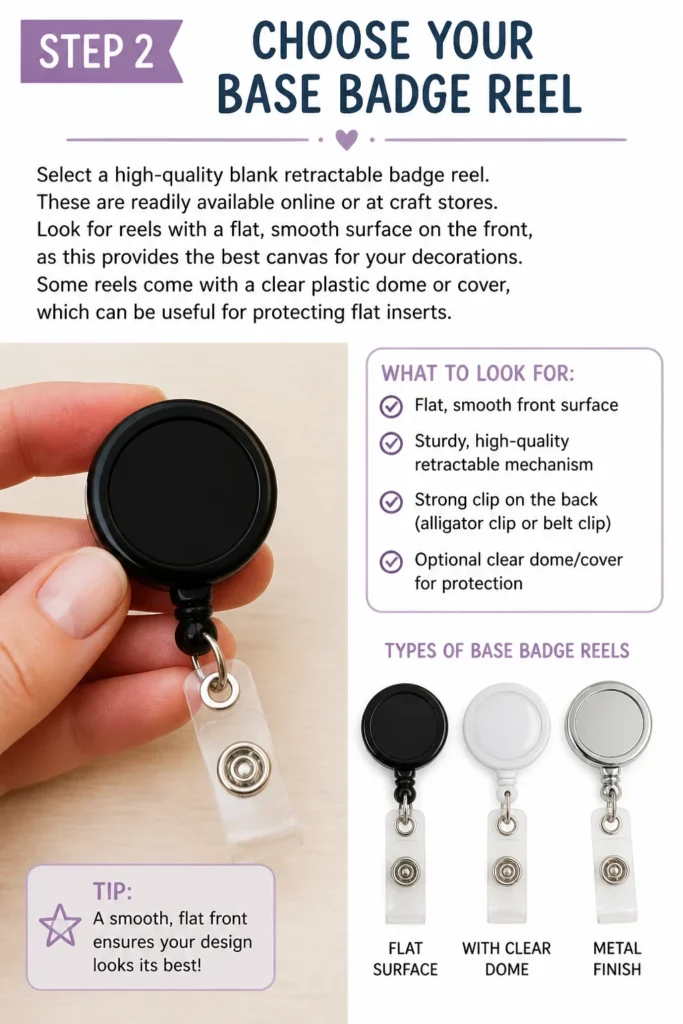
Look for reels with a flat, smooth surface on the front, as this provides the best canvas for your decorations.
Some reels come with a clear plastic dome or cover, which can be useful for protecting flat inserts.
Step 3: Design Your Decoration
This is where your creativity shines. Decide what you want to place on your badge reel’s face.
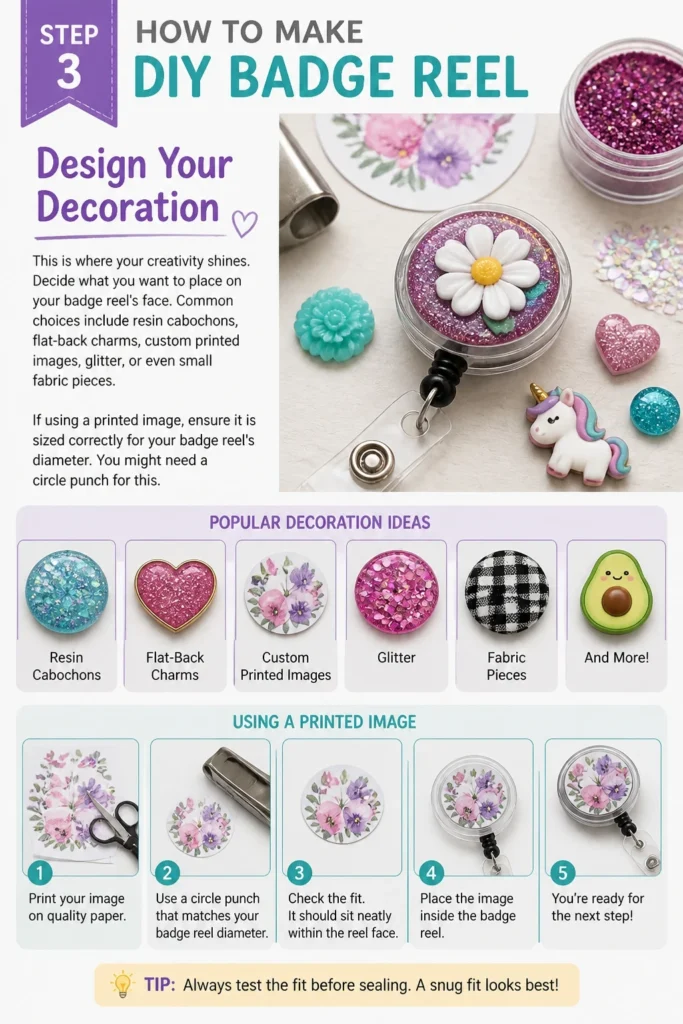
Common choices include resin cabochons, flat-back charms, custom printed images, glitter, or even small fabric pieces.
If using a printed image, ensure it is sized correctly for your badge reel’s diameter. You might need a circle punch for this.
Step 4: Prepare Your Decorative Elements
For paper or fabric elements, ensure they are clean and perfectly cut to size. Any rough edges will be noticeable.
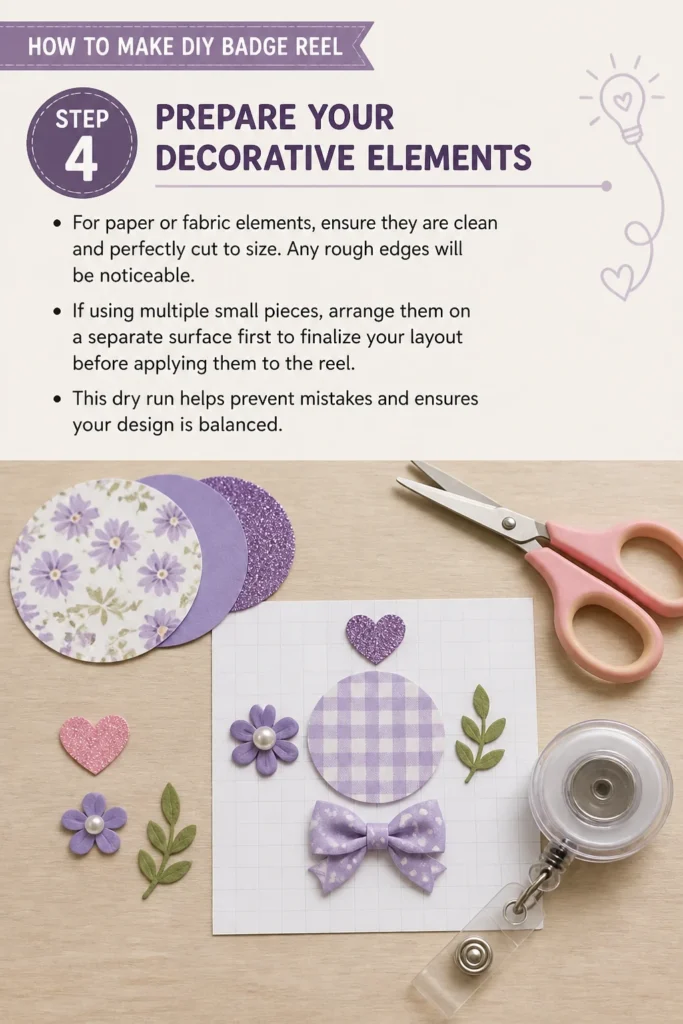
If using multiple small pieces, arrange them on a separate surface first to finalize your layout before applying them to the reel.
This dry run helps prevent mistakes and ensures your design is balanced.
Step 5: Apply the Main Decoration
Apply a small, even layer of strong adhesive to the front surface of your blank badge reel.
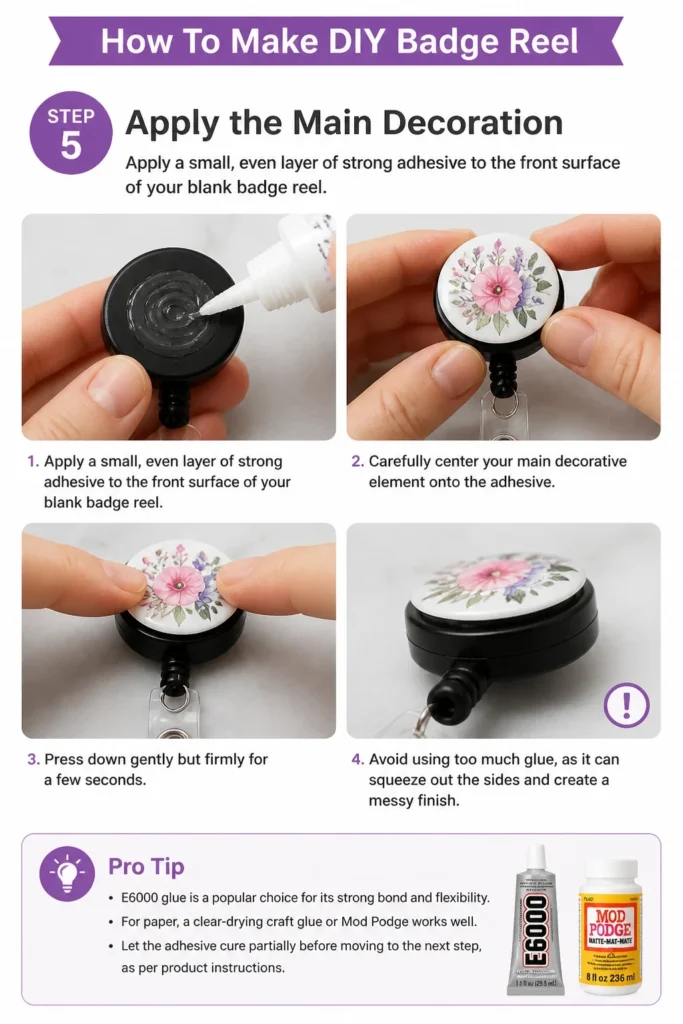
Carefully center your main decorative element onto the adhesive. Press down gently but firmly for a few seconds.
Avoid using too much glue, as it can squeeze out the sides and create a messy finish.
Pro Tip: E6000 glue is a popular choice for its strong bond and flexibility. For paper, a clear-drying craft glue or Mod Podge works well. Let the adhesive cure partially before moving to the next step, as per product instructions.
Step 6: Add Smaller Details (Optional)
Once your main piece is secure, you can add smaller embellishments like rhinestones, beads, or tiny charms.
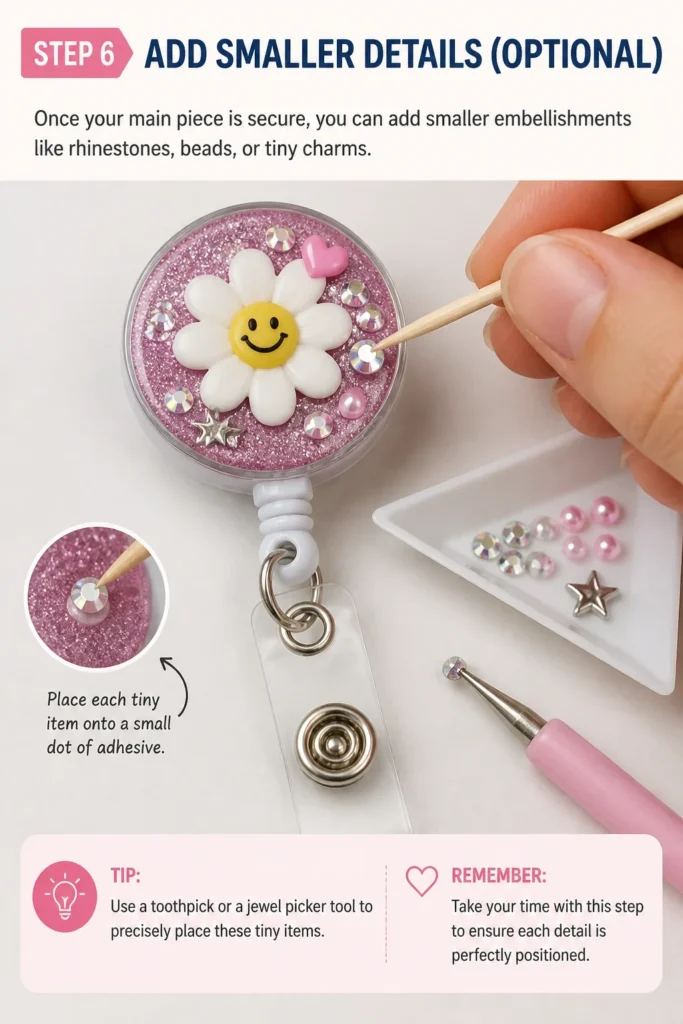
Use a toothpick or a jewel picker tool to precisely place these tiny items onto small dots of adhesive.
Take your time with this step to ensure each detail is perfectly positioned.
Step 7: Apply a Protective Sealant
This step is crucial for durability and longevity. Once all your decorative elements are firmly in place and the adhesive has dried completely, apply a clear protective sealant.
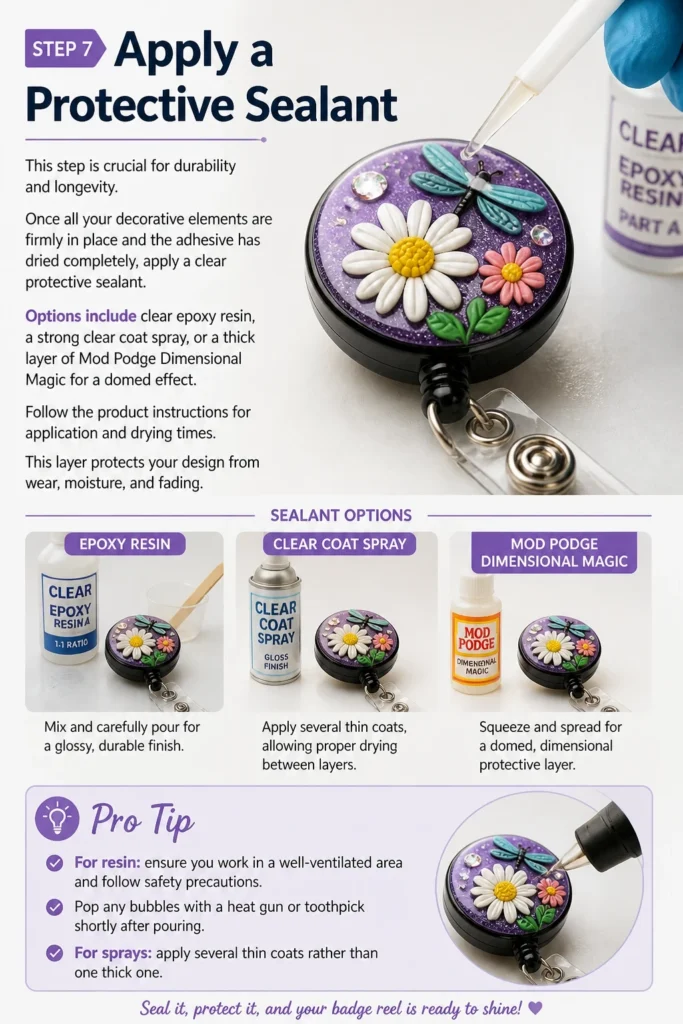
Options include clear epoxy resin, a strong clear coat spray, or a thick layer of Mod Podge Dimensional Magic for a domed effect.
Follow the product instructions for application and drying times. This layer protects your design from wear, moisture, and fading.
Pro Tip: For resin, ensure you work in a well-ventilated area and follow safety precautions. Pop any bubbles with a heat gun or toothpick shortly after pouring. For sprays, apply several thin coats rather than one thick one.
Step 8: Allow for Full Curing
Patience is key here. Allow your newly decorated badge reel to cure completely according to the sealant’s instructions.
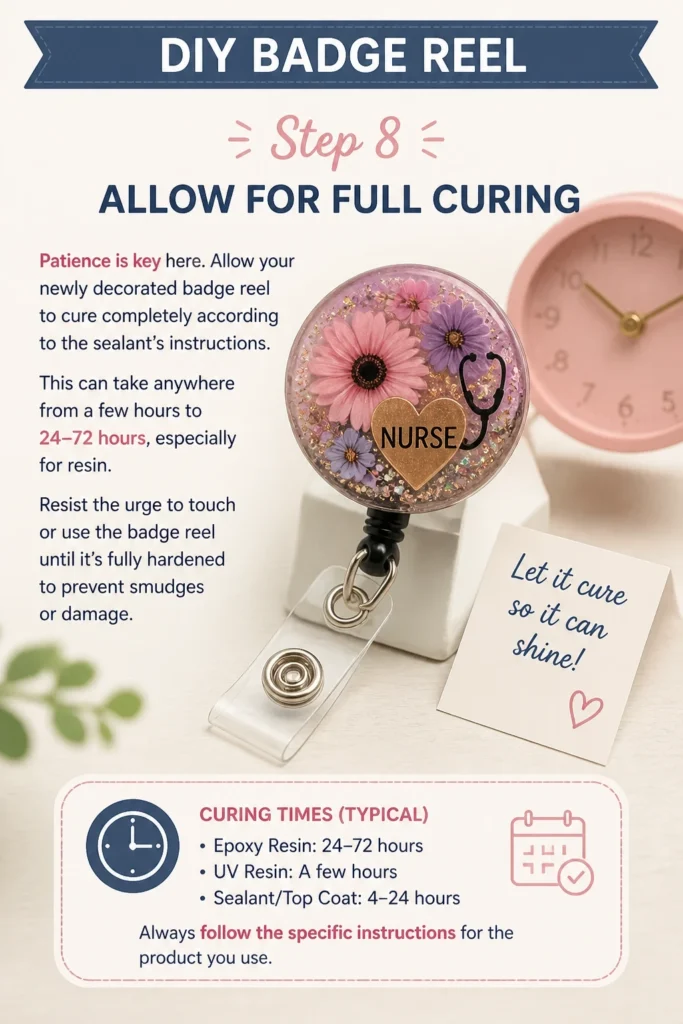
This can take anywhere from a few hours to 24-72 hours, especially for resin.
Resist the urge to touch or use the badge reel until it’s fully hardened to prevent smudges or damage.
Common Mistakes to Avoid
Using Insufficient Adhesive
A common pitfall is not applying enough glue or using a weak adhesive. This results in decorations falling off prematurely, especially with daily use.
Always use a strong, appropriate adhesive for your materials, and ensure full coverage on the back of your decorative piece.
Skipping the Sealant Step
Many beginners overlook the importance of a protective sealant. Without it, your beautiful design is vulnerable to scratches, moisture, and general wear and tear.
Always finish your badge reel with a durable clear coat or resin to protect your hard work and extend its life.
Overloading the Badge Reel
While it’s fun to add many elements, an overly heavy or bulky design can strain the retractable mechanism of the reel. This can cause it to sag or even break.
Keep your embellishments relatively flat and lightweight to ensure the reel functions properly and comfortably.
Impatience During Drying Times
Rushing the drying and curing process for adhesives and sealants is a frequent mistake. Touching or using the reel before it’s fully cured can lead to smudges, fingerprints, or even dislodged decorations.
Always respect the recommended drying times for all products used, even if it means waiting overnight.
Troubleshooting
Decoration Not Sticking
If your decoration isn’t adhering well, it’s often due to an incompatible adhesive or a dirty surface. Ensure the back of your decoration and the badge reel surface are clean and free of oils or dust.
Try a stronger, multi-purpose adhesive like E6000, ensuring you apply a thin, even layer and hold the pieces together until they bond.
Bubbles in Resin/Sealant
Bubbles can appear in resin or thick sealants, detracting from the finished look. This is often caused by mixing too vigorously or trapped air.
After pouring, gently pass a heat gun (on low) over the surface or breathe on it (CO2 helps) to release surface bubbles. A toothpick can also be used to manually pop larger bubbles.
Badge Reel Retraction Issues
If your badge reel isn’t retracting properly after decoration, it’s likely too heavy. The weight of your embellishments might be exceeding the reel’s capacity.
Consider using lighter decorative elements for future projects. For the current reel, if possible, carefully remove some of the heavier additions without damaging the base.
Key Takeaways
- Always start with a clean workspace and all supplies readily available.
- Choose a strong, appropriate adhesive for your specific decorative materials.
- A protective sealant layer is essential for durability and a professional finish.
- Allow ample drying and curing time for all glues and sealants.
- Keep your design relatively lightweight to ensure the badge reel functions correctly.
- Experiment with different materials and techniques to find your unique style.
Frequently Asked Questions
Can I use hot glue for my badge reel?
Hot glue is generally not recommended for badge reels. While it dries quickly, it often doesn’t provide a strong enough bond for items that experience daily movement and potential bumps.
It can also create a bulky, uneven finish and may not hold up well to temperature changes over time.
How do I make sure my image is centered perfectly?
To ensure perfect centering, you can draw a faint crosshair on the badge reel’s surface with a pencil. Align your image with these lines before pressing down firmly.
Alternatively, use a clear ruler or a small dot of glue in the center and work outwards to guide your placement.
What if my badge reel gets dirty after I make it?
For most sealed badge reels, you can gently wipe the surface with a soft, damp cloth and a mild soap. Avoid harsh chemicals or abrasive scrubbers, especially if you used resin or a delicate sealant.
For fabric or unsealed paper elements, avoid getting them wet and spot clean very carefully.
Can I change the decoration later if I get tired of it?
It depends on the adhesive and sealant used. If you used a very strong, permanent adhesive and a hard resin sealant, it will be very difficult to remove without damaging the badge reel itself.
For designs using less permanent glues or clear domes, you might be able to carefully pry off the decoration and replace it.
Our Top Recommended Finds
- Blank Retractable Badge Reels: Look for sturdy models with a flat, smooth surface for easy decoration.
- E6000 Craft Adhesive: An excellent all-purpose glue known for its strong, flexible, and waterproof bond.
- Clear Epoxy Resin Kit: Provides a professional, glossy, and highly durable protective layer with a beautiful domed effect.
Start Creating Your Unique Badge Reel Today
Now that you have all the knowledge and steps, it’s time to bring your vision to life.
Don’t hesitate to experiment with different themes, colors, and textures to create a badge reel that truly reflects who you are.
Imagine the compliments you’ll receive on your personalized accessory; grab your supplies and start crafting your masterpiece this afternoon!
Beginner-friendly templates, step-by-step guides,
and weekly project ideas in your inbox.