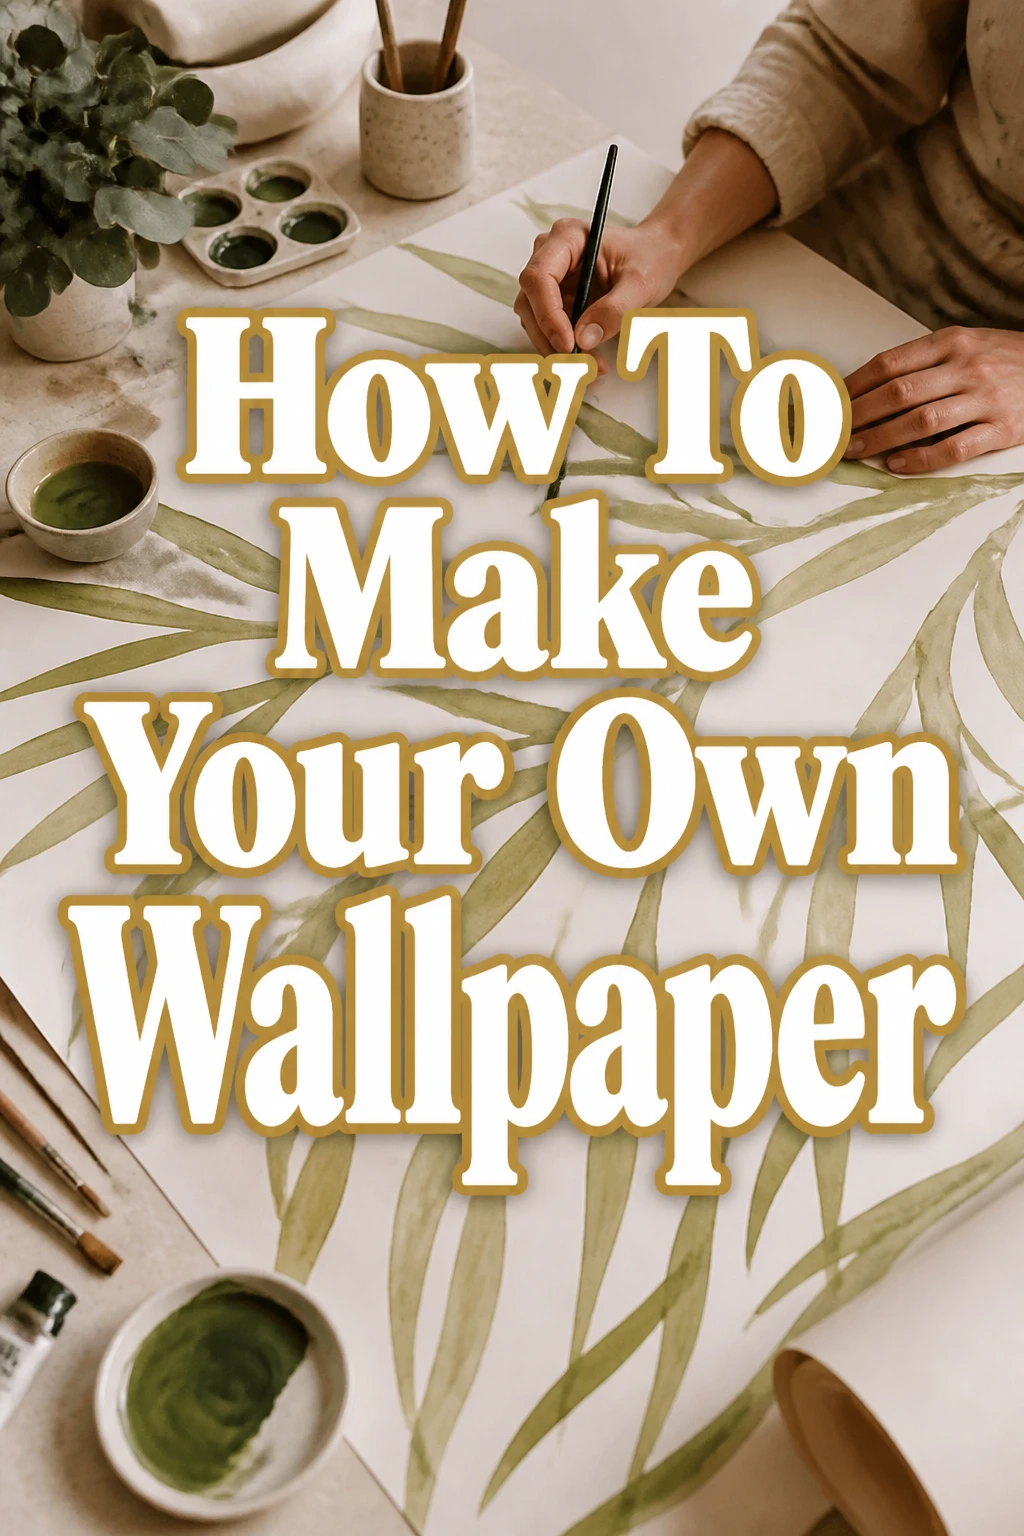
How To Make Your Own Wallpaper

Beginner-friendly templates, step-by-step guides,
and weekly project ideas in your inbox.
I remember the first time I decided to tackle a wall with custom wallpaper. The idea of transforming a plain room into something uniquely mine was incredibly exciting, and a little daunting.
This guide draws from that experience, and many projects since, to give you all the practical steps you need to create stunning, personalized walls.
You don’t need to be an expert to achieve professional-looking results; just a little patience and the right instructions.
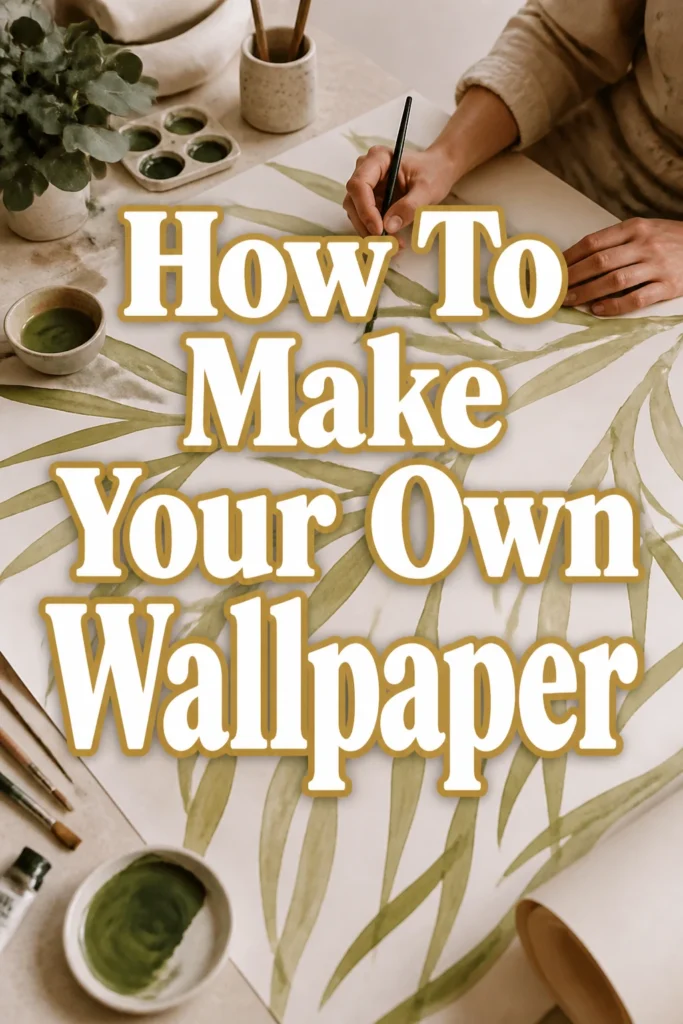
Quick Overview
This guide will walk you through the entire process of designing, preparing, and installing your very own custom wallpaper. You will learn how to create unique patterns, choose the right materials, and apply them flawlessly for a truly personalized space.
- Time needed: 1-3 days (includes design, printing, and drying)
- Difficulty: Intermediate
- What you’ll need: Design software, printer, wallpaper substrate, adhesive, basic installation tools.
Step-by-Step Instructions
Step 1: Design Your Vision
Brainstorm ideas for your wallpaper. Consider the room’s purpose, existing decor, and the mood you want to create. Look for inspiration in nature, art, or even everyday objects.
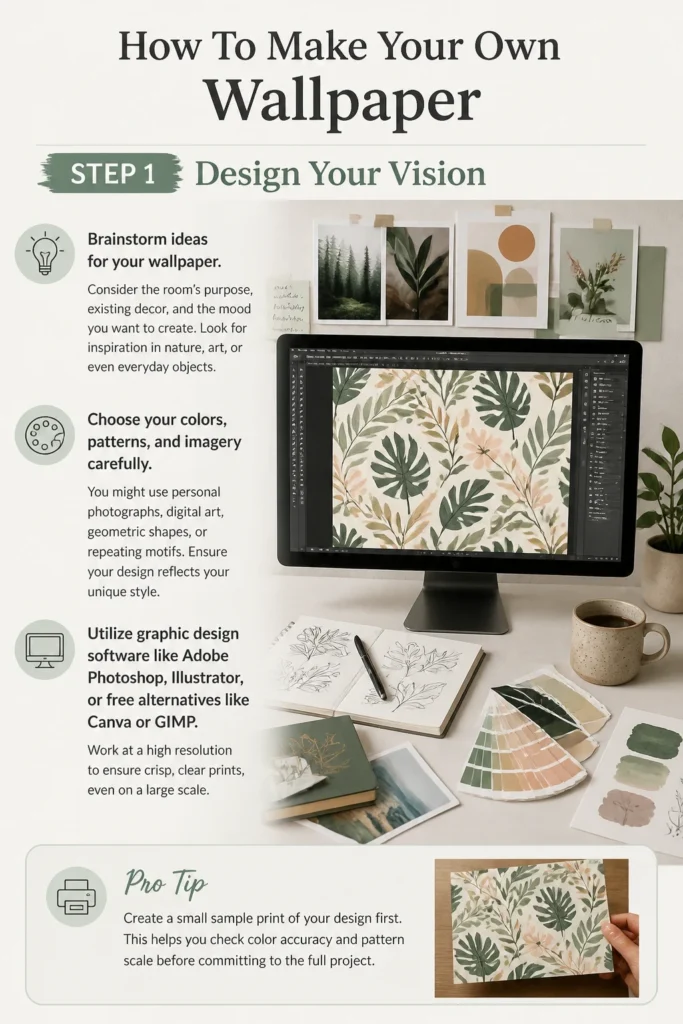
Choose your colors, patterns, and imagery carefully. You might use personal photographs, digital art, geometric shapes, or repeating motifs. Ensure your design reflects your unique style.
Utilize graphic design software like Adobe Photoshop, Illustrator, or free alternatives like Canva or GIMP. Work at a high resolution to ensure crisp, clear prints, even on a large scale.
Pro Tip: Create a small sample print of your design first. This helps you check color accuracy and pattern scale before committing to the full project.
Step 2: Prepare Your Design Files
Measure your wall accurately, including height and width. Add an extra 2-4 inches of bleed on all sides to account for uneven walls and trimming later.
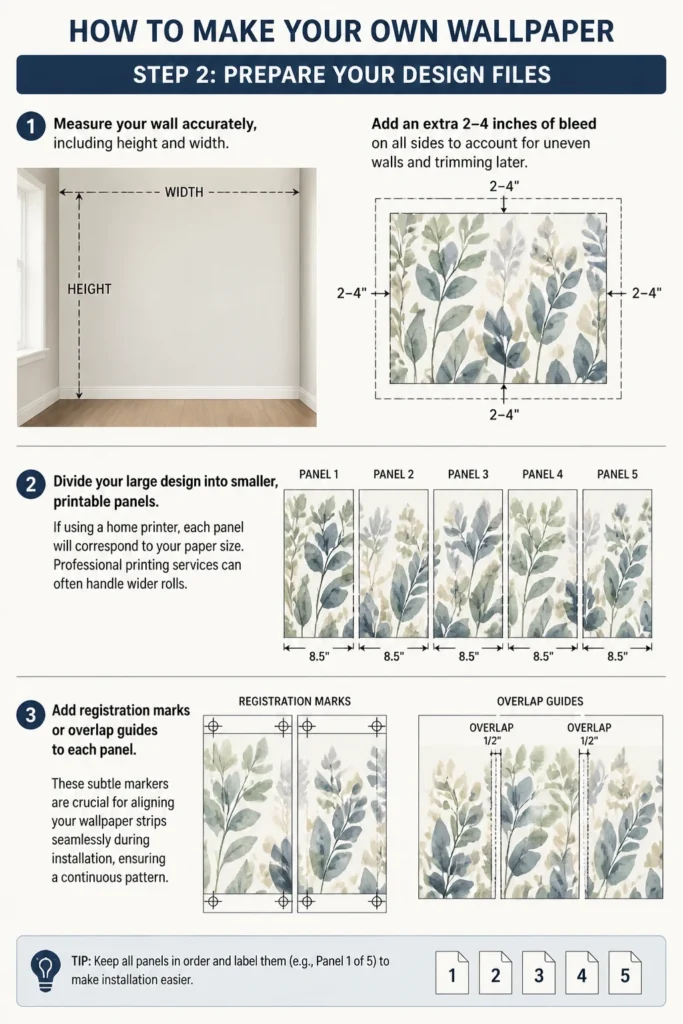
Divide your large design into smaller, printable panels. If using a home printer, each panel will correspond to your paper size. Professional printing services can often handle wider rolls.
Add registration marks or overlap guides to each panel. These subtle markers are crucial for aligning your wallpaper strips seamlessly during installation, ensuring a continuous pattern.
Step 3: Choose Your Wallpaper Material
Select a suitable wallpaper substrate for your project. Common options include non-woven, vinyl-coated, pre-pasted paper, or fabric-backed vinyl.
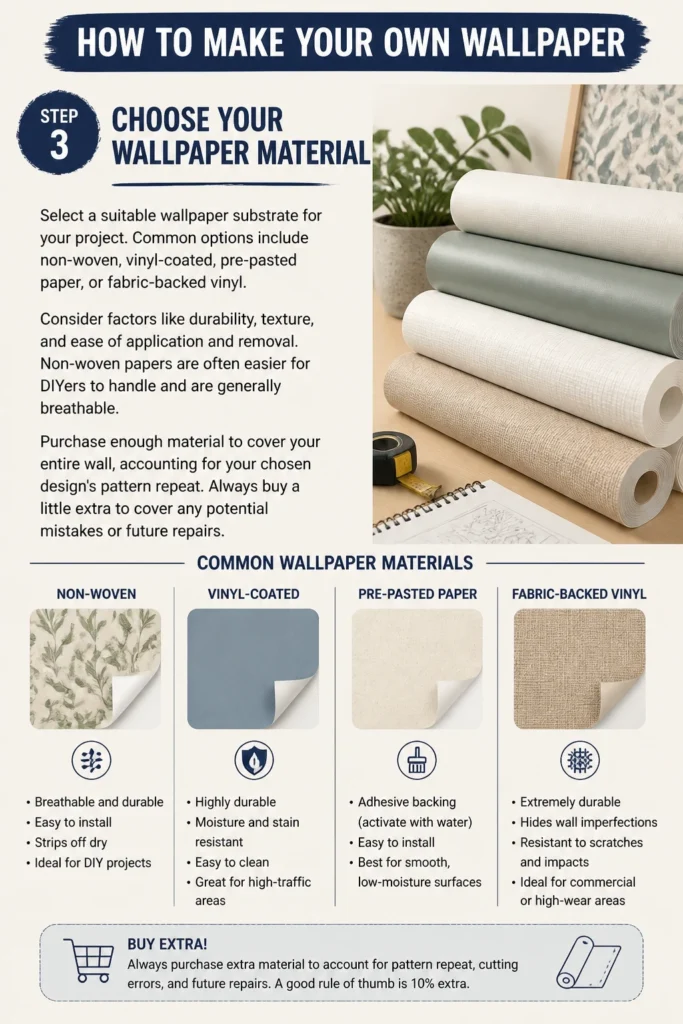
Consider factors like durability, texture, and ease of application and removal. Non-woven papers are often easier for DIYers to handle and are generally breathable.
Purchase enough material to cover your entire wall, accounting for your chosen design’s pattern repeat. Always buy a little extra to cover any potential mistakes or future repairs.
Step 4: Print Your Wallpaper Panels
Use a high-quality printer, whether your own inkjet or a professional printing service. If printing at home, ensure your printer can handle the weight and type of your chosen wallpaper substrate.
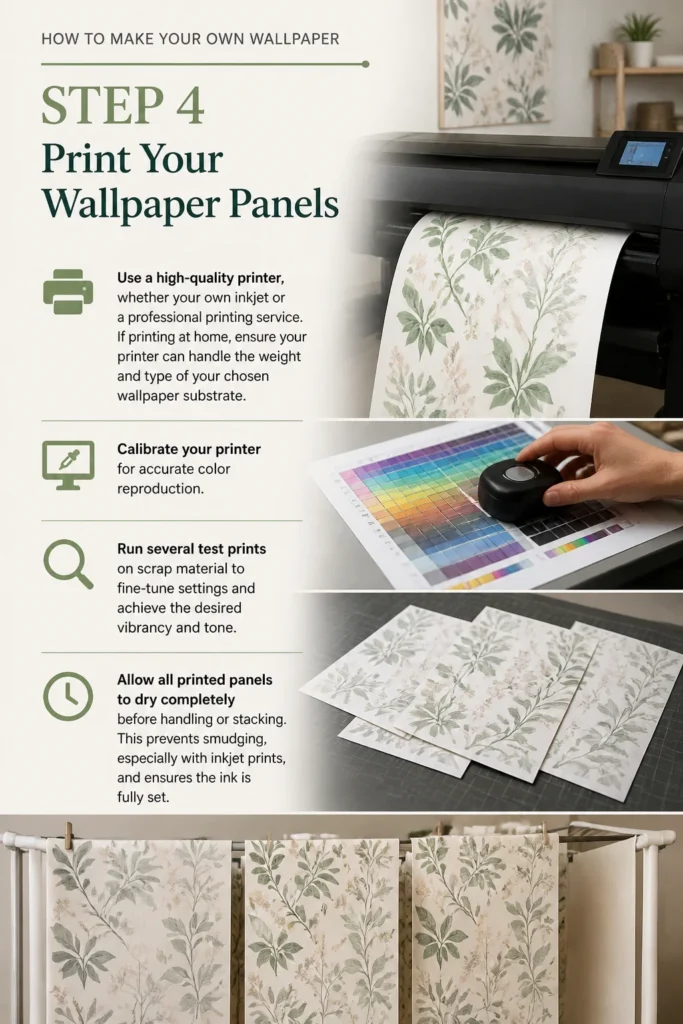
Calibrate your printer for accurate color reproduction. Run several test prints on scrap material to fine-tune settings and achieve the desired vibrancy and tone.
Allow all printed panels to dry completely before handling or stacking. This prevents smudging, especially with inkjet prints, and ensures the ink is fully set.
Step 5: Prepare Your Walls
Clean the wall surface thoroughly. Remove any dust, dirt, grease, or grime that could interfere with adhesion. A clean wall is paramount for a lasting finish.
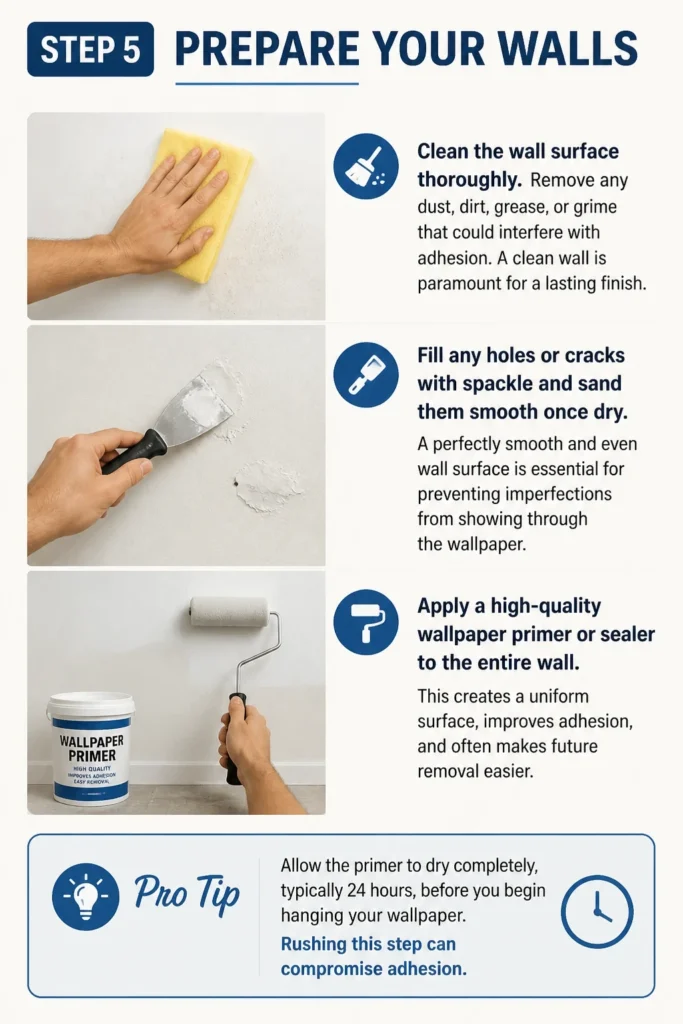
Fill any holes or cracks with spackle and sand them smooth once dry. A perfectly smooth and even wall surface is essential for preventing imperfections from showing through the wallpaper.
Apply a high-quality wallpaper primer or sealer to the entire wall. This creates a uniform surface, improves adhesion, and often makes future removal easier.
Pro Tip: Allow the primer to dry completely, typically 24 hours, before you begin hanging your wallpaper. Rushing this step can compromise adhesion.
Step 6: Mix and Apply Adhesive (If Not Pre-Pasted)
Follow the manufacturer’s specific instructions for mixing your wallpaper paste. Achieving the correct consistency is critical for proper adhesion and ease of application.
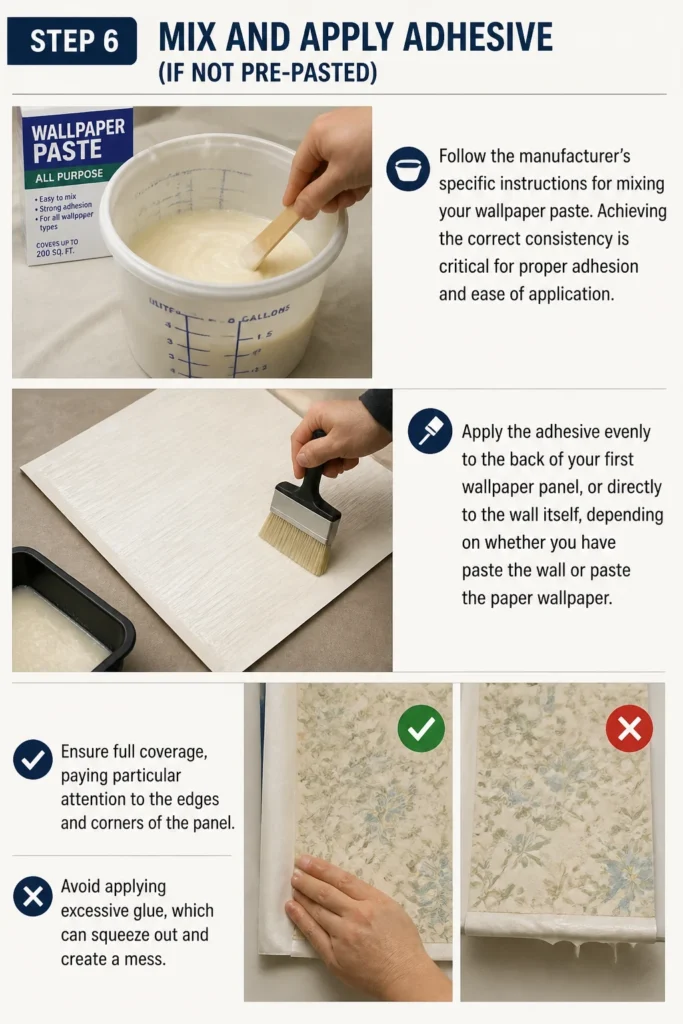
Apply the adhesive evenly to the back of your first wallpaper panel, or directly to the wall itself, depending on whether you have “paste the wall” or “paste the paper” wallpaper.
Ensure full coverage, paying particular attention to the edges and corners of the panel. Avoid applying excessive glue, which can squeeze out and create a mess.
Step 7: Hang Your First Panel
Start in a corner or by a door frame, using a plumb line or laser level to ensure your first panel is perfectly vertical. This initial alignment is crucial for the entire wall.
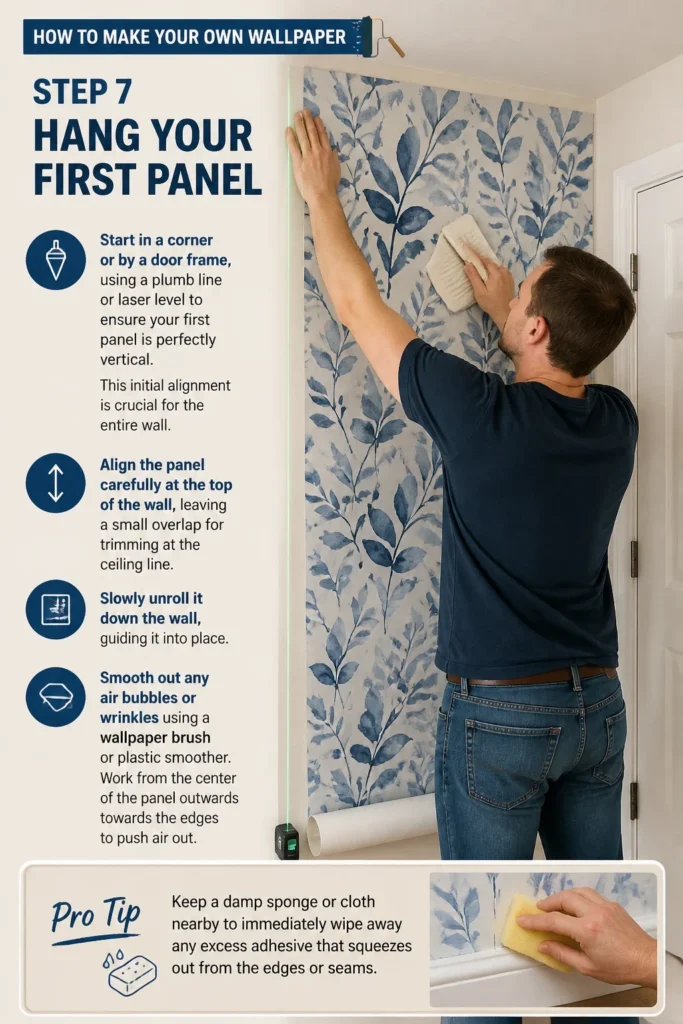
Align the panel carefully at the top of the wall, leaving a small overlap for trimming at the ceiling line. Slowly unroll it down the wall, guiding it into place.
Smooth out any air bubbles or wrinkles using a wallpaper brush or plastic smoother. Work from the center of the panel outwards towards the edges to push air out.
Pro Tip: Keep a damp sponge or cloth nearby to immediately wipe away any excess adhesive that squeezes out from the edges or seams.
Step 8: Continue Hanging and Trim
Hang subsequent panels, carefully aligning the pattern and edges with the previous strip. Ensure a tight seam, either butting the edges or overlapping slightly as recommended by your material.
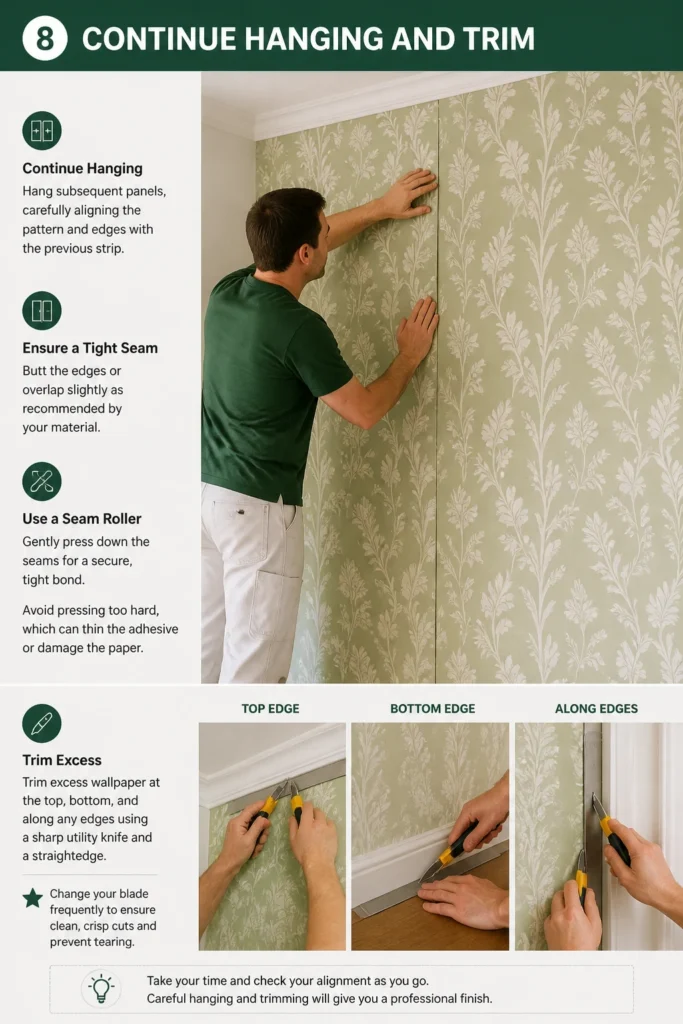
Use a seam roller to gently press down the seams for a secure, tight bond. Avoid pressing too hard, which can thin the adhesive or damage the paper.
Trim excess wallpaper at the top, bottom, and along any edges using a sharp utility knife and a straightedge. Change your blade frequently to ensure clean, crisp cuts and prevent tearing.
Common Mistakes to Avoid
Poor Wall Preparation
Skipping essential steps like cleaning, patching, or priming your walls leads to significant problems. Dirt and uneven surfaces will show through the wallpaper, creating an unprofessional look. The wallpaper may also fail to adhere properly, causing bubbles or peeling.
Always dedicate sufficient time to thoroughly clean, repair, and prime your walls. This creates a smooth, uniform surface that promotes excellent adhesion and a flawless finish for your custom wallpaper.
Inaccurate Measurements
Underestimating the wall size or neglecting to account for the pattern repeat can leave you with insufficient material. This often results in mismatched seams, an incomplete project, or having to order more material, delaying your project.
Measure your walls meticulously, taking both height and width into account. Always purchase extra material, typically 10-15%, to cover mistakes, pattern matching, and future repairs.
Rushing the Process
Impatience is a common pitfall that can lead to misaligned panels, trapped air bubbles, and messy adhesive application. Each stage of wallpapering, from design to drying, requires careful attention and time.
Take your time with each step, working methodically and deliberately. Allow adequate drying periods between priming and hanging, and after hanging, to ensure the adhesive cures properly and the wallpaper settles.
Ignoring a Plumb Line
Starting your first wallpaper panel without establishing a perfectly vertical guide will cause all subsequent panels to be crooked. This misalignment becomes more pronounced across the wall and is extremely difficult to correct once panels are set.
Always use a plumb line, laser level, or a spirit level to draw a true vertical line on your wall for the placement of your very first strip. This ensures a straight foundation for the entire installation.
Troubleshooting
Bubbles Under the Wallpaper
Small bubbles often disappear naturally as the wallpaper dries and tightens. For larger, persistent air pockets, gently pierce the center of the bubble with a sharp utility knife or a fine needle. Smooth the trapped air out towards the hole with your wallpaper brush.
If the area beneath the bubble feels dry, you might need to inject a small amount of wallpaper adhesive using a syringe. Then, gently press the area flat and wipe away any excess glue.
Visible Seams
Visible or lifting seams can occur if the edges were not properly rolled during installation or if the adhesive dried too quickly. To fix this, carefully lift the offending edge of the seam.
Apply a small amount of seam adhesive directly under the lifting wallpaper edge. Gently press the seam back down with a seam roller, ensuring a tight bond. Wipe away any excess adhesive immediately.
Pattern Not Aligning
If your wallpaper pattern is not aligning correctly, the most likely cause is that your first panel was hung slightly crooked, or subsequent panels were not carefully matched. If the panel is still wet, you might be able to gently peel it back and reposition it.
For dried panels with significant misalignment, you may need to carefully remove the affected panel, clean the wall, and re-hang it. Pay extra attention to your plumb line and the pattern match on your next attempt.
Key Takeaways
- Thorough wall preparation, including cleaning, patching, and priming, is critical for a smooth, lasting finish.
- Accurate measurements and purchasing extra material will prevent frustrating shortages and ensure pattern alignment.
- Patience and precise alignment of each panel are essential for achieving professional-looking results.
- Always use a plumb line or level to establish a perfectly straight guide for your very first wallpaper strip.
- Allow adequate drying time for primers and adhesives at each stage to ensure proper curing and adhesion.
- Embrace the creative process; making your own wallpaper allows for truly unique and personal expression in your home.
Frequently Asked Questions
Can I use regular printer paper for wallpaper?
While technically possible for very small, temporary decorative accents, regular printer paper is generally unsuitable for full-wall wallpaper. It lacks the durability, flexibility, and moisture resistance required for proper wallpaper application and longevity.
Regular paper will likely tear easily when wet with adhesive, absorb glue unevenly, and show every imperfection on the wall. For lasting, professional-looking results, invest in a proper wallpaper substrate designed for the purpose.
How long does homemade wallpaper last?
The longevity of your homemade wallpaper depends on several factors: the quality of the wallpaper substrate, the printing method, the type of adhesive used, and the thoroughness of your wall preparation. Professionally printed wallpaper on durable material, properly installed, can last many years, similar to commercial options.
Home-printed wallpaper, particularly with consumer-grade inks and paper, might have a shorter lifespan. However, with good materials and careful installation, it can still provide beautiful results for a significant period.
Is it difficult to remove homemade wallpaper?
The ease of removal largely depends on the type of wallpaper substrate and adhesive you chose. Non-woven wallpapers are typically “strippable,” meaning they can be peeled off in full sheets without much fuss. Vinyl-coated papers are often “peelable,” leaving a backing layer.
If you used a strong, permanent adhesive on a non-strippable paper, removal might be more challenging. It could require steaming, soaking, and scraping, similar to removing traditional, difficult wallpapers.
What if I don’t have design software?
You can still create unique wallpaper even without advanced design software. Consider hand-drawing or painting your designs, then scanning them at a high resolution to create repeating patterns. Many free online tools, like Canva, offer templates and easy-to-use interfaces for basic pattern creation and photo manipulation.
Additionally, numerous websites provide royalty-free patterns or textures that you can download and adapt for personal use. These resources offer a great starting point for custom wallpaper without needing professional design skills.
Our Top Recommended Finds
- Heavy-Duty Wallpaper Smoothing Tool Kit: This kit typically includes a smoother, seam roller, and utility knife. It is essential for effectively pressing out air bubbles, ensuring tight seams, and achieving clean cuts.
- Non-Woven Wallpaper Substrate Rolls: These materials are often easier for DIYers to handle. They are dimensionally stable, less prone to tearing when wet, and often allow for paste-the-wall application, simplifying the process.
- High-Quality Wallpaper Primer/Sealer: A good primer creates a uniform, slightly absorbent surface. This ensures your adhesive bonds effectively, prevents wallpaper from shrinking excessively, and often makes future removal easier.
Transform Your Space with Personal Style
Now that you have all the knowledge and practical steps, it’s time to bring your creative vision to life. Imagine the satisfaction of looking at a wall that truly reflects your personality, a design you created yourself.
This project is more than just decorating; it’s about infusing your home with a piece of your unique character. The possibilities are endless when you take control of your interior design.
Perhaps your next project will be custom murals, or even creating unique decorative panels for furniture. Start planning your custom wallpaper project today and transform a plain wall into a masterpiece you’ll love.
Beginner-friendly templates, step-by-step guides,
and weekly project ideas in your inbox.