How To Make Dawn Powerwash Refill

Beginner-friendly templates, step-by-step guides,
and weekly project ideas in your inbox.
Tired of constantly buying new Dawn Powerwash bottles?
I know the feeling. I started refilling mine years ago, and it’s been a game-changer for both my wallet and the environment.
This guide shares my tried-and-true method, ensuring your DIY refill works just as effectively as the store-bought version.
Quick Overview
You’re about to learn how to create your own Dawn Powerwash refill at home. This simple process will save you money and reduce plastic waste, all while maintaining powerful cleaning performance.
- Time needed: 5-10 minutes
- Difficulty: Beginner
- What you’ll need: Dawn dish soap, water, measuring tools, and your empty Powerwash bottle.
Step-by-Step Instructions
Step 1: Gather Your Materials
Before you begin, lay out all your necessary items. This makes the process smooth and prevents interruptions.
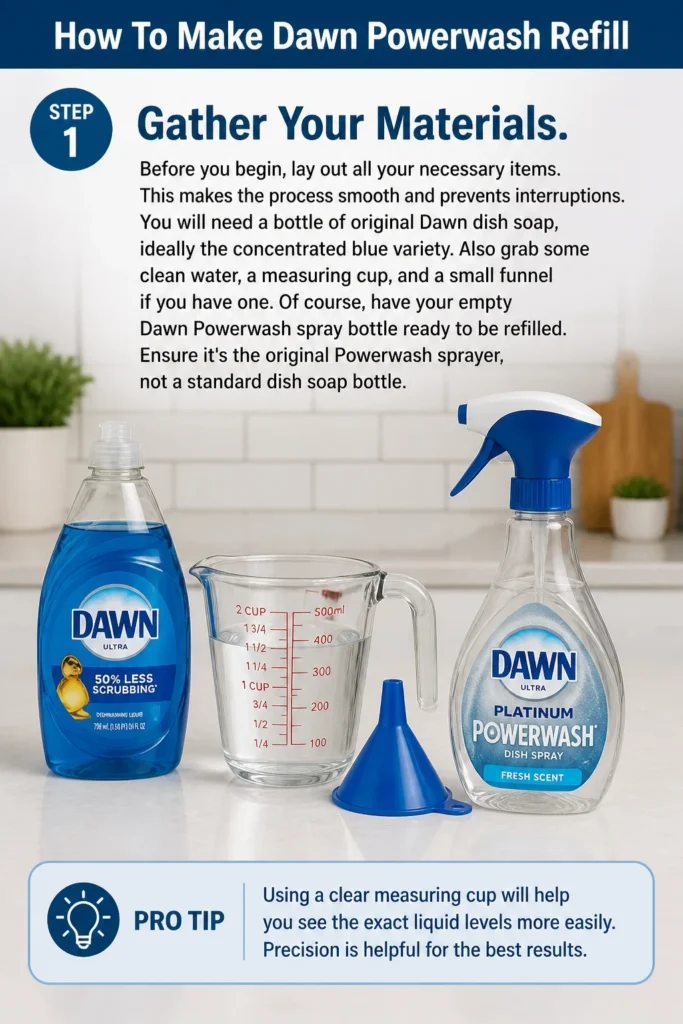
You will need a bottle of original Dawn dish soap, ideally the concentrated blue variety. Also grab some clean water, a measuring cup, and a small funnel if you have one.
Of course, have your empty Dawn Powerwash spray bottle ready to be refilled. Ensure it’s the original Powerwash sprayer, not a standard dish soap bottle.
Pro Tip: Using a clear measuring cup will help you see the exact liquid levels more easily. Precision is helpful for the best results.
Step 2: Clean Your Empty Powerwash Bottle
It’s crucial to start with a clean slate. Empty any remaining liquid from your Dawn Powerwash bottle.
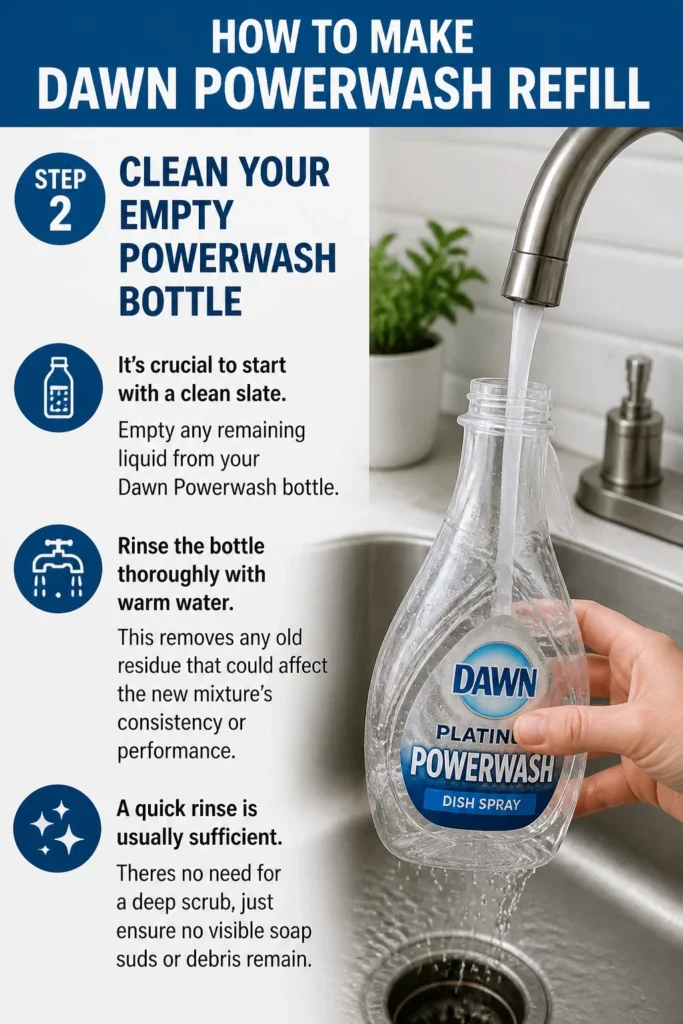
Rinse the bottle thoroughly with warm water. This removes any old residue that could affect the new mixture’s consistency or performance.
A quick rinse is usually sufficient. There’s no need for a deep scrub, just ensure no visible soap suds or debris remain.
Step 3: Measure the Dawn Dish Soap
This is where the magic ratio comes in. For a standard Dawn Powerwash bottle (16 fl oz / 473 ml), you’ll want to add approximately 1/4 cup (about 60 ml) of original Dawn dish soap.
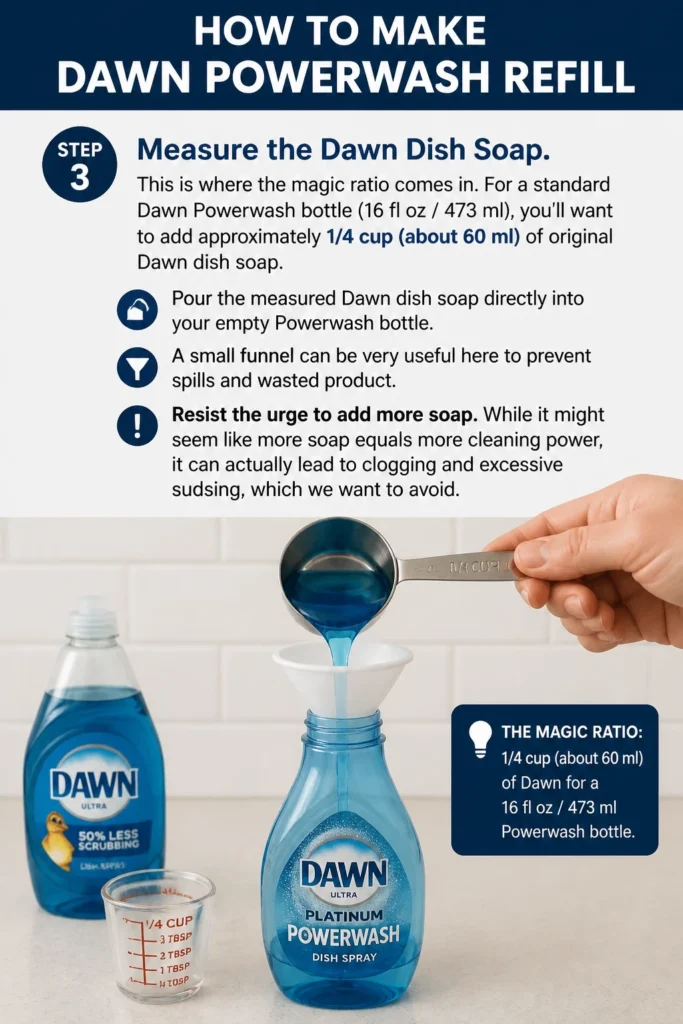
Pour the measured Dawn dish soap directly into your empty Powerwash bottle. A small funnel can be very useful here to prevent spills and wasted product.
Resist the urge to add more soap. While it might seem like more soap equals more cleaning power, it can actually lead to clogging and excessive sudsing, which we want to avoid.
Step 4: Add Water Slowly
Now, it’s time to introduce the water. Fill the remainder of the Powerwash bottle with clean water, leaving a small amount of space at the top.
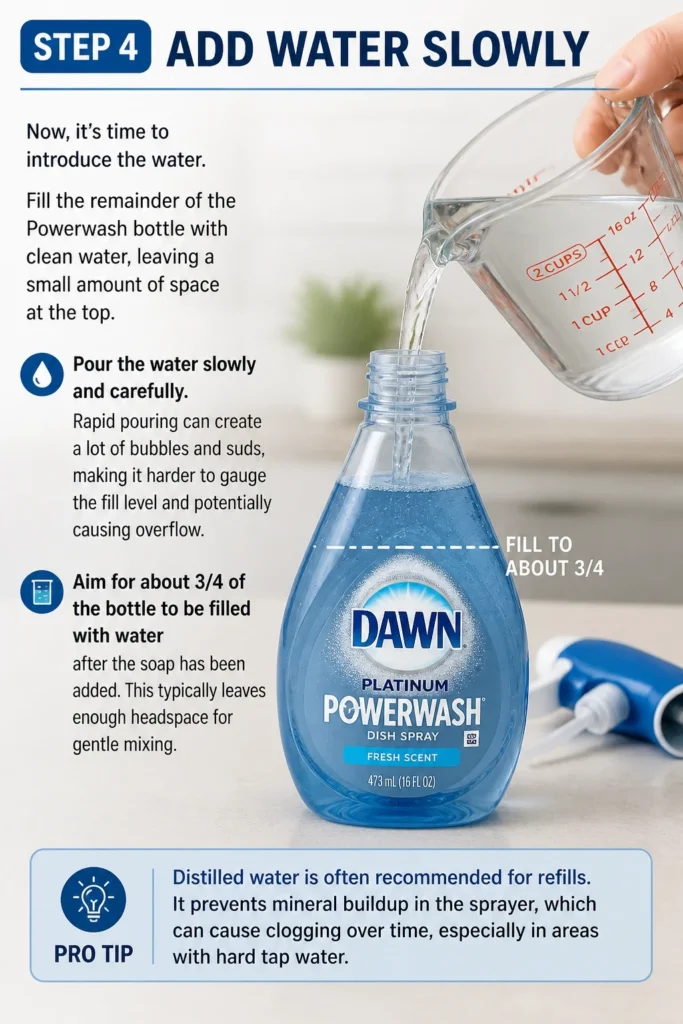
Pour the water slowly and carefully. Rapid pouring can create a lot of bubbles and suds, making it harder to gauge the fill level and potentially causing overflow.
Aim for about 3/4 of the bottle to be filled with water after the soap has been added. This typically leaves enough headspace for gentle mixing.
Pro Tip: Distilled water is often recommended for refills. It prevents mineral buildup in the sprayer, which can cause clogging over time, especially in areas with hard tap water.
Step 5: Combine Ingredients Gently
Once the soap and water are in the bottle, it’s time to mix them. Do NOT shake the bottle vigorously.
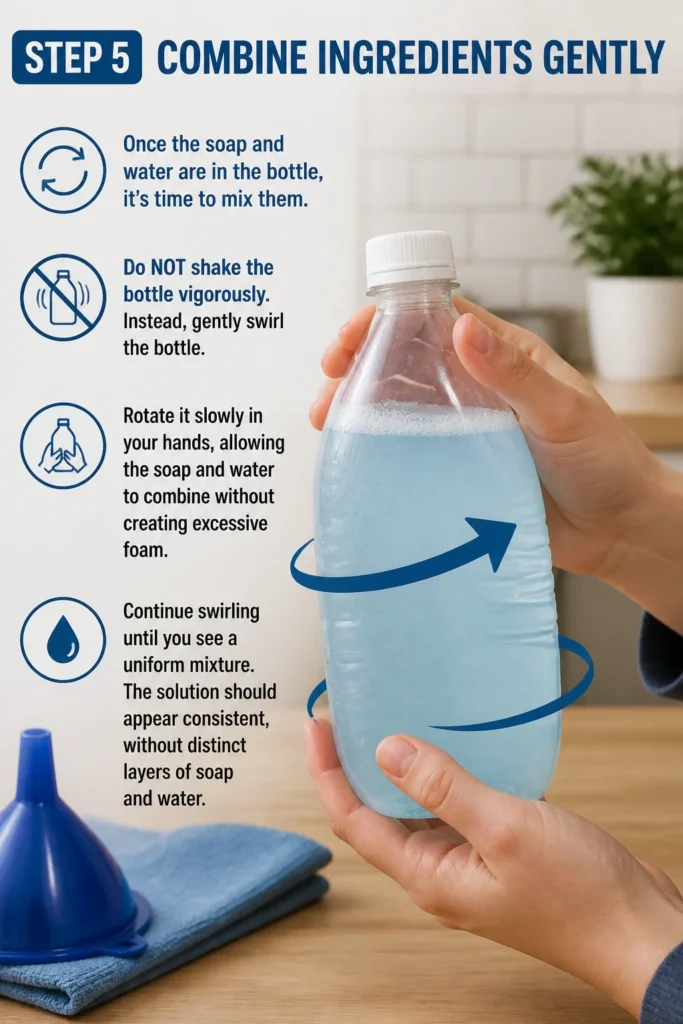
Instead, gently swirl the bottle. Rotate it slowly in your hands, allowing the soap and water to combine without creating excessive foam.
Continue swirling until you see a uniform mixture. The solution should appear consistent, without distinct layers of soap and water.
Step 6: Secure and Test the Sprayer
Carefully screw the original Powerwash sprayer head back onto the bottle. Ensure it is tightened securely to prevent any leaks during use.
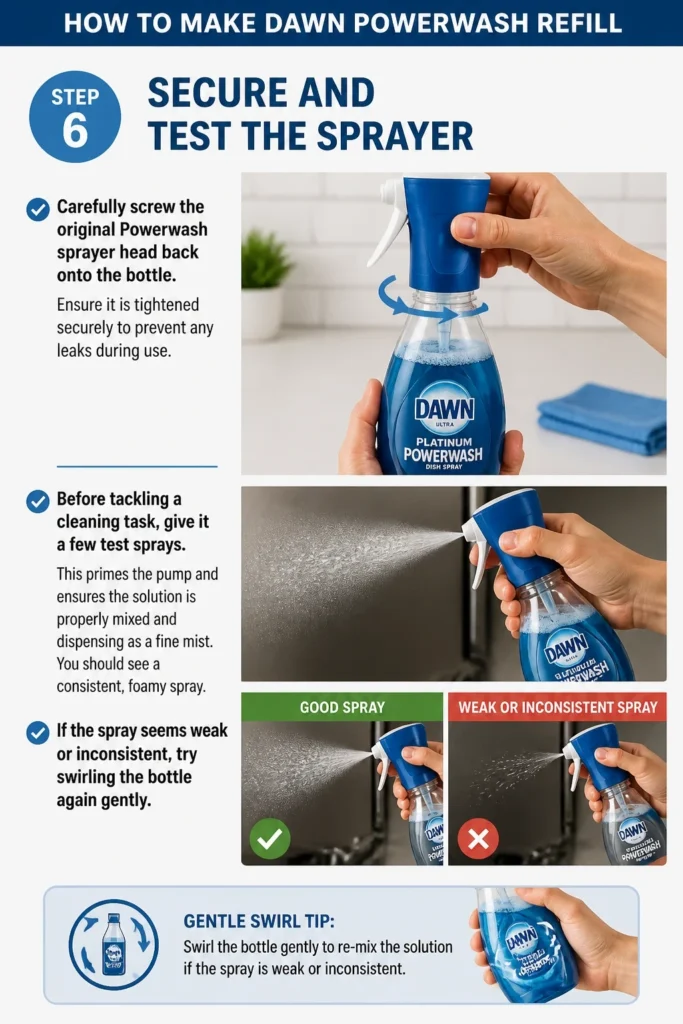
Before tackling a cleaning task, give it a few test sprays. This primes the pump and ensures the solution is properly mixed and dispensing as a fine mist.
You should see a consistent, foamy spray. If the spray seems weak or inconsistent, try swirling the bottle again gently.
Step 7: Label Your Bottle
Although you know what’s inside, a label can be incredibly helpful for future reference. This is especially true if you plan to make different cleaning solutions.
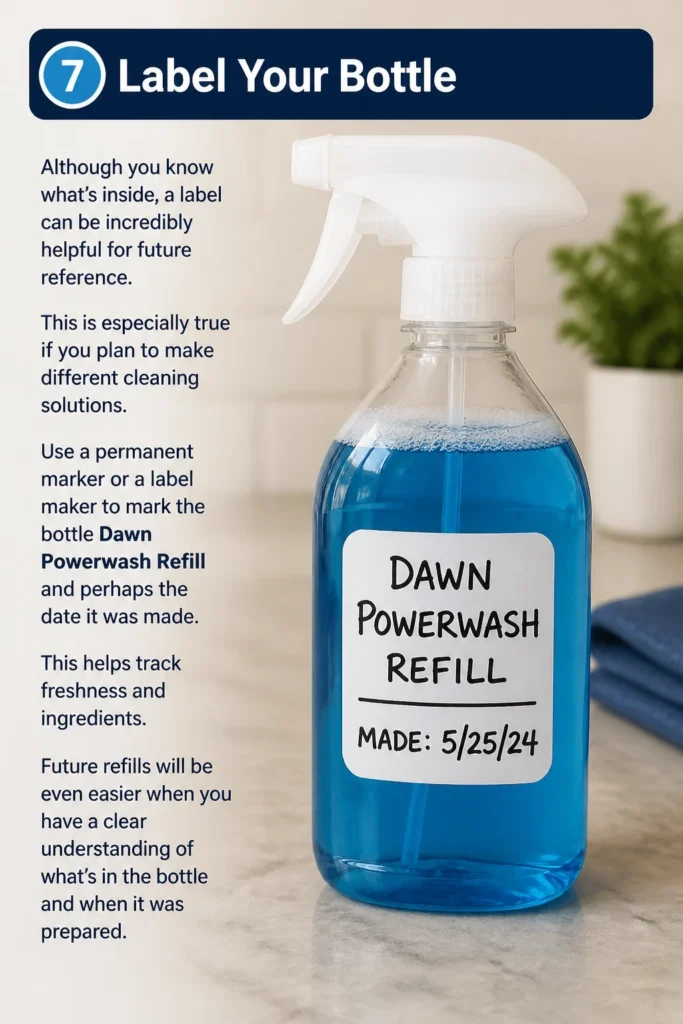
Use a permanent marker or a label maker to mark the bottle “Dawn Powerwash Refill” and perhaps the date it was made. This helps track freshness and ingredients.
Future refills will be even easier when you have a clear understanding of what’s in the bottle and when it was prepared.
Step 8: Adjusting for Preference
The 1/4 cup soap to 3/4 bottle water ratio is a great starting point for most people. However, you might find a slight adjustment suits your needs better.
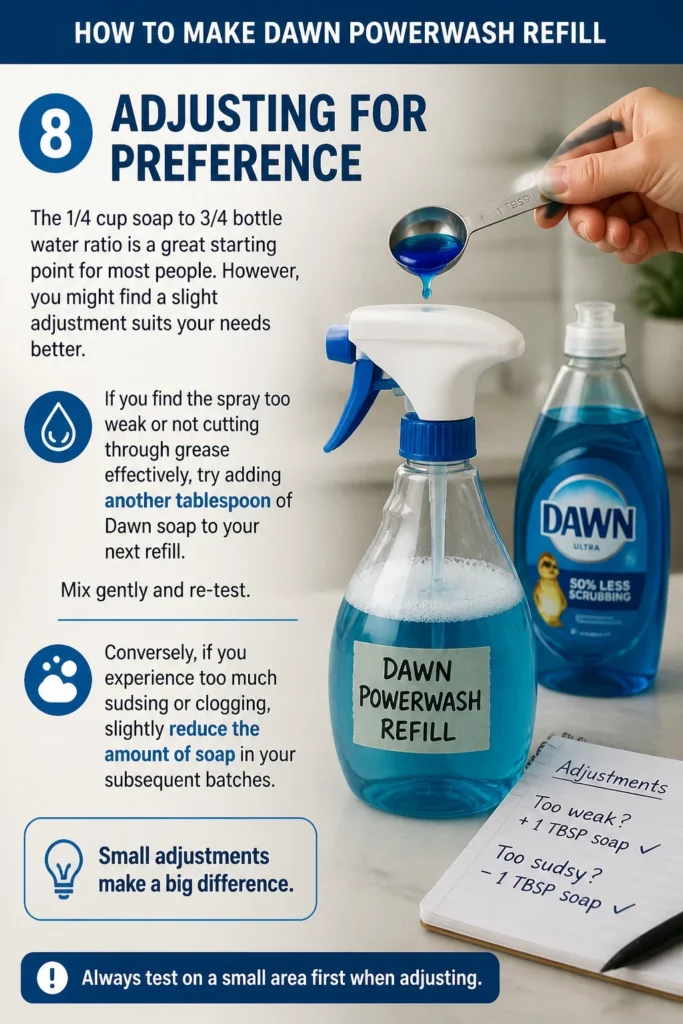
If you find the spray too weak or not cutting through grease effectively, try adding another tablespoon of Dawn soap to your next refill. Mix gently and re-test.
Conversely, if you experience too much sudsing or clogging, slightly reduce the amount of soap in your subsequent batches. Small adjustments make a big difference.
Step 9: Proper Storage
Store your refilled Dawn Powerwash bottle in a cool, dry place away from direct sunlight. This helps maintain the integrity of the solution and the sprayer.
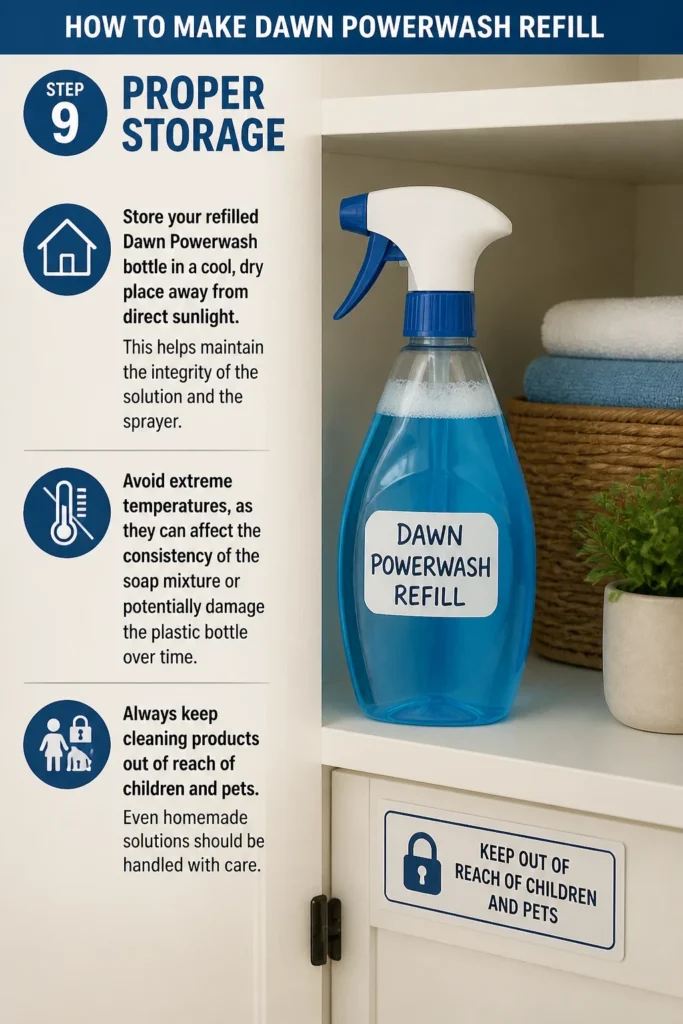
Avoid extreme temperatures, as they can affect the consistency of the soap mixture or potentially damage the plastic bottle over time.
Always keep cleaning products out of reach of children and pets. Even homemade solutions should be handled with care.
Common Mistakes to Avoid
Using Too Much Soap
A common misconception is that more soap equals better cleaning. With Dawn Powerwash refills, this is often counterproductive. Too much concentrated dish soap can lead to a solution that is too thick.
This excess thickness can cause your sprayer nozzle to clog frequently, resulting in a weak or inconsistent spray. It also creates an excessive amount of suds, requiring more rinsing and potentially leaving residue.
Stick to the recommended ratio of about 1/4 cup of Dawn soap for a standard 16 oz bottle. Adjust incrementally if you feel it needs to be stronger, but always err on the side of less rather than more.
Shaking Vigorously
When mixing your soap and water, it’s tempting to shake the bottle vigorously to ensure everything is combined. However, this creates an abundance of foam and bubbles.
Excessive suds inside the bottle can make it difficult for the sprayer to draw up and disperse the liquid properly. It can lead to a gurgling sound or an uneven, sputtering spray instead of a fine mist.
Always opt for gentle swirling to mix the ingredients. This allows the soap and water to integrate without generating a bottle full of foam, ensuring a smooth and consistent spray every time.
Not Cleaning the Bottle First
Skipping the initial rinse of your empty Powerwash bottle might seem like a time-saver, but it can cause problems. Old, dried soap residue can linger inside the bottle or within the sprayer mechanism.
This old residue can mix with your fresh solution, potentially altering its consistency or effectiveness. More importantly, it can contribute to future clogs in the fine nozzle of the sprayer.
A quick rinse with warm water is all it takes to prepare your bottle. This simple step ensures a clean foundation for your new, perfectly mixed cleaning solution.
Troubleshooting
Sprayer Clogging or Weak Spray
If your sprayer isn’t producing a strong mist or seems clogged, it’s usually due to the solution being too thick or having small particles present. This often happens if too much soap was added.
Try emptying a small amount of the solution and topping it off with a bit more clean water. Gently swirl to dilute it further. This often resolves thickness issues.
If the problem persists, the nozzle itself might be blocked. Remove the sprayer head and rinse it under warm running water. A small pin or needle can carefully clear any stubborn blockages in the tiny opening.
Too Many Suds During Use
Experiencing excessive suds when you spray indicates that your solution is likely too concentrated with soap. While more suds might seem good, it means more rinsing is required.
To fix this, pour out about 1/4 to 1/2 cup of your current solution. Then, refill the bottle with clean water, leaving space at the top.
Gently swirl the bottle to mix the newly added water. This will dilute the solution, reducing sudsing without compromising cleaning power too much.
Solution Separating in Bottle
If you notice your soap and water separating into distinct layers after sitting for a while, it’s usually a minor issue. This can happen if the initial mixing wasn’t thorough enough.
Simply give the bottle a gentle swirl a few times before each use. This will re-emulsify the ingredients, ensuring an even distribution of soap in the water.
This separation doesn’t affect the cleaning power of the solution, but proper mixing ensures a consistent spray and experience every time you use it.
Key Takeaways
- The ideal ratio for a Dawn Powerwash refill is approximately 1/4 cup of original Dawn dish soap per 16 oz bottle of water.
- Always rinse your empty Powerwash bottle before refilling to prevent residue buildup and clogs.
- Mix the soap and water by gently swirling the bottle, avoiding vigorous shaking which creates excessive foam.
- Distilled water can help prevent mineral buildup in the sprayer, extending its life and maintaining spray quality.
- Label your refilled bottle for easy identification and future reference.
- Adjust the soap-to-water ratio slightly in future batches based on your cleaning needs and preferences.
Frequently Asked Questions
Can I use any type of Dawn dish soap?
It is highly recommended to use original blue Dawn dish soap, preferably the concentrated formula. Other varieties, like those with moisturizers or different scents, might have additives that can affect the sprayer’s performance or the solution’s consistency.
How long does the homemade refill last?
A properly mixed and stored homemade Dawn Powerwash refill can last for several months, similar to the store-bought version. The key is to keep it in a cool, dry place and ensure the bottle is sealed when not in use. If you notice any changes in smell or consistency, it’s best to make a fresh batch.
Is the homemade refill as effective as the store-bought Powerwash?
When made with the correct ratio of original Dawn dish soap and water, the homemade refill is remarkably effective. The Powerwash system’s effectiveness comes largely from the sprayer’s ability to aerate and dispense the soap solution as a powerful, clingy foam, which your DIY version replicates perfectly.
What type of water is best for refilling?
While tap water generally works, distilled water is often preferred. Distilled water lacks minerals found in tap water, which can build up in the sprayer over time and cause clogging, especially in areas with hard water. Using distilled water helps maintain the sprayer’s longevity and consistent performance.
Our Top Recommended Finds
- Accurate Measuring Cups and Spoons: Essential for getting your soap-to-water ratio just right, ensuring optimal performance and preventing issues.
- Small Funnel Set: Makes pouring the concentrated dish soap into the narrow Powerwash bottle opening mess-free and efficient.
- Gallon of Distilled Water: A worthwhile investment if your home has hard water, helping to prevent mineral buildup and extend the life of your sprayer.
Embrace Smart Cleaning Habits Today
You’ve now got all the knowledge to create your own effective Dawn Powerwash refills. This simple DIY project is more than just a money-saver; it’s a step towards more sustainable household practices.
Imagine the reduction in plastic waste and the extra cash staying in your pocket. This small change makes a big impact over time.
Why not gather your materials today and give it a try? You’ll be amazed at how easy it is to keep your kitchen sparkling clean while being kind to your budget and the planet. Explore other DIY cleaning solutions to further enhance your home care routine.
Beginner-friendly templates, step-by-step guides,
and weekly project ideas in your inbox.