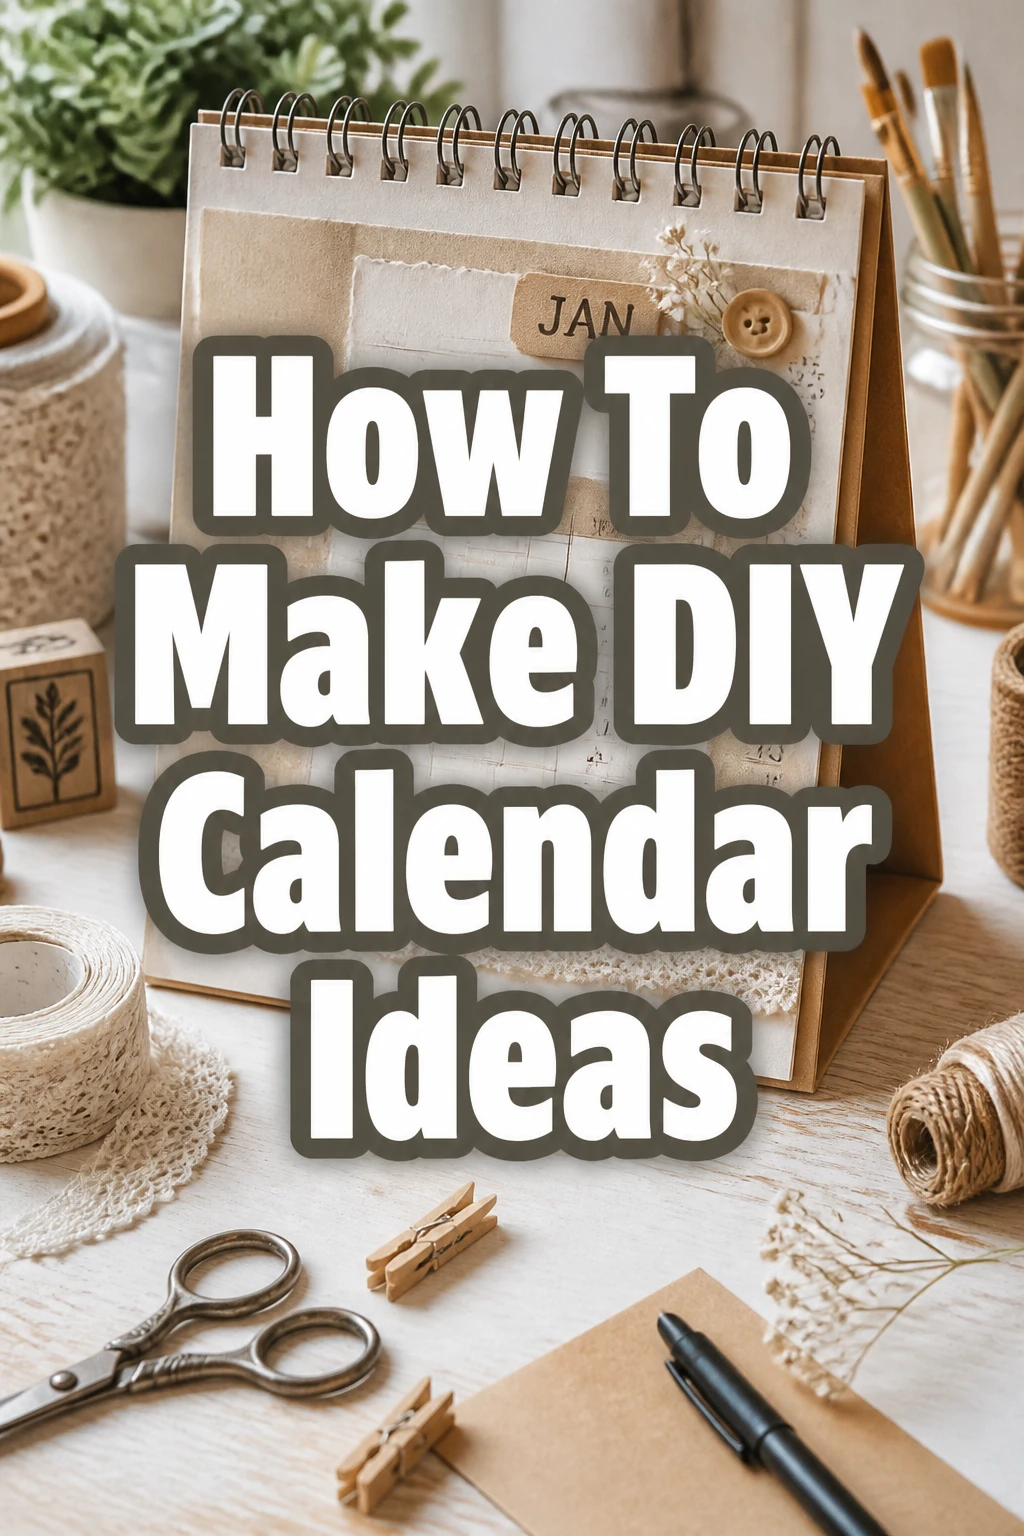
How To Make DIY Calendar Ideas

Beginner-friendly templates, step-by-step guides,
and weekly project ideas in your inbox.
Making your own calendar is a deeply satisfying creative project. I’ve spent countless hours crafting personalized calendars for friends and family, seeing their delight with a truly unique gift. This guide shares all the practical steps and insights I’ve gathered along the way, ensuring your DIY calendar is both beautiful and functional.
You’ll gain the confidence to design a calendar that perfectly fits your style and needs.
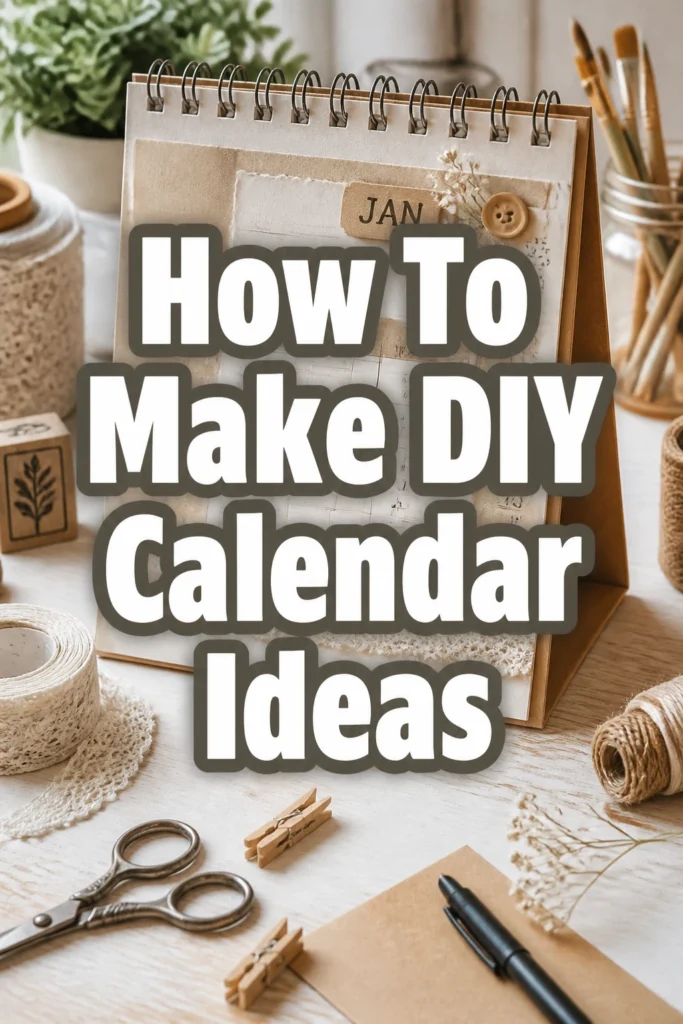
Quick Overview
This guide will walk you through creating a unique, personalized calendar from scratch. You’ll learn how to plan your design, gather materials, and assemble a calendar that is both practical and a joy to behold. It’s a fantastic way to express creativity and organize your year.
- Time needed: 2-4 hours (depending on complexity)
- Difficulty: Beginner to Intermediate
- What you’ll need: Paper, writing tools, cutting tools, adhesive, optional decorative elements
Step-by-Step Instructions
Step 1: Brainstorm Your Calendar Concept
Every great DIY project starts with a clear vision. Consider the purpose and recipient of your calendar. Is it for your home, a gift, or a specific theme?
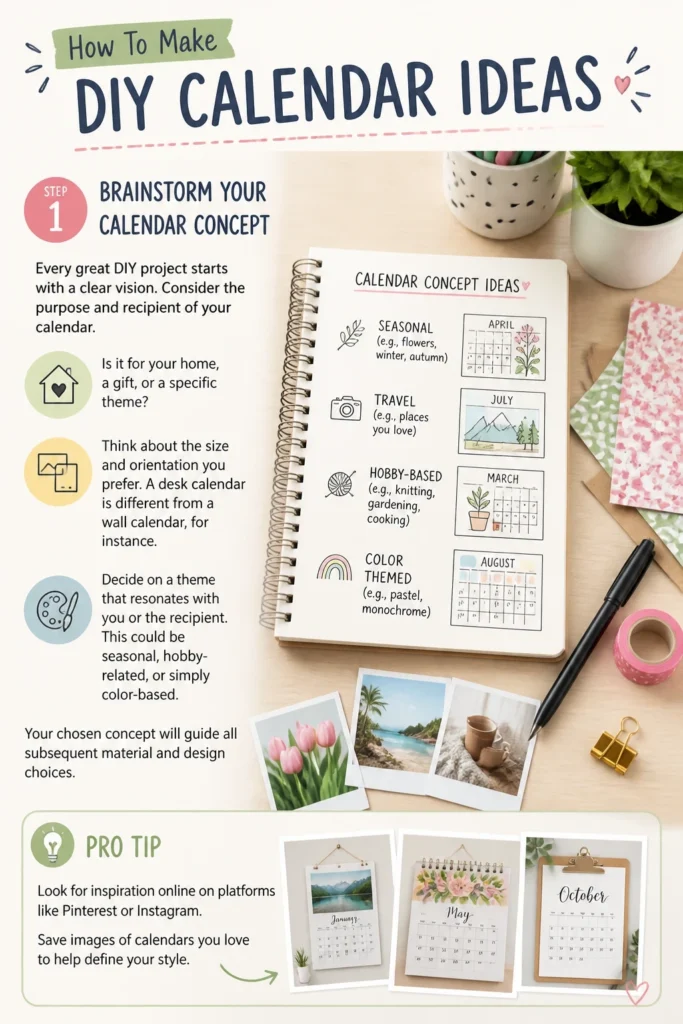
Think about the size and orientation you prefer. A desk calendar is different from a wall calendar, for instance.
Decide on a theme that resonates with you or the recipient. This could be seasonal, hobby-related, or simply color-based.
Your chosen concept will guide all subsequent material and design choices.
Pro Tip: Look for inspiration online on platforms like Pinterest or Instagram. Save images of calendars you love to help define your style.
Step 2: Gather Your Materials
Having all your supplies ready before you begin is essential for a smooth process. A well-stocked workspace prevents interruptions and keeps your creative momentum flowing.
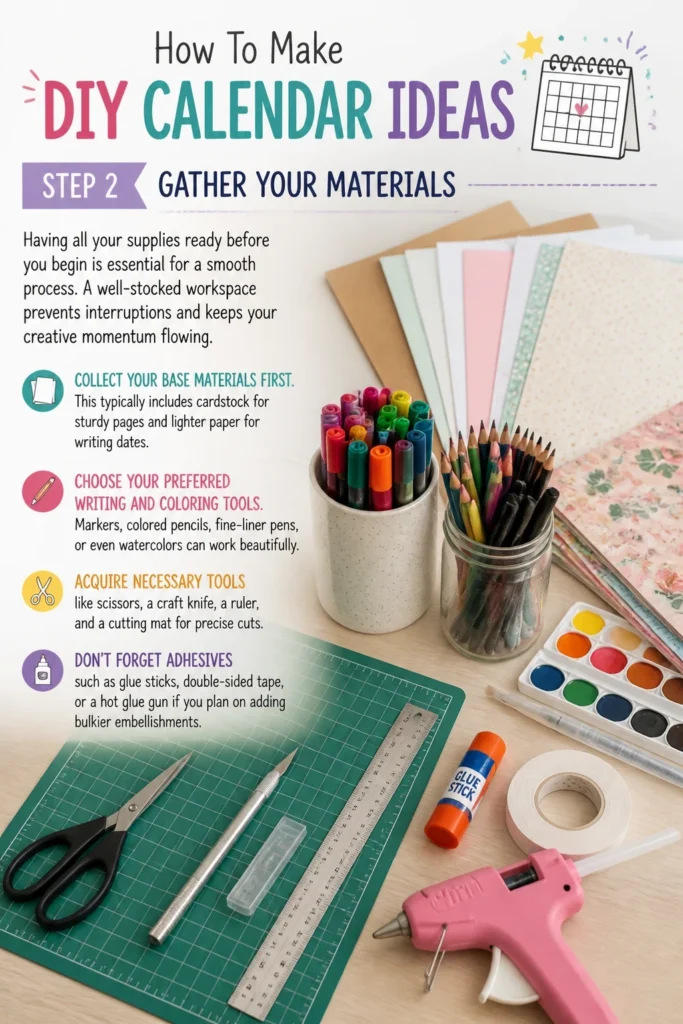
Collect your base materials first. This typically includes cardstock for sturdy pages and lighter paper for writing dates.
Choose your preferred writing and coloring tools. Markers, colored pencils, fine-liner pens, or even watercolors can work beautifully.
Acquire necessary tools like scissors, a craft knife, a ruler, and a cutting mat for precise cuts.
Don’t forget adhesives such as glue sticks, double-sided tape, or a hot glue gun if you plan on adding bulkier embellishments.
Step 3: Design Your Calendar Layout
This is where your vision starts to take shape on paper. A thoughtful layout ensures functionality and aesthetic appeal.
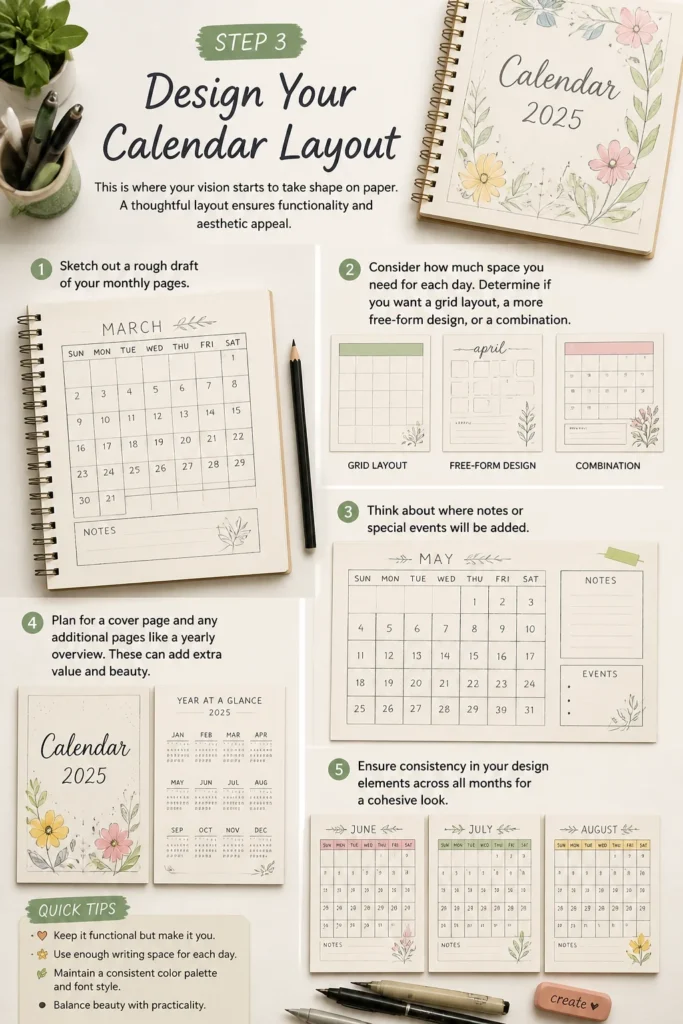
Sketch out a rough draft of your monthly pages. Consider how much space you need for each day.
Determine if you want a grid layout, a more free-form design, or a combination. Think about where notes or special events will be added.
Plan for a cover page and any additional pages like a yearly overview. These can add extra value and beauty.
Ensure consistency in your design elements across all months for a cohesive look.
Step 4: Prepare Your Calendar Pages
With your design concept in mind, it’s time to create the physical pages. Precision in this step leads to a professional-looking finished product.
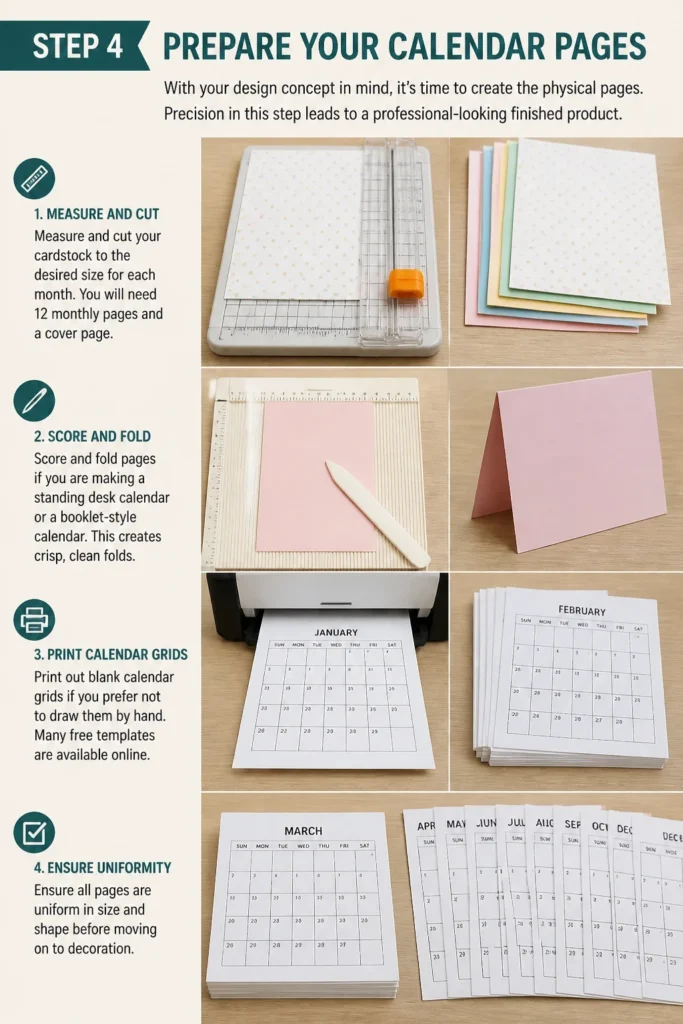
Measure and cut your cardstock to the desired size for each month. You will need 12 monthly pages and a cover page.
Score and fold pages if you are making a standing desk calendar or a booklet-style calendar. This creates crisp, clean folds.
Print out blank calendar grids if you prefer not to draw them by hand. Many free templates are available online.
Ensure all pages are uniform in size and shape before moving on to decoration.
Step 5: Add Monthly Artwork and Themes
This is the heart of your DIY calendar, where personality shines through. Each month offers a new opportunity for creative expression.
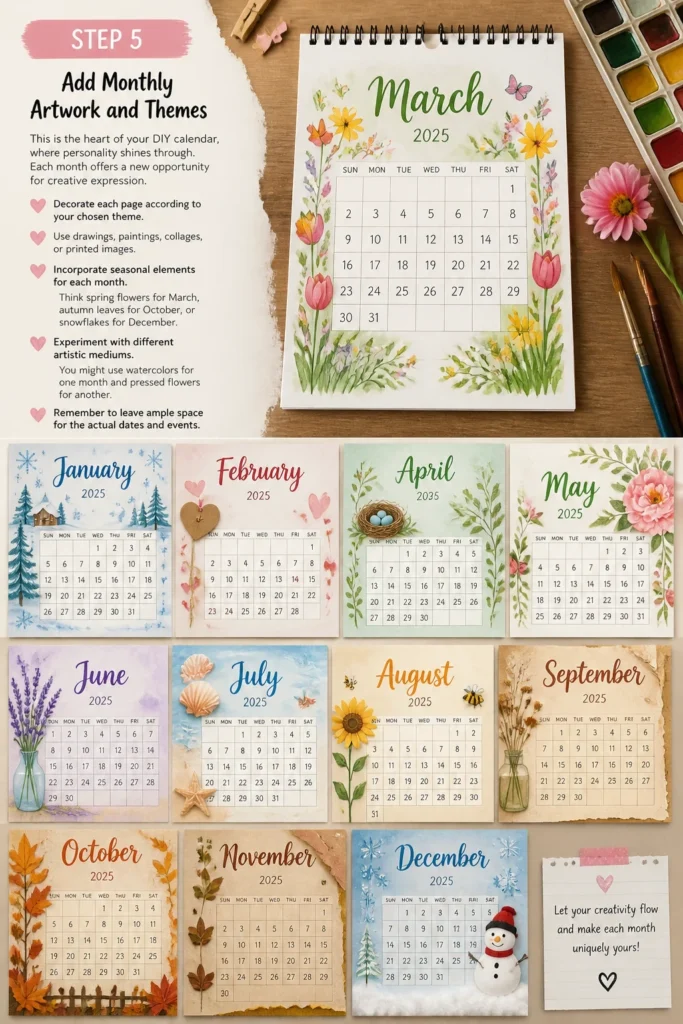
Decorate each page according to your chosen theme. Use drawings, paintings, collages, or printed images.
Incorporate seasonal elements for each month. Think spring flowers for March, autumn leaves for October, or snowflakes for December.
Experiment with different artistic mediums. You might use watercolors for one month and pressed flowers for another.
Remember to leave ample space for the actual dates and events.
Step 6: Fill in the Dates and Holidays
Accuracy is key for a functional calendar. Take your time to ensure all dates are correct.
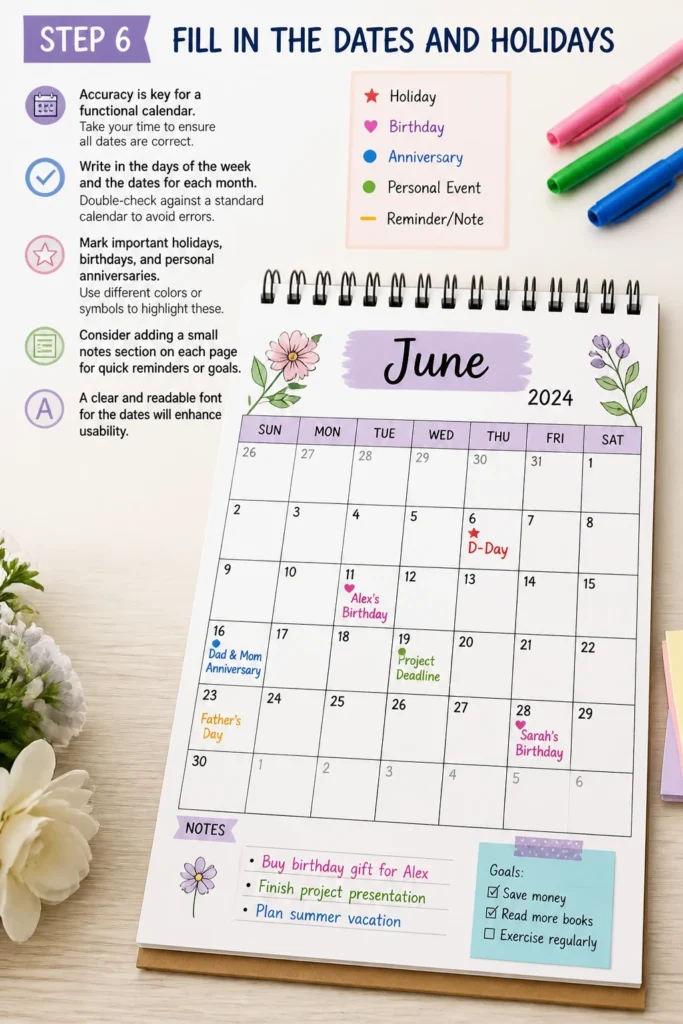
Write in the days of the week and the dates for each month. Double-check against a standard calendar to avoid errors.
Mark important holidays, birthdays, and personal anniversaries. Use different colors or symbols to highlight these.
Consider adding a small notes section on each page for quick reminders or goals.
A clear and readable font for the dates will enhance usability.
Step 7: Assemble Your Calendar
Bringing all the individual pages together creates the final product. The assembly method depends on your chosen calendar style.
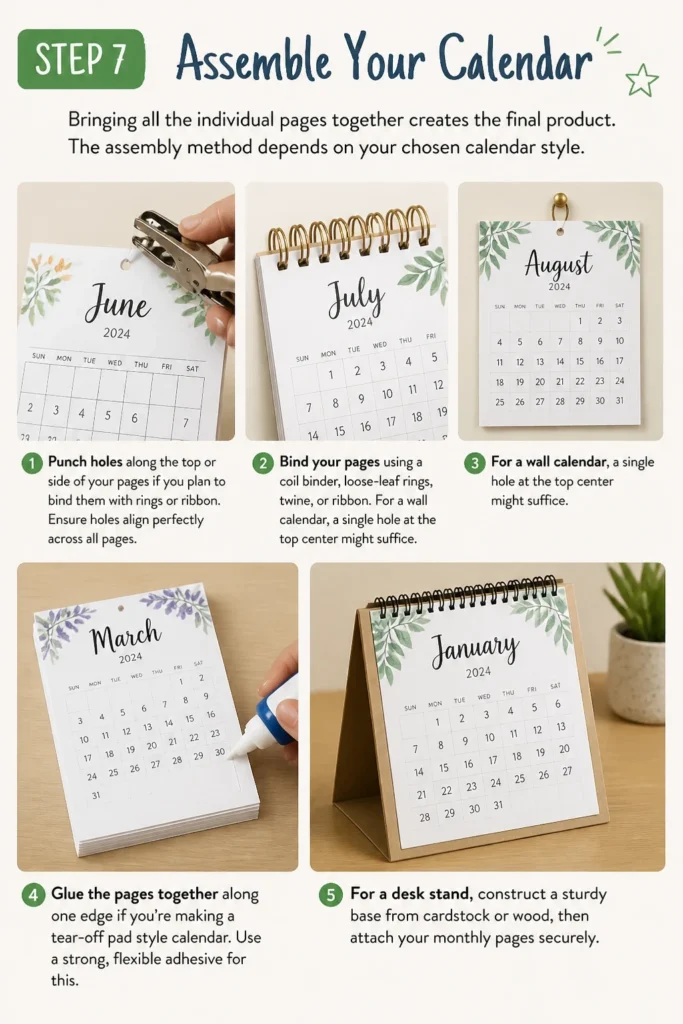
Punch holes along the top or side of your pages if you plan to bind them with rings or ribbon. Ensure holes align perfectly across all pages.
Bind your pages using a coil binder, loose-leaf rings, twine, or ribbon. For a wall calendar, a single hole at the top center might suffice.
Glue the pages together along one edge if you’re making a tear-off pad style calendar. Use a strong, flexible adhesive for this.
For a desk stand, construct a sturdy base from cardstock or wood, then attach your monthly pages securely.
Step 8: Add Finishing Touches and Personalization
The small details can elevate your DIY calendar from good to exceptional. This is where you make it truly yours.
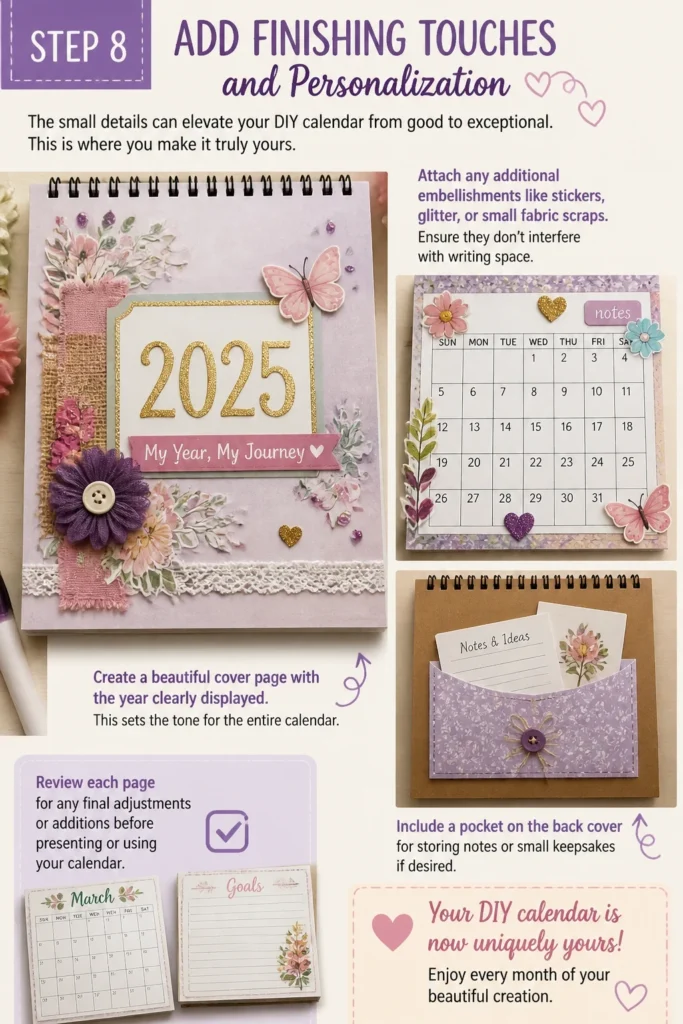
Attach any additional embellishments like stickers, glitter, or small fabric scraps. Ensure they don’t interfere with writing space.
Create a beautiful cover page with the year clearly displayed. This sets the tone for the entire calendar.
Include a pocket on the back cover for storing notes or small keepsakes if desired.
Review each page for any final adjustments or additions before presenting or using your calendar.
Common Mistakes to Avoid
Forgetting to Double-Check Dates
It’s easy to get caught up in the creative process and overlook the most critical part of a calendar: correct dates. A calendar with incorrect dates quickly becomes unusable. Always cross-reference your handmade dates with a reliable source, like a digital calendar or a store-bought one, before finalizing. This simple check saves a lot of frustration later.
Overcrowding Pages with Decorations
While embellishments add charm, too much decoration can make a calendar cluttered and impractical. If there’s no room to write appointments or notes, the calendar loses its primary function. Strive for a balance between aesthetics and utility, ensuring ample white space for daily entries.
Using Flimsy Materials
A calendar needs to withstand a year of handling. Using thin paper or weak adhesives will result in a flimsy product that might fall apart before the year is out. Invest in good quality cardstock, sturdy binding materials, and strong glues to ensure durability. This ensures your hard work lasts.
Inconsistent Sizing and Alignment
Pages that are unevenly cut or misaligned holes can make a calendar look amateurish and difficult to flip through. Take the time to measure precisely and use a ruler and cutting mat for clean edges. When punching holes, stack pages carefully to ensure perfect alignment.
Troubleshooting
Pages Don’t Line Up Evenly
This often happens if pages are cut slightly differently or holes are punched inconsistently. To fix this, stack all your pages perfectly even, then use a ruler and a craft knife to trim any protruding edges. For misaligned holes, you might need to re-punch or reinforce the holes with tape or eyelets to hide the discrepancy.
Calendar Feels Too Flimsy
If your finished calendar lacks sturdiness, you can reinforce it. Try gluing a piece of heavier cardstock to the back of each monthly page, or to the entire back cover. For a wall calendar, adding a rigid backing board can significantly improve its durability. Consider laminating individual pages for added strength and protection.
Ink Bleeds Through Pages
Ink bleed-through is common with certain pens and thinner papers. To prevent this, always test your pens on a scrap piece of your chosen paper beforehand. If you’ve already started, try using lighter pressure when writing. For future projects, opt for thicker cardstock or use pens specifically designed not to bleed, like gel pens or fine-liner markers.
Key Takeaways
- Plan Your Concept: Start with a clear vision for your calendar’s theme, size, and purpose to guide your design choices.
- Gather Quality Materials: Invest in sturdy cardstock, reliable adhesives, and good tools for a durable and professional-looking result.
- Prioritize Functionality: Ensure ample space for dates and notes, balancing decoration with practicality.
- Double-Check Everything: Verify dates, measurements, and alignment to avoid common mistakes and ensure usability.
- Personalize Thoughtfully: Add unique touches that reflect your style or the recipient’s preferences without overcrowding.
- Consider Assembly Method: Choose a binding or display method that suits your calendar’s style and intended use.
Frequently Asked Questions
What’s the best paper for a DIY calendar?
For durability and to prevent ink bleed-through, cardstock is highly recommended for calendar pages. A weight of 65lb (176 gsm) to 110lb (300 gsm) works well. For covers, even thicker cardstock or chipboard provides extra sturdiness.
How can I make my calendar stand up on a desk?
To create a standing desk calendar, you can design it as a tent-fold structure. Another popular method involves creating a triangular base from sturdy cardstock or wood, then attaching your monthly pages to one side, often with a spiral binding or rings.
Can I make a reusable DIY calendar?
Yes, you can! One way is to create a perpetual calendar where you only list the days of the week and dates, leaving the year blank. Another idea is to laminate individual monthly pages, allowing you to write on them with dry-erase markers and wipe clean each year.
What if I’m not good at drawing?
No artistic talent is required for a beautiful DIY calendar. You can use printed images, photographs, magazine cut-outs for collages, stickers, or stencils. Focusing on color schemes, textures, and typography can also create a stunning visual impact.
Our Top Recommended Finds
- Heavyweight Cardstock Variety Pack: Provides a range of colors and ensures your calendar pages are durable and professional.
- Precision Craft Knife and Cutting Mat Set: Essential for clean, straight cuts, especially when dealing with multiple pages and intricate designs.
- Double-Sided Tape Roller: Offers a mess-free and strong adhesive solution for attaching photos, embellishments, and securing pages.
Craft Your Year, Your Way
Creating your own calendar is more than just a craft project; it’s an opportunity to infuse your year with personal meaning and creativity. Each page becomes a canvas, reflecting your style and helping you organize your time with joy.
Why settle for a generic calendar when you can design one that truly speaks to you? Gather your materials today and begin the satisfying journey of crafting a calendar that will inspire you all year long. Consider designing a themed calendar next, perhaps focusing on nature or travel.
Beginner-friendly templates, step-by-step guides,
and weekly project ideas in your inbox.