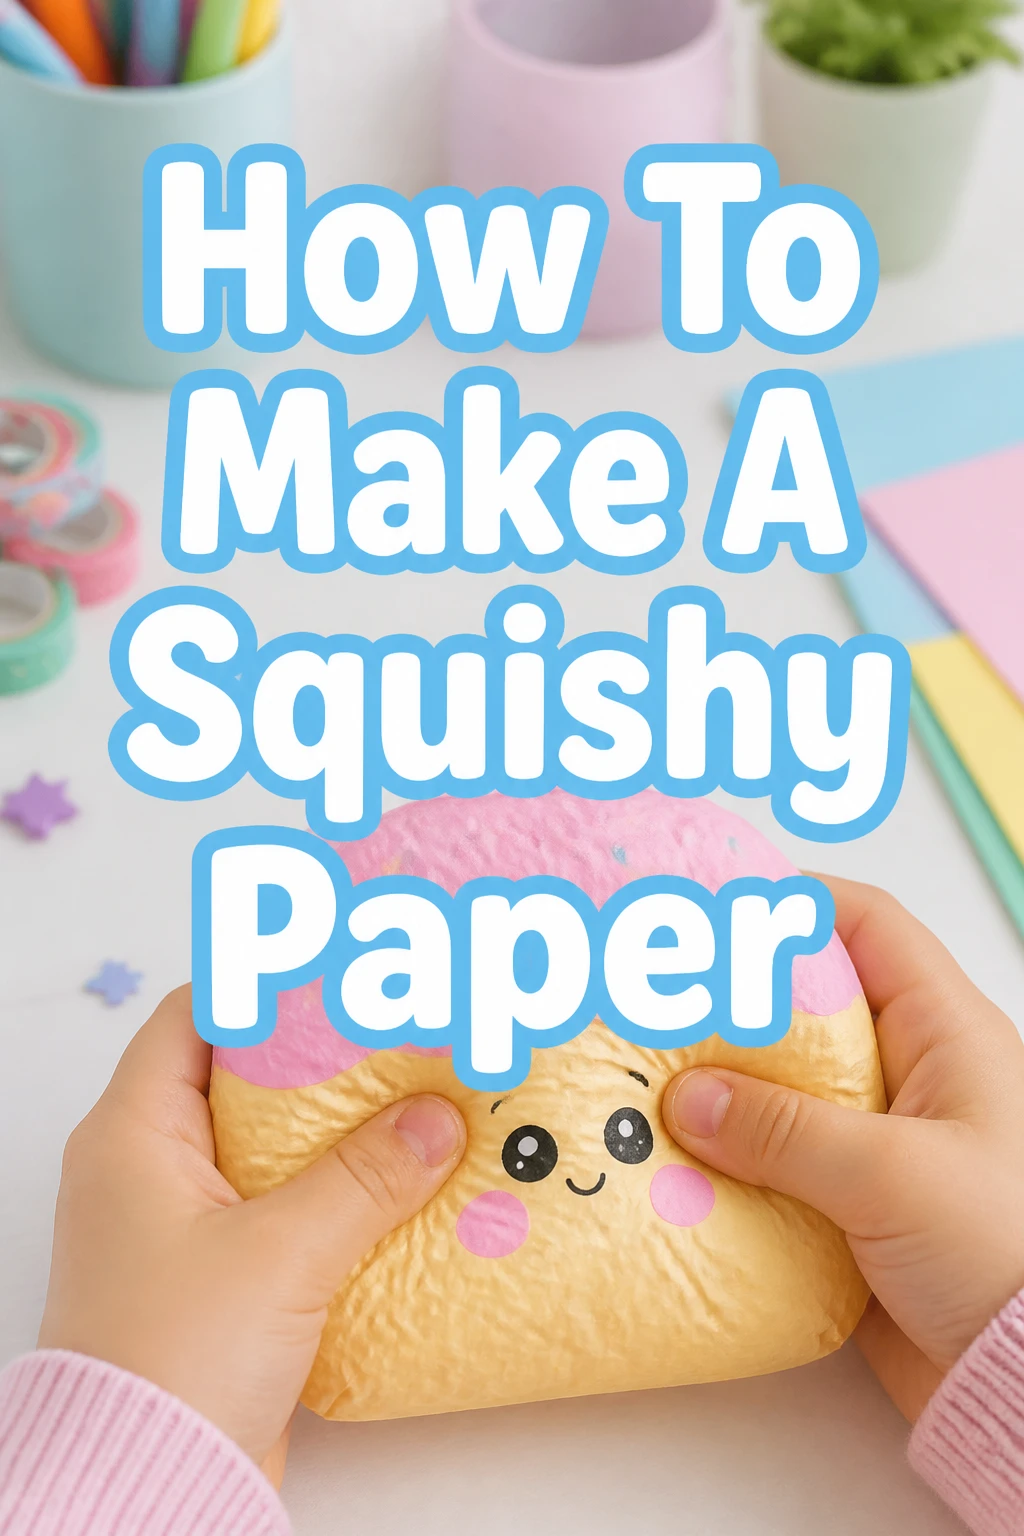
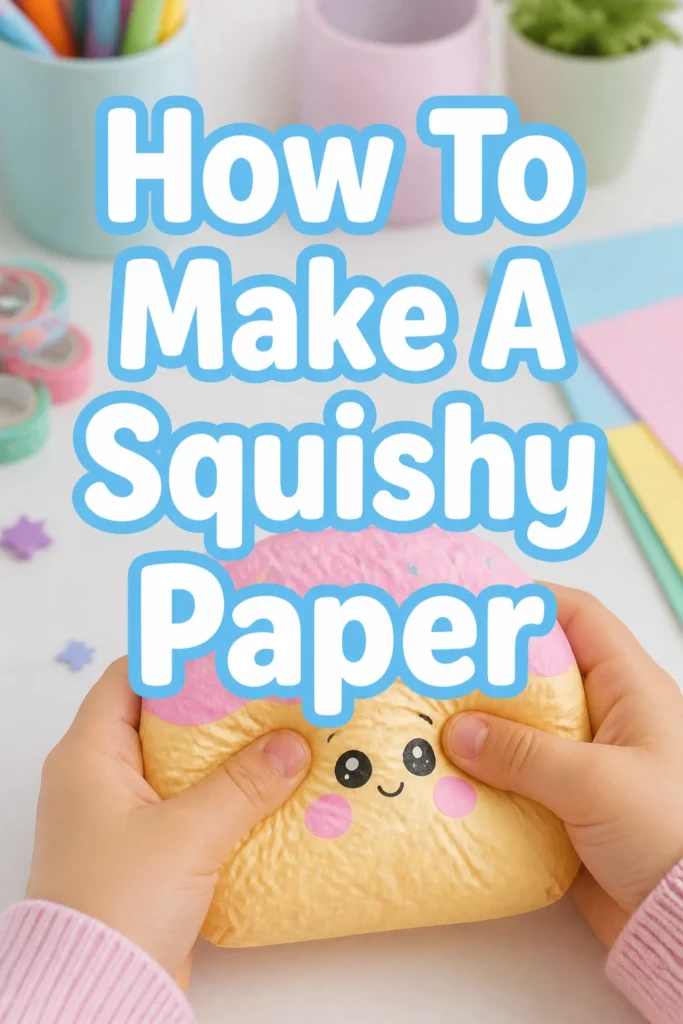
How To Make A Squishy Paper

Beginner-friendly templates, step-by-step guides,
and weekly project ideas in your inbox.
There’s a unique joy in crafting something with your own hands, especially when it’s as fun and tactile as a squishy paper toy.
I remember the first time I made one; it was a simple star, and the satisfaction of pressing it between my fingers was instant.
This guide draws from countless hours of experimenting with different papers, tapes, and stuffings to give you the very best techniques.
Quick Overview
You’re about to embark on a delightful crafting adventure, creating a soft, squeezable paper toy that’s perfect for fidgeting or decorating your space. This project is incredibly satisfying and yields a unique, handmade item.
- Time needed: 45-75 minutes (depending on design complexity)
- Difficulty: Beginner
- What you’ll need: Paper, clear packing tape, scissors, stuffing material (plastic bags, cotton, foam scraps, old fabric), markers/crayons (optional)
Step-by-Step Instructions
Step 1: Gather Your Materials
Before you begin, ensure you have all necessary items laid out on a clean, flat surface. Having everything at hand will make the process smooth and enjoyable.
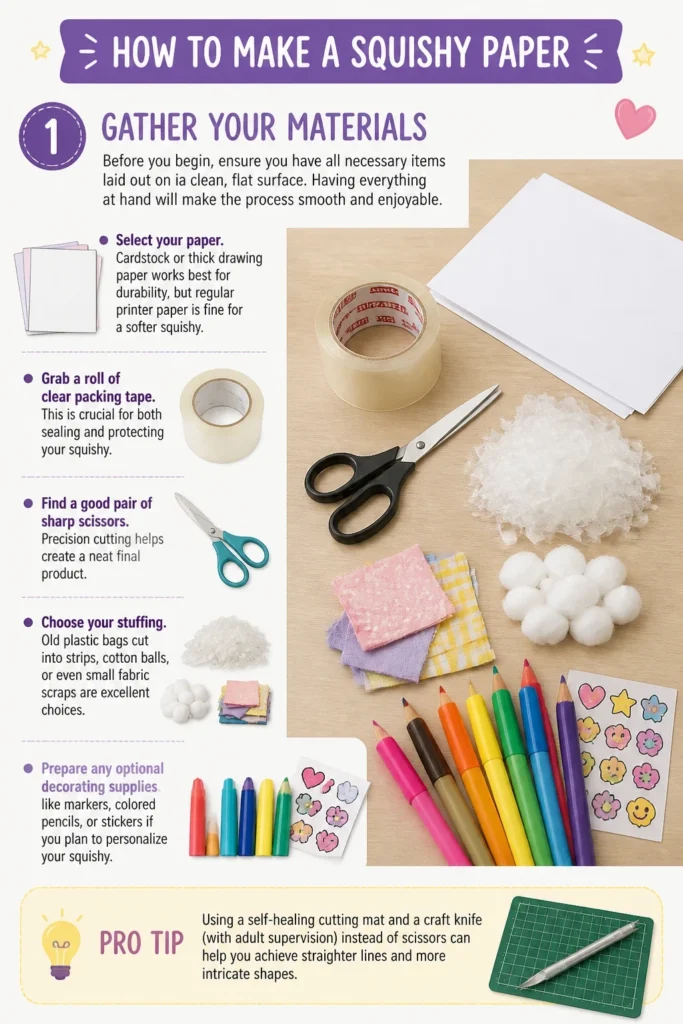
- Select your paper. Cardstock or thick drawing paper works best for durability, but regular printer paper is fine for a softer squishy.
- Grab a roll of clear packing tape. This is crucial for both sealing and protecting your squishy.
- Find a good pair of sharp scissors. Precision cutting helps create a neat final product.
- Choose your stuffing. Old plastic bags cut into strips, cotton balls, or even small fabric scraps are excellent choices.
- Prepare any optional decorating supplies like markers, colored pencils, or stickers if you plan to personalize your squishy.
Pro Tip: Using a self-healing cutting mat and a craft knife (with adult supervision if needed) can provide cleaner edges for your paper design than scissors alone.
Step 2: Design Your Shape
This is where your creativity shines! Think about what kind of squishy you want to create. Simple shapes are great for beginners, while more complex designs offer a fun challenge.
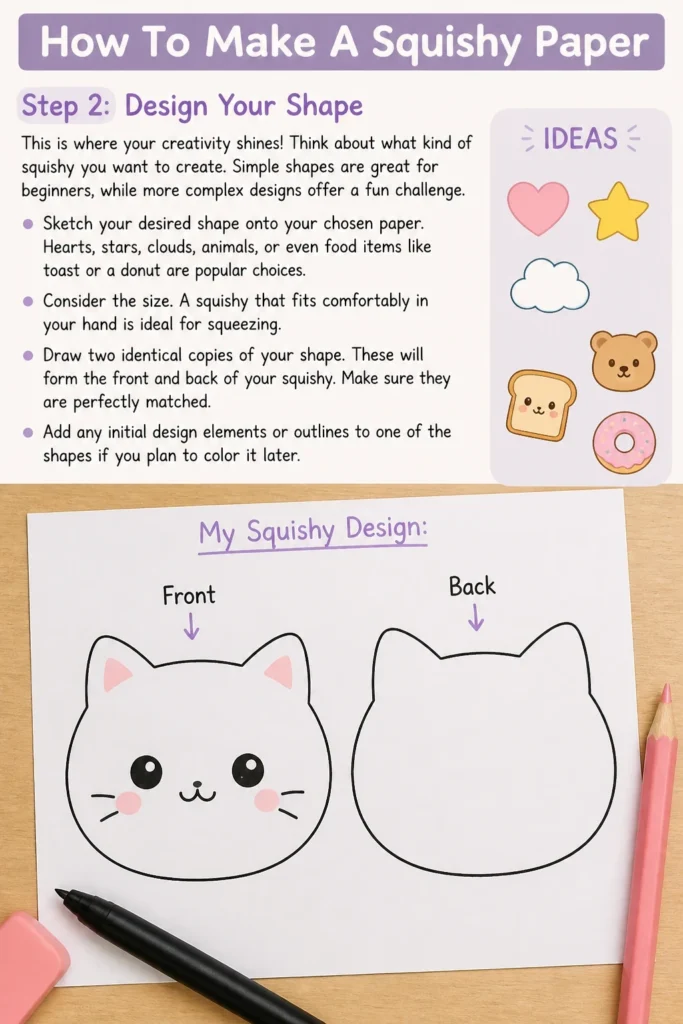
- Sketch your desired shape onto your chosen paper. Hearts, stars, clouds, animals, or even food items like toast or a donut are popular choices.
- Consider the size. A squishy that fits comfortably in your hand is ideal for squeezing.
- Draw two identical copies of your shape. These will form the front and back of your squishy. Make sure they are perfectly matched.
- Add any initial design elements or outlines to one of the shapes if you plan to color it later.
Step 3: Cut Out Your Paper Pieces
Careful cutting will ensure your squishy has a clean, professional look. Take your time with this step to avoid jagged edges.
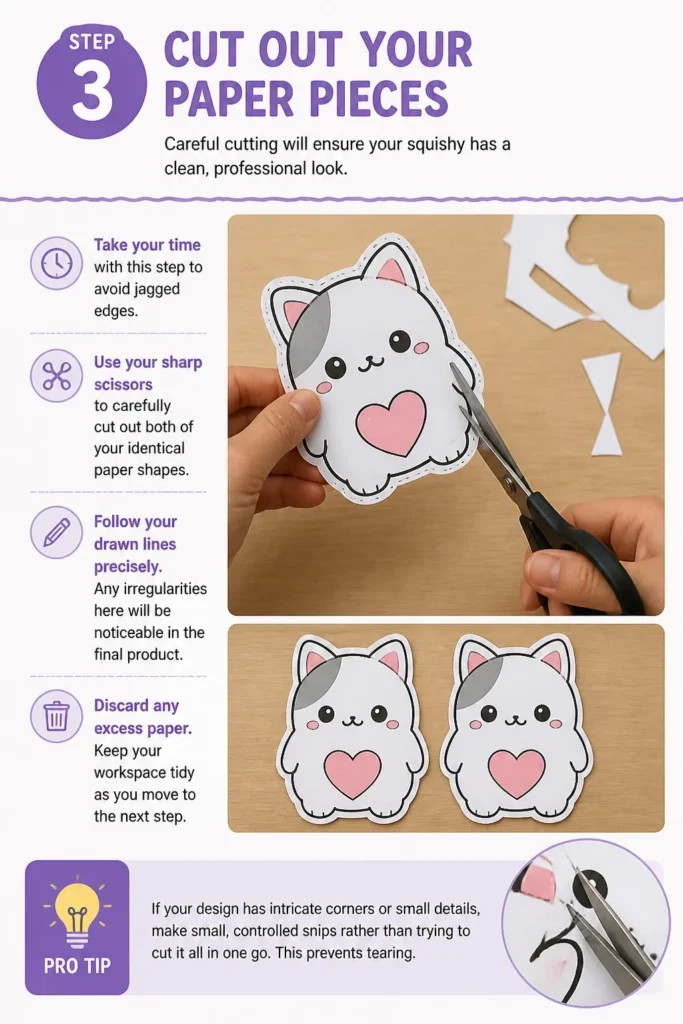
- Use your sharp scissors to carefully cut out both of your identical paper shapes.
- Follow your drawn lines precisely. Any irregularities here will be noticeable in the final product.
- Discard any excess paper. Keep your workspace tidy as you move to the next step.
Pro Tip: If your design has intricate corners or small details, make small, controlled snips rather than trying to cut it all in one go. This prevents tearing.
Step 4: Prepare for Assembly (Decorate if Desired)
Now is the perfect time to add color and personality to your squishy. Once it’s taped together, decorating becomes much harder.
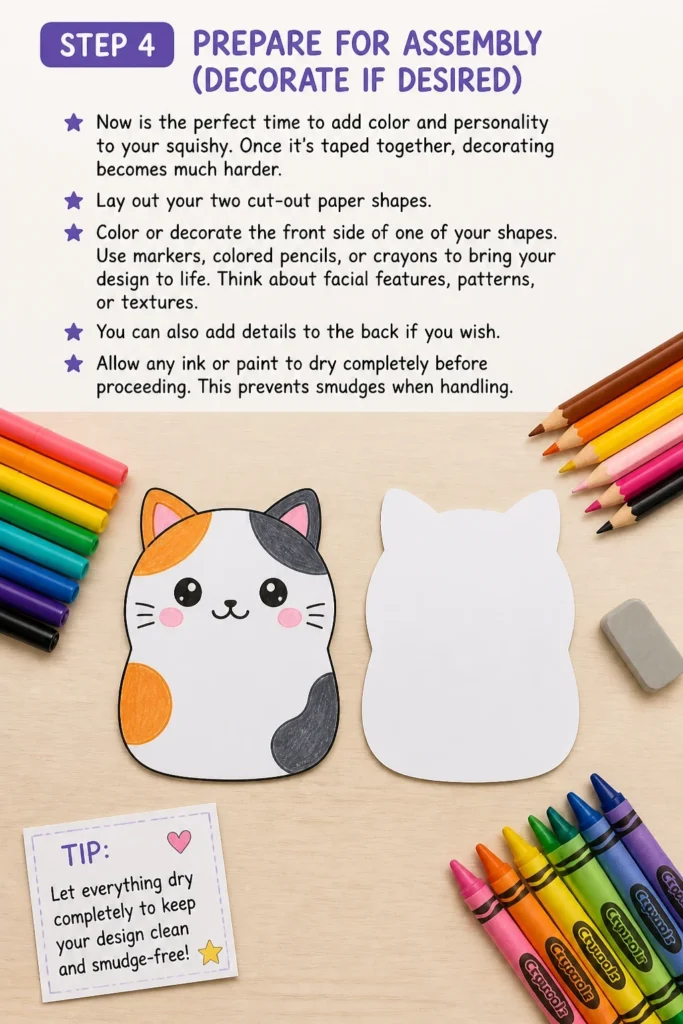
- Lay out your two cut-out paper shapes.
- Color or decorate the “front” side of one of your shapes. Use markers, colored pencils, or crayons to bring your design to life.
- Think about facial features, patterns, or textures. You can also add details to the “back” if you wish.
- Allow any ink or paint to dry completely before proceeding. This prevents smudges when handling.
Step 5: Laminate with Tape
This step is crucial for both durability and the squishy feel. The tape acts as a protective layer and gives your paper a smooth, slightly bouncy surface.
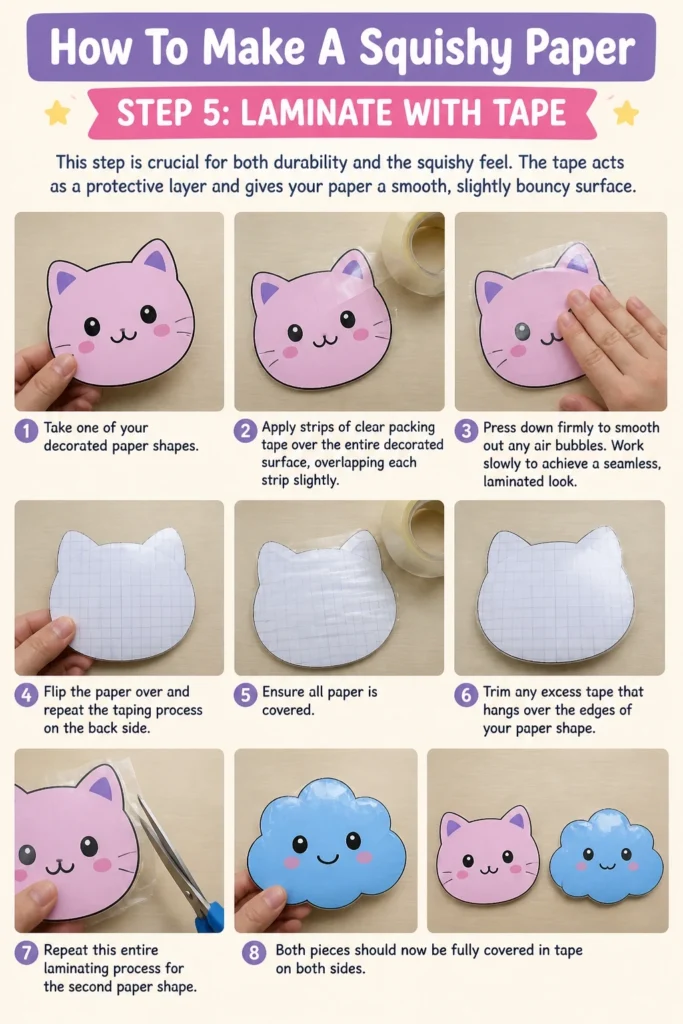
- Take one of your decorated paper shapes.
- Apply strips of clear packing tape over the entire decorated surface, overlapping each strip slightly.
- Press down firmly to smooth out any air bubbles. Work slowly to achieve a seamless, laminated look.
- Flip the paper over and repeat the taping process on the back side. Ensure all paper is covered.
- Trim any excess tape that hangs over the edges of your paper shape.
- Repeat this entire laminating process for the second paper shape. Both pieces should now be fully covered in tape on both sides.
Step 6: Tape the Edges (Leave an Opening)
Now you’ll start joining your two pieces together, forming a pocket for the stuffing. Be mindful to leave a gap.
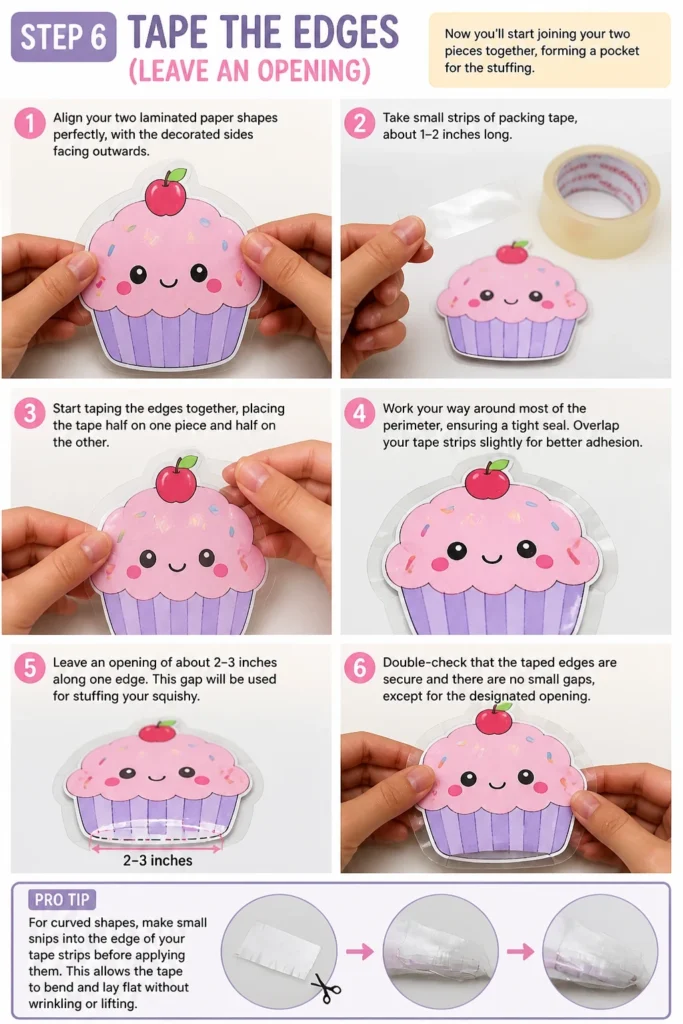
- Align your two laminated paper shapes perfectly, with the decorated sides facing outwards.
- Take small strips of packing tape, about 1-2 inches long.
- Start taping the edges together, placing the tape half on one piece and half on the other.
- Work your way around most of the perimeter, ensuring a tight seal. Overlap your tape strips slightly for better adhesion.
- Leave an opening of about 2-3 inches along one edge. This gap will be used for stuffing your squishy.
- Double-check that the taped edges are secure and there are no small gaps, except for the designated opening.
Pro Tip: For curved shapes, make small snips into the edge of your tape strips before applying them. This allows the tape to curve smoothly without wrinkling.
Step 7: Stuff Your Squishy
This is where your squishy gets its satisfying plumpness! The type and amount of stuffing will dictate its final feel.
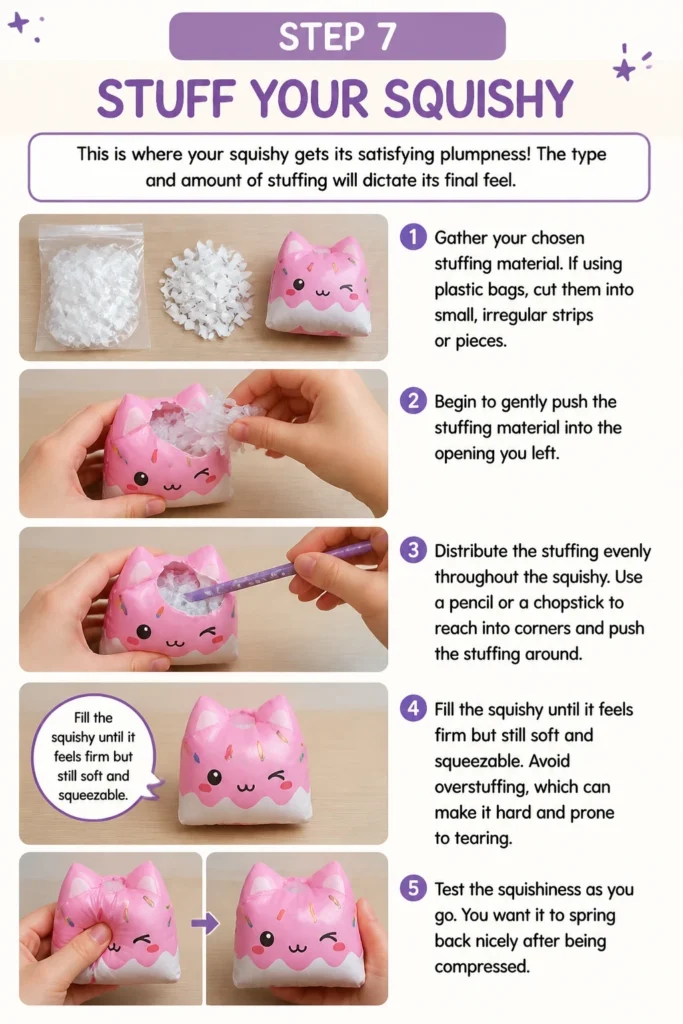
- Gather your chosen stuffing material. If using plastic bags, cut them into small, irregular strips or pieces.
- Begin to gently push the stuffing material into the opening you left.
- Distribute the stuffing evenly throughout the squishy. Use a pencil or a chopstick to reach into corners and push the stuffing around.
- Fill the squishy until it feels firm but still soft and squeezable. Avoid overstuffing, which can make it hard and prone to tearing.
- Test the squishiness as you go. You want it to spring back nicely after being compressed.
Step 8: Seal the Opening
Once your squishy is perfectly plump, it’s time to close it up. This step requires a careful hand to ensure a secure finish.
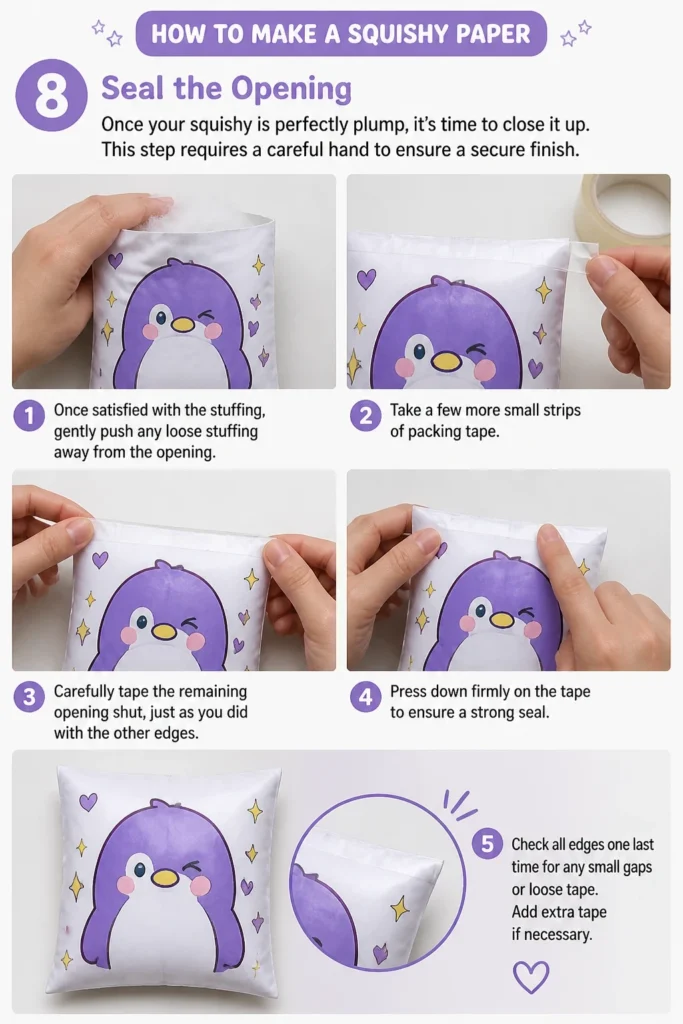
- Once satisfied with the stuffing, gently push any loose stuffing away from the opening.
- Take a few more small strips of packing tape.
- Carefully tape the remaining opening shut, just as you did with the other edges.
- Press down firmly on the tape to ensure a strong seal.
- Check all edges one last time for any small gaps or loose tape. Add extra tape if necessary.
Step 9: Test and Adjust
Your squishy is almost complete! Give it a test run and make any final tweaks.
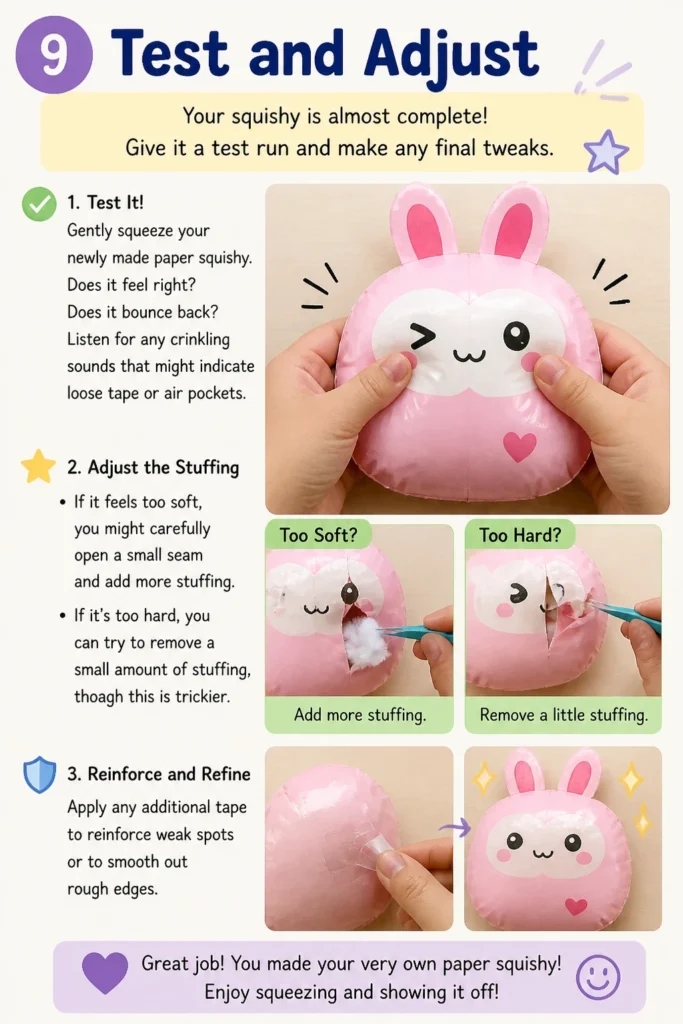
- Gently squeeze your newly made paper squishy. Does it feel right? Does it bounce back?
- Listen for any crinkling sounds that might indicate loose tape or air pockets.
- If it feels too soft, you might carefully open a small seam and add more stuffing.
- If it’s too hard, you can try to remove a small amount of stuffing, though this is trickier.
- Apply any additional tape to reinforce weak spots or to smooth out rough edges.
Common Mistakes to Avoid
Not Sealing Tightly Enough
A common pitfall is rushing the taping process, leading to tiny gaps along the edges. These small openings can allow air to escape, making your squishy feel less satisfying and potentially letting stuffing peek out. Always overlap tape strips slightly and press down firmly to create a complete, airtight seal around the entire perimeter.
Overstuffing or Understuffing
The amount of stuffing is critical to the squishy’s feel. Overstuffing results in a hard, rigid squishy that doesn’t compress well and is prone to tearing at the seams. Understuffing leaves it feeling flat and empty, lacking that satisfying bounce-back. Aim for a balance where it’s firm but still yields easily to pressure and then slowly regains its shape.
Using Flimsy Paper
While regular printer paper can work, it’s generally too thin to withstand repeated squeezing without wrinkling or tearing, even when taped. Using cardstock or a heavier drawing paper provides a much sturdier base. This significantly increases the longevity and overall quality of your squishy, making it more resistant to wear and tear.
Rushing the Taping Process
Applying tape quickly often leads to wrinkles, air bubbles, and uneven coverage, especially on curved surfaces. This not only looks less appealing but also compromises the squishy’s integrity. Take your time, apply tape strips smoothly, and use smaller pieces for intricate curves. Patience here pays off with a much better finish.
Troubleshooting
Squishy Feels Flat or Doesn’t Bounce Back
If your squishy feels deflated or doesn’t spring back after you squeeze it, it likely needs more stuffing. Carefully locate the taped seam you used to stuff it, gently peel back a small section of tape, and add more stuffing material. Distribute it evenly, then re-seal the opening securely with fresh tape. You want a firm but yielding texture.
Tape Comes Undone or Edges Gap
Loose tape or gapping edges usually indicate insufficient pressure during application or not enough overlap between tape strips. Re-tape any problematic areas with fresh, slightly longer strips of packing tape. Ensure you press down very firmly, especially along the seams, to create a strong bond. Sometimes, an extra layer of tape on the outside edge can provide reinforcement.
Paper Rips Easily
If the paper itself is tearing, even with tape, it might be too thin for the amount of pressure it’s enduring. For future projects, consider using a heavier paper like cardstock. For your current squishy, you can try adding an additional layer of tape over the entire surface, especially on both sides of the tear, to reinforce it and prevent further damage. This acts as a patch.
Key Takeaways
- Choose sturdy paper like cardstock for a more durable squishy.
- Laminate both sides of your paper shapes completely with clear packing tape for protection and squishiness.
- Leave a small opening when taping the edges to allow for stuffing.
- Stuff your squishy until it’s firm but still soft and can bounce back.
- Seal all edges tightly with tape to prevent air leaks and stuffing from escaping.
- Decorate your paper shapes before laminating and assembling them.
Frequently Asked Questions
What’s the best paper to use for a squishy?
Heavy cardstock (65-110 lb) or thick drawing paper is generally best. It provides a sturdy base that holds its shape well and resists tearing, even after being laminated with tape. Regular printer paper can work for a very soft squishy, but it’s less durable.
Can I wash my paper squishy?
No, paper squishies are not washable. The paper inside, even when taped, will absorb water and degrade. If your squishy gets dirty, gently wipe the taped exterior with a slightly damp cloth and dry it immediately. Avoid immersing it in water or using harsh cleaners.
What else can I use for stuffing besides plastic bags?
Excellent alternatives for stuffing include cotton balls, polyester fiberfill (often used for pillows), foam scraps, old fabric scraps cut into small pieces, or even crumpled paper if you want a firmer, crinklier squishy. The key is to use lightweight, compressible materials.
How can I make my squishy more durable?
To increase durability, use thicker paper initially. Apply multiple, overlapping layers of packing tape, ensuring complete coverage on all surfaces and edges. You can also add an extra layer of tape around the entire perimeter after sealing for added reinforcement. Avoid overstuffing, as this puts more stress on the seams.
Our Top Recommended Finds
- Heavy-Duty Clear Packing Tape: A strong adhesive and thick tape make all the difference in durability and a smooth finish.
- Assorted Cardstock Paper Pack: Having various colors and weights on hand allows for endless creative possibilities and ensures a sturdy base.
- Soft Cotton Batting or Fiberfill: For a truly squishy and soft feel, dedicated craft stuffing provides excellent bounce-back and even texture.
Your Creative Journey Starts Now
You’ve learned the steps, understood the nuances, and are now fully equipped to create your very own squishy paper masterpiece.
Don’t just read about it; grab your materials and bring your unique design to life today.
Once you’ve mastered the basic squishy, consider exploring more complex shapes, adding 3D elements, or even trying different stuffing combinations for varied textures.
Beginner-friendly templates, step-by-step guides,
and weekly project ideas in your inbox.